Make your first outbound call
From a new server to your first real outbound call: a working phone line, a campaign with leads, an agent signed in, and the call result saved.
Getting started · 4 min read
This guide takes you from a new server to your first real outbound call: a working phone line, a campaign with leads, an agent signed in, and the call result saved. Do it once while you set up. After that, the campaign guides go deeper.
What you need
- Your server shows Active.
- A phone line (trunk): VICIfast Voice or your own carrier.
- A file of leads you have the right to call. For a first test, a file with only your own mobile number works well.
- An agent with a computer and a headset or microphone. It can be you.
Step 1: Check your phone line works
- On your server page, click the Trunks tab. You should see at least one phone line, switched on. If it says No trunks yet, add one first.
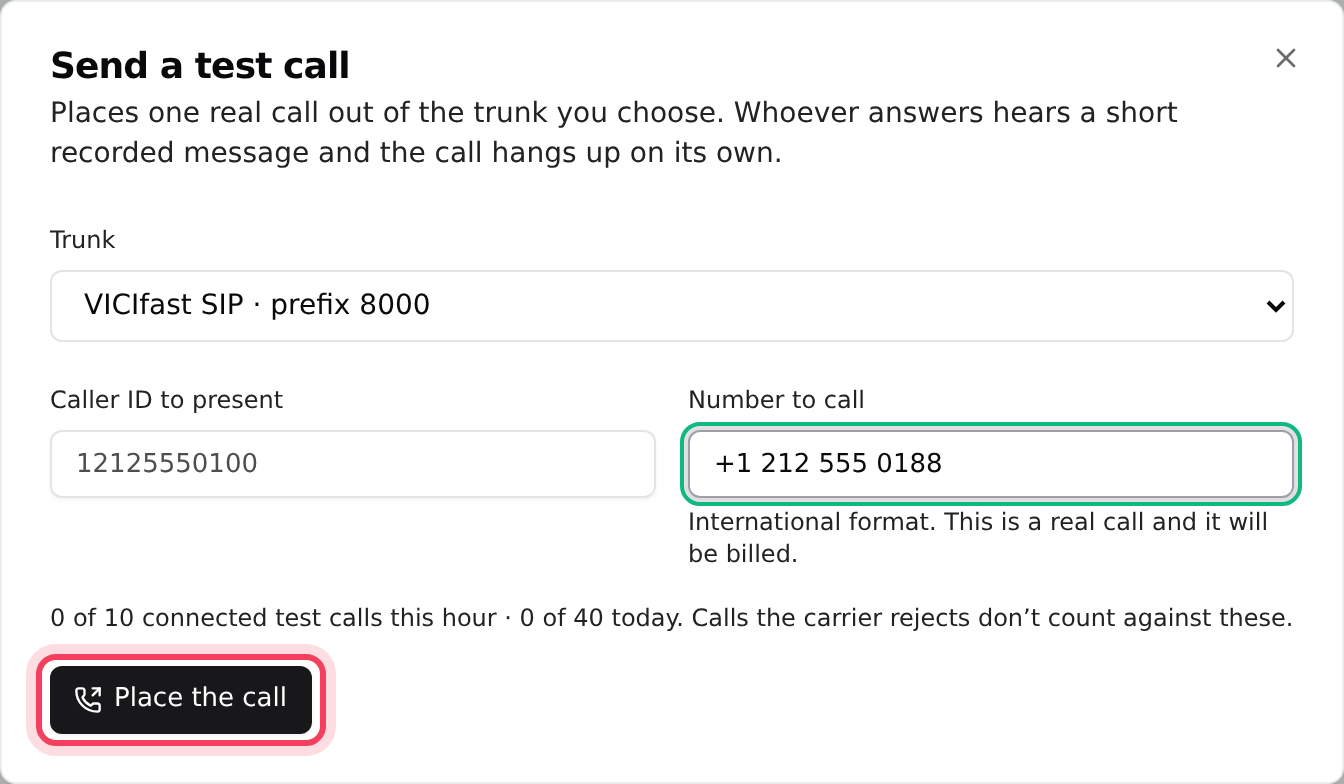
- Click Send test call.
- In Send a test call, pick the Trunk, set the Caller ID to present, type your mobile in Number to call, and click Place the call.
- Your phone rings and the result shows, for example Answered. A problem shows in plain words, such as "Carrier refused — usually caller ID or permissions".
Step 2: Create the campaign and agent logins
The quickest way is the Setup Wizard: it makes the campaign, a lead list, user groups and agent logins in one go.
- Click Setup Wizard in the tools strip.
- On the first screen, name the campaign and pick your phone line under Calls go out through. Keep New list under Leads.
- Work through the steps and press Launch. Save the logins with Download CSV.
See Set up your dialer with the Setup Wizard. Prefer to do it by hand? See Create a campaign and Add agents and user groups.
Step 3: Load your leads
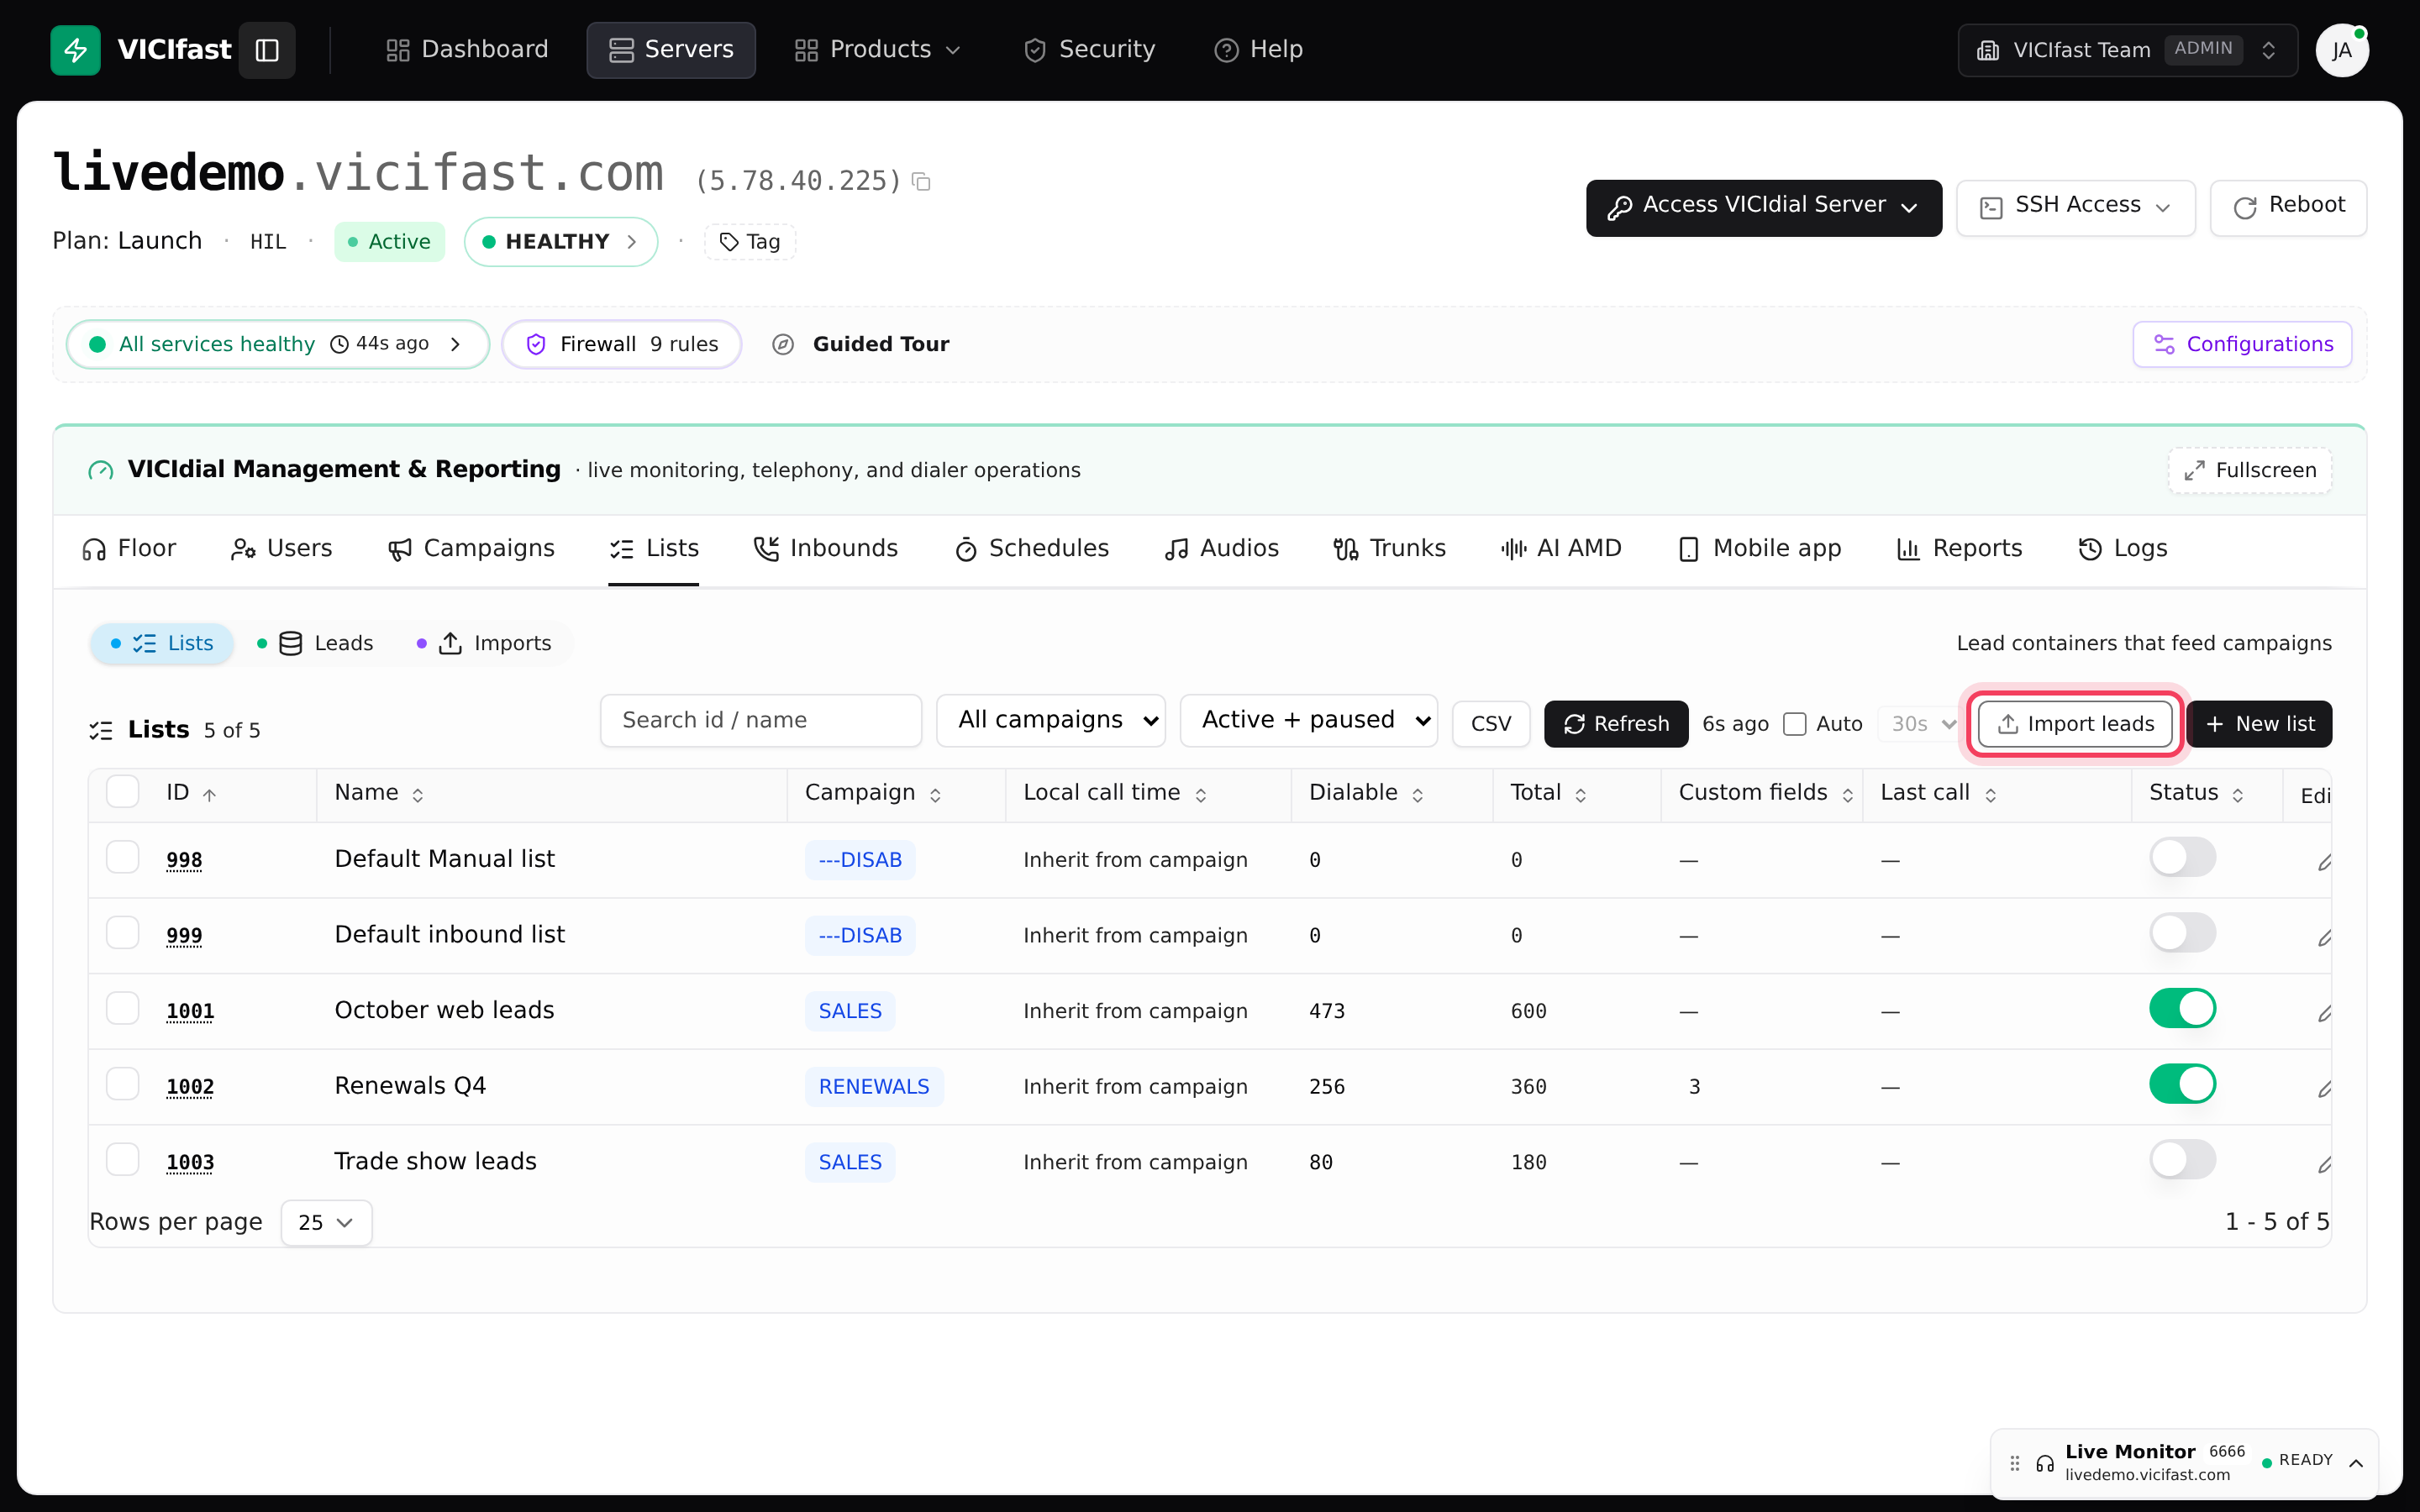
- Click the Lists tab, then Import leads.
- Pick your file and follow the steps into the list the wizard made, then click Start import. The full walkthrough is in Upload leads.
- Back on the Lists tab, check the list's Campaign column shows your campaign and its Status is on.
Step 4: Make sure the campaign is on
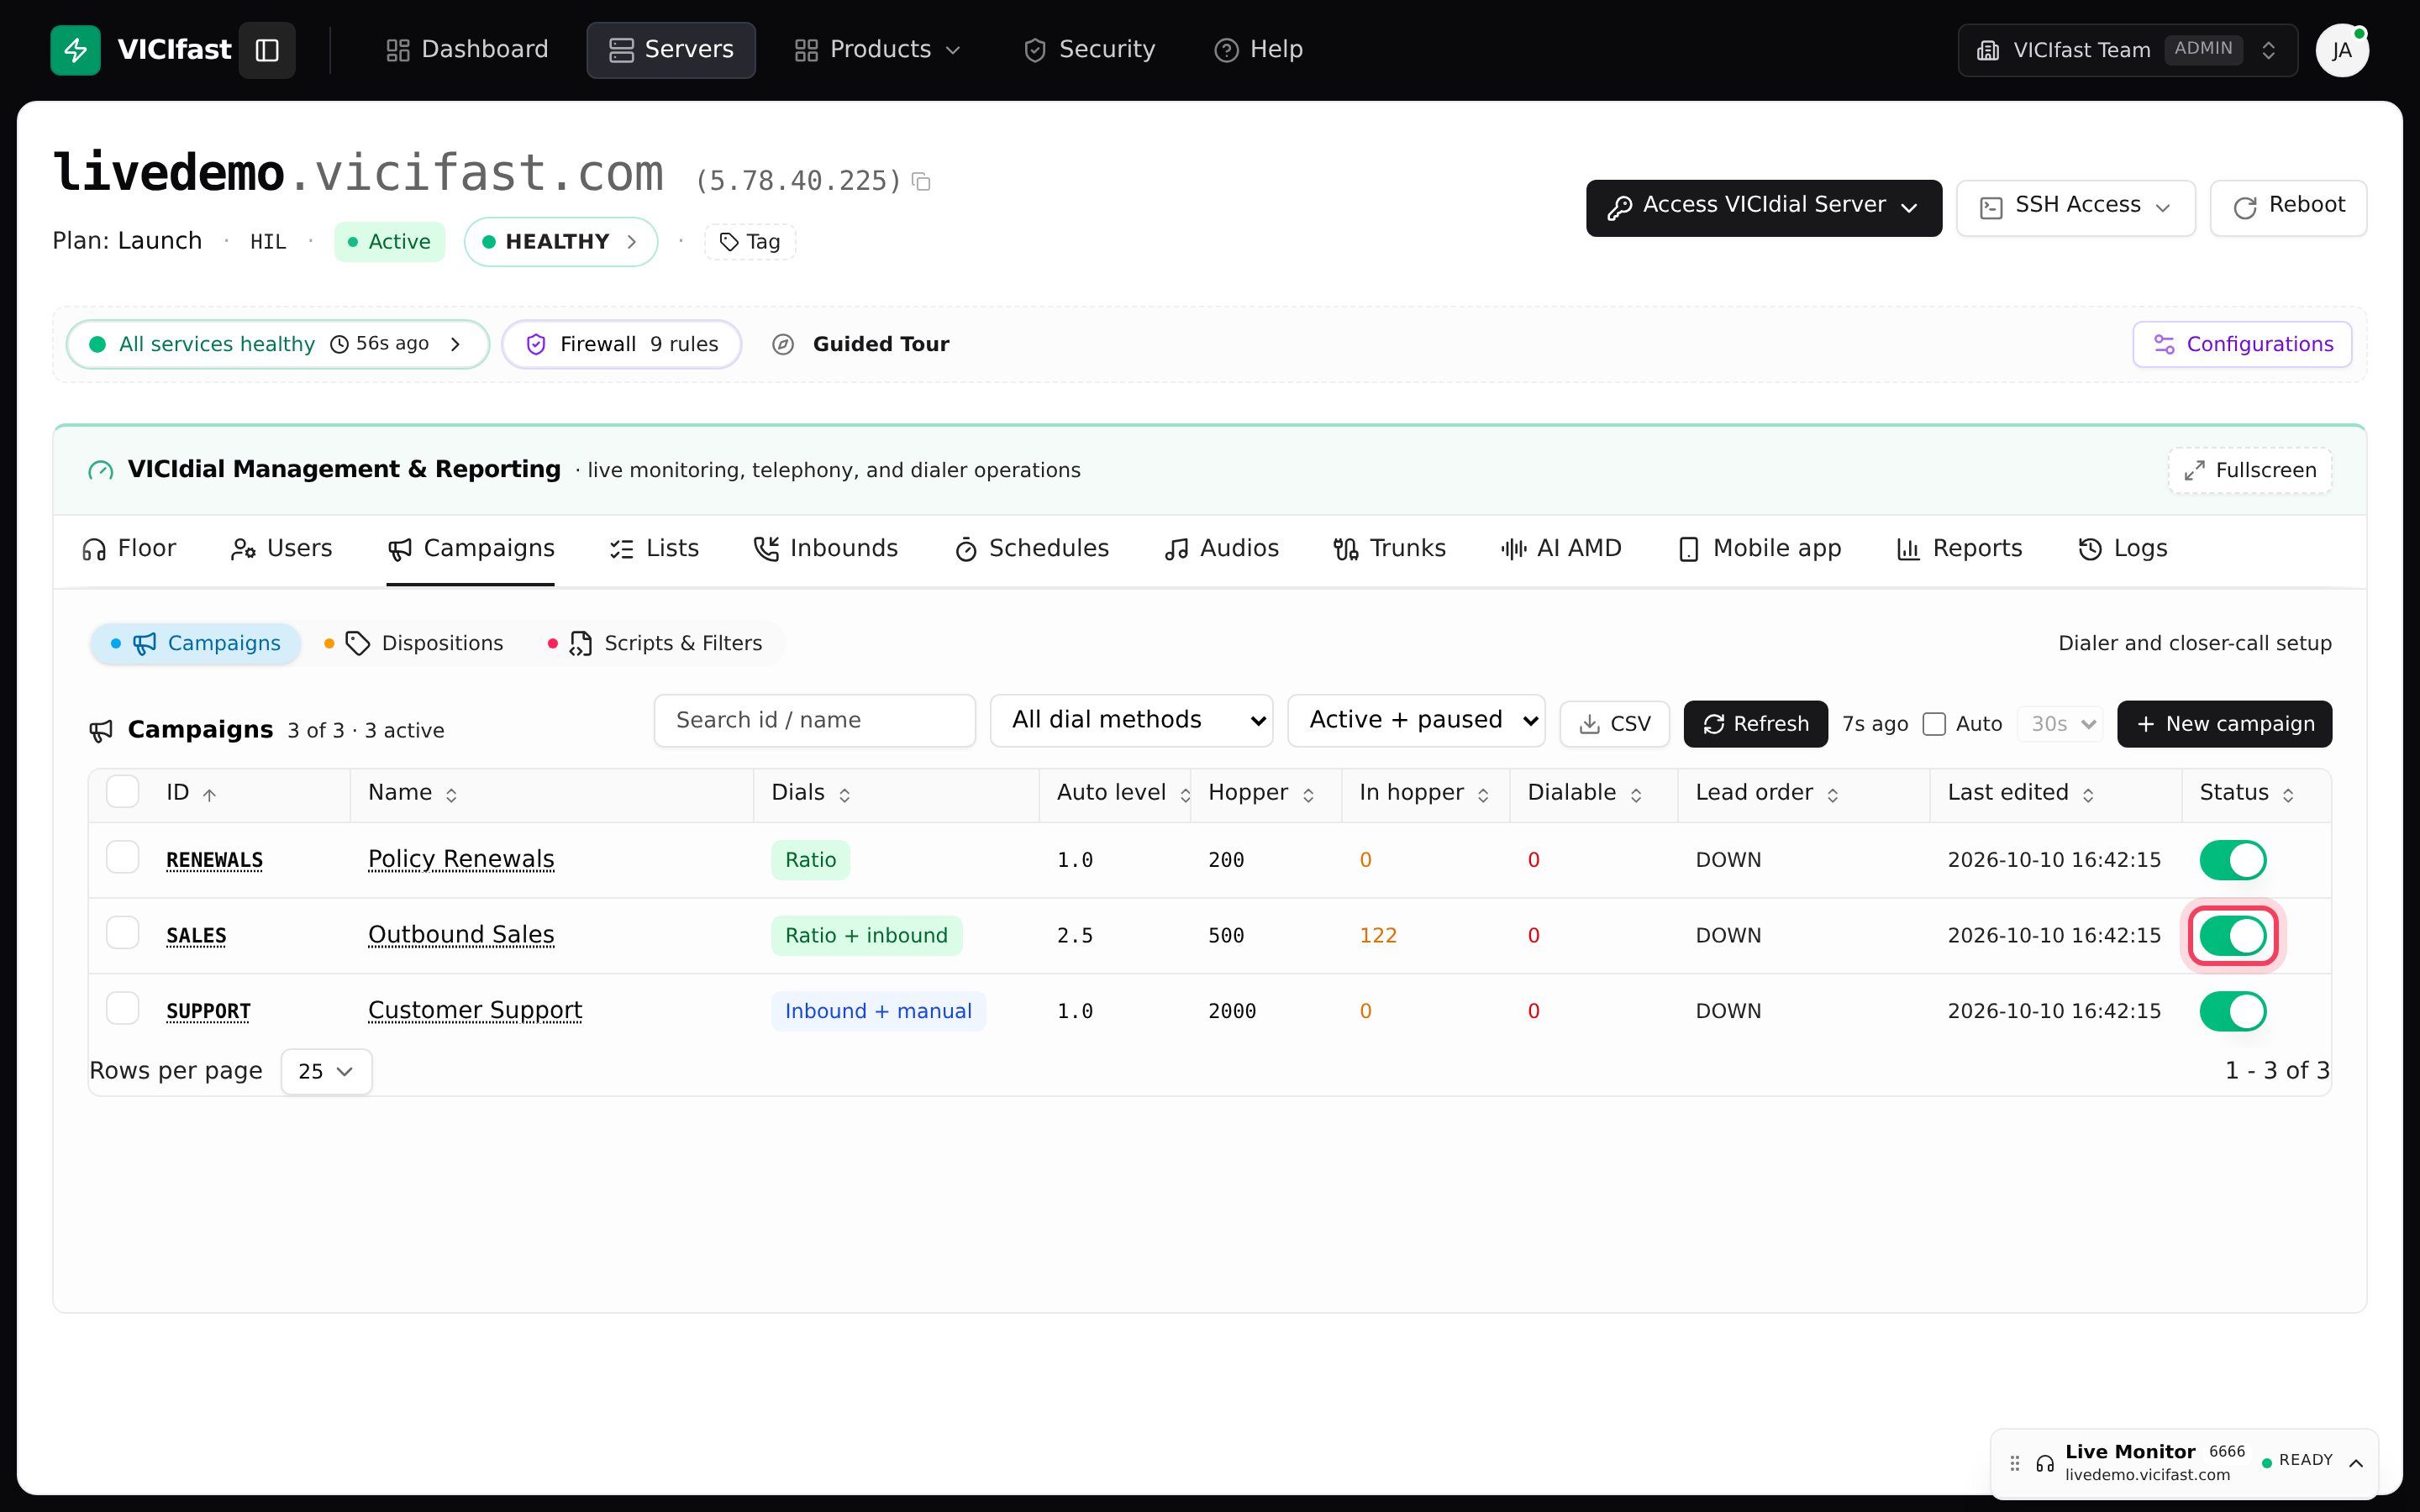
- Click the Campaigns tab.
- On your campaign's row, check the Status switch is on.
- In hopper shows how many leads are lined up to dial.
If a red banner says your campaign is "dialing into nothing", its calls have no working phone line. Fix the line on the Trunks tab, or pick a working one from the banner.
Step 5: Sign your agent in
- The agent opens your agent link (click Access OK under your server's name, then copy Your agent link) and signs in. This lets their computer through the firewall and takes them to the agent screen.
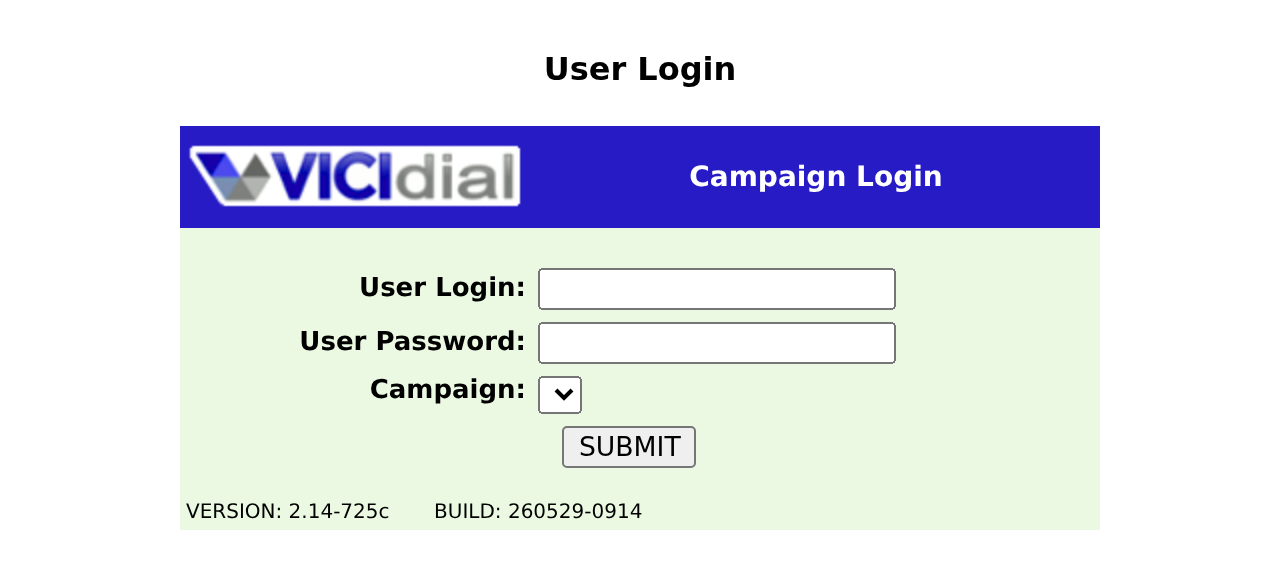
- On the agent screen, they type their login and password, pick your campaign and sign in.
- If the browser asks to use the microphone, they allow it. The phone in the browser connects by itself.
More in Signing in to the agent screen.
Step 6: Take the first call
- Agents start paused. The agent clicks YOU ARE PAUSED (on the newer VICIfast screen, Resume) to say they are ready.
- The dialer calls leads. When someone answers, the call goes to the agent, with the lead's details on screen.
- When the conversation ends, the agent hangs up.
- The agent picks the call result, for example SALE or NI (not interested), and submits it.
- The dialer moves on to the next lead until the agent pauses or logs out.
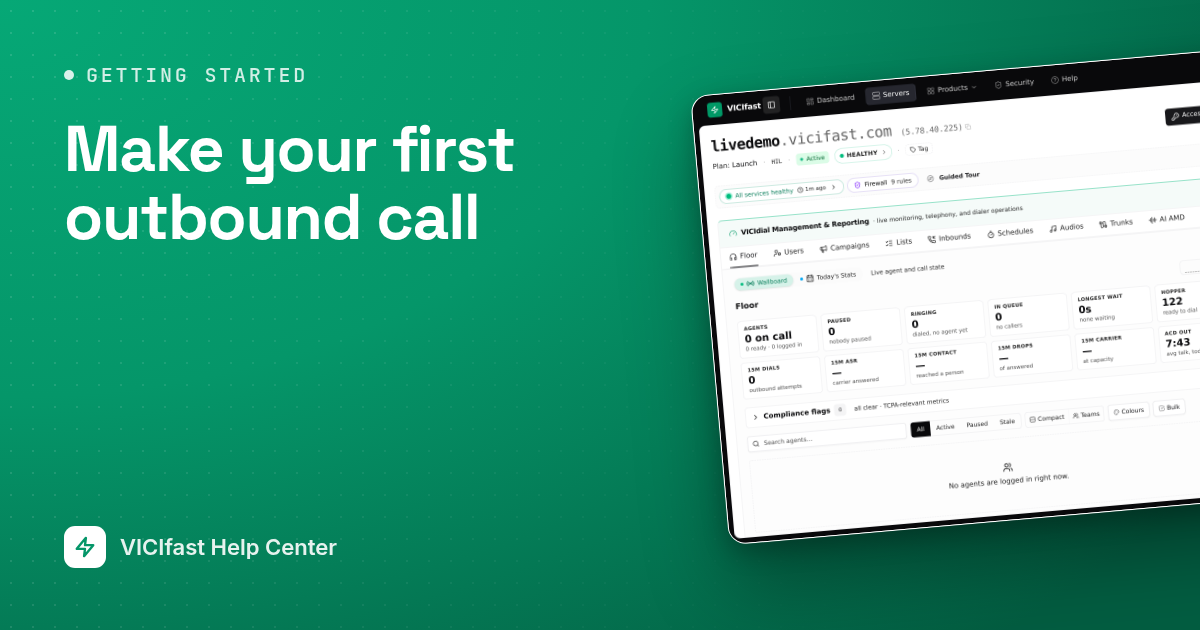
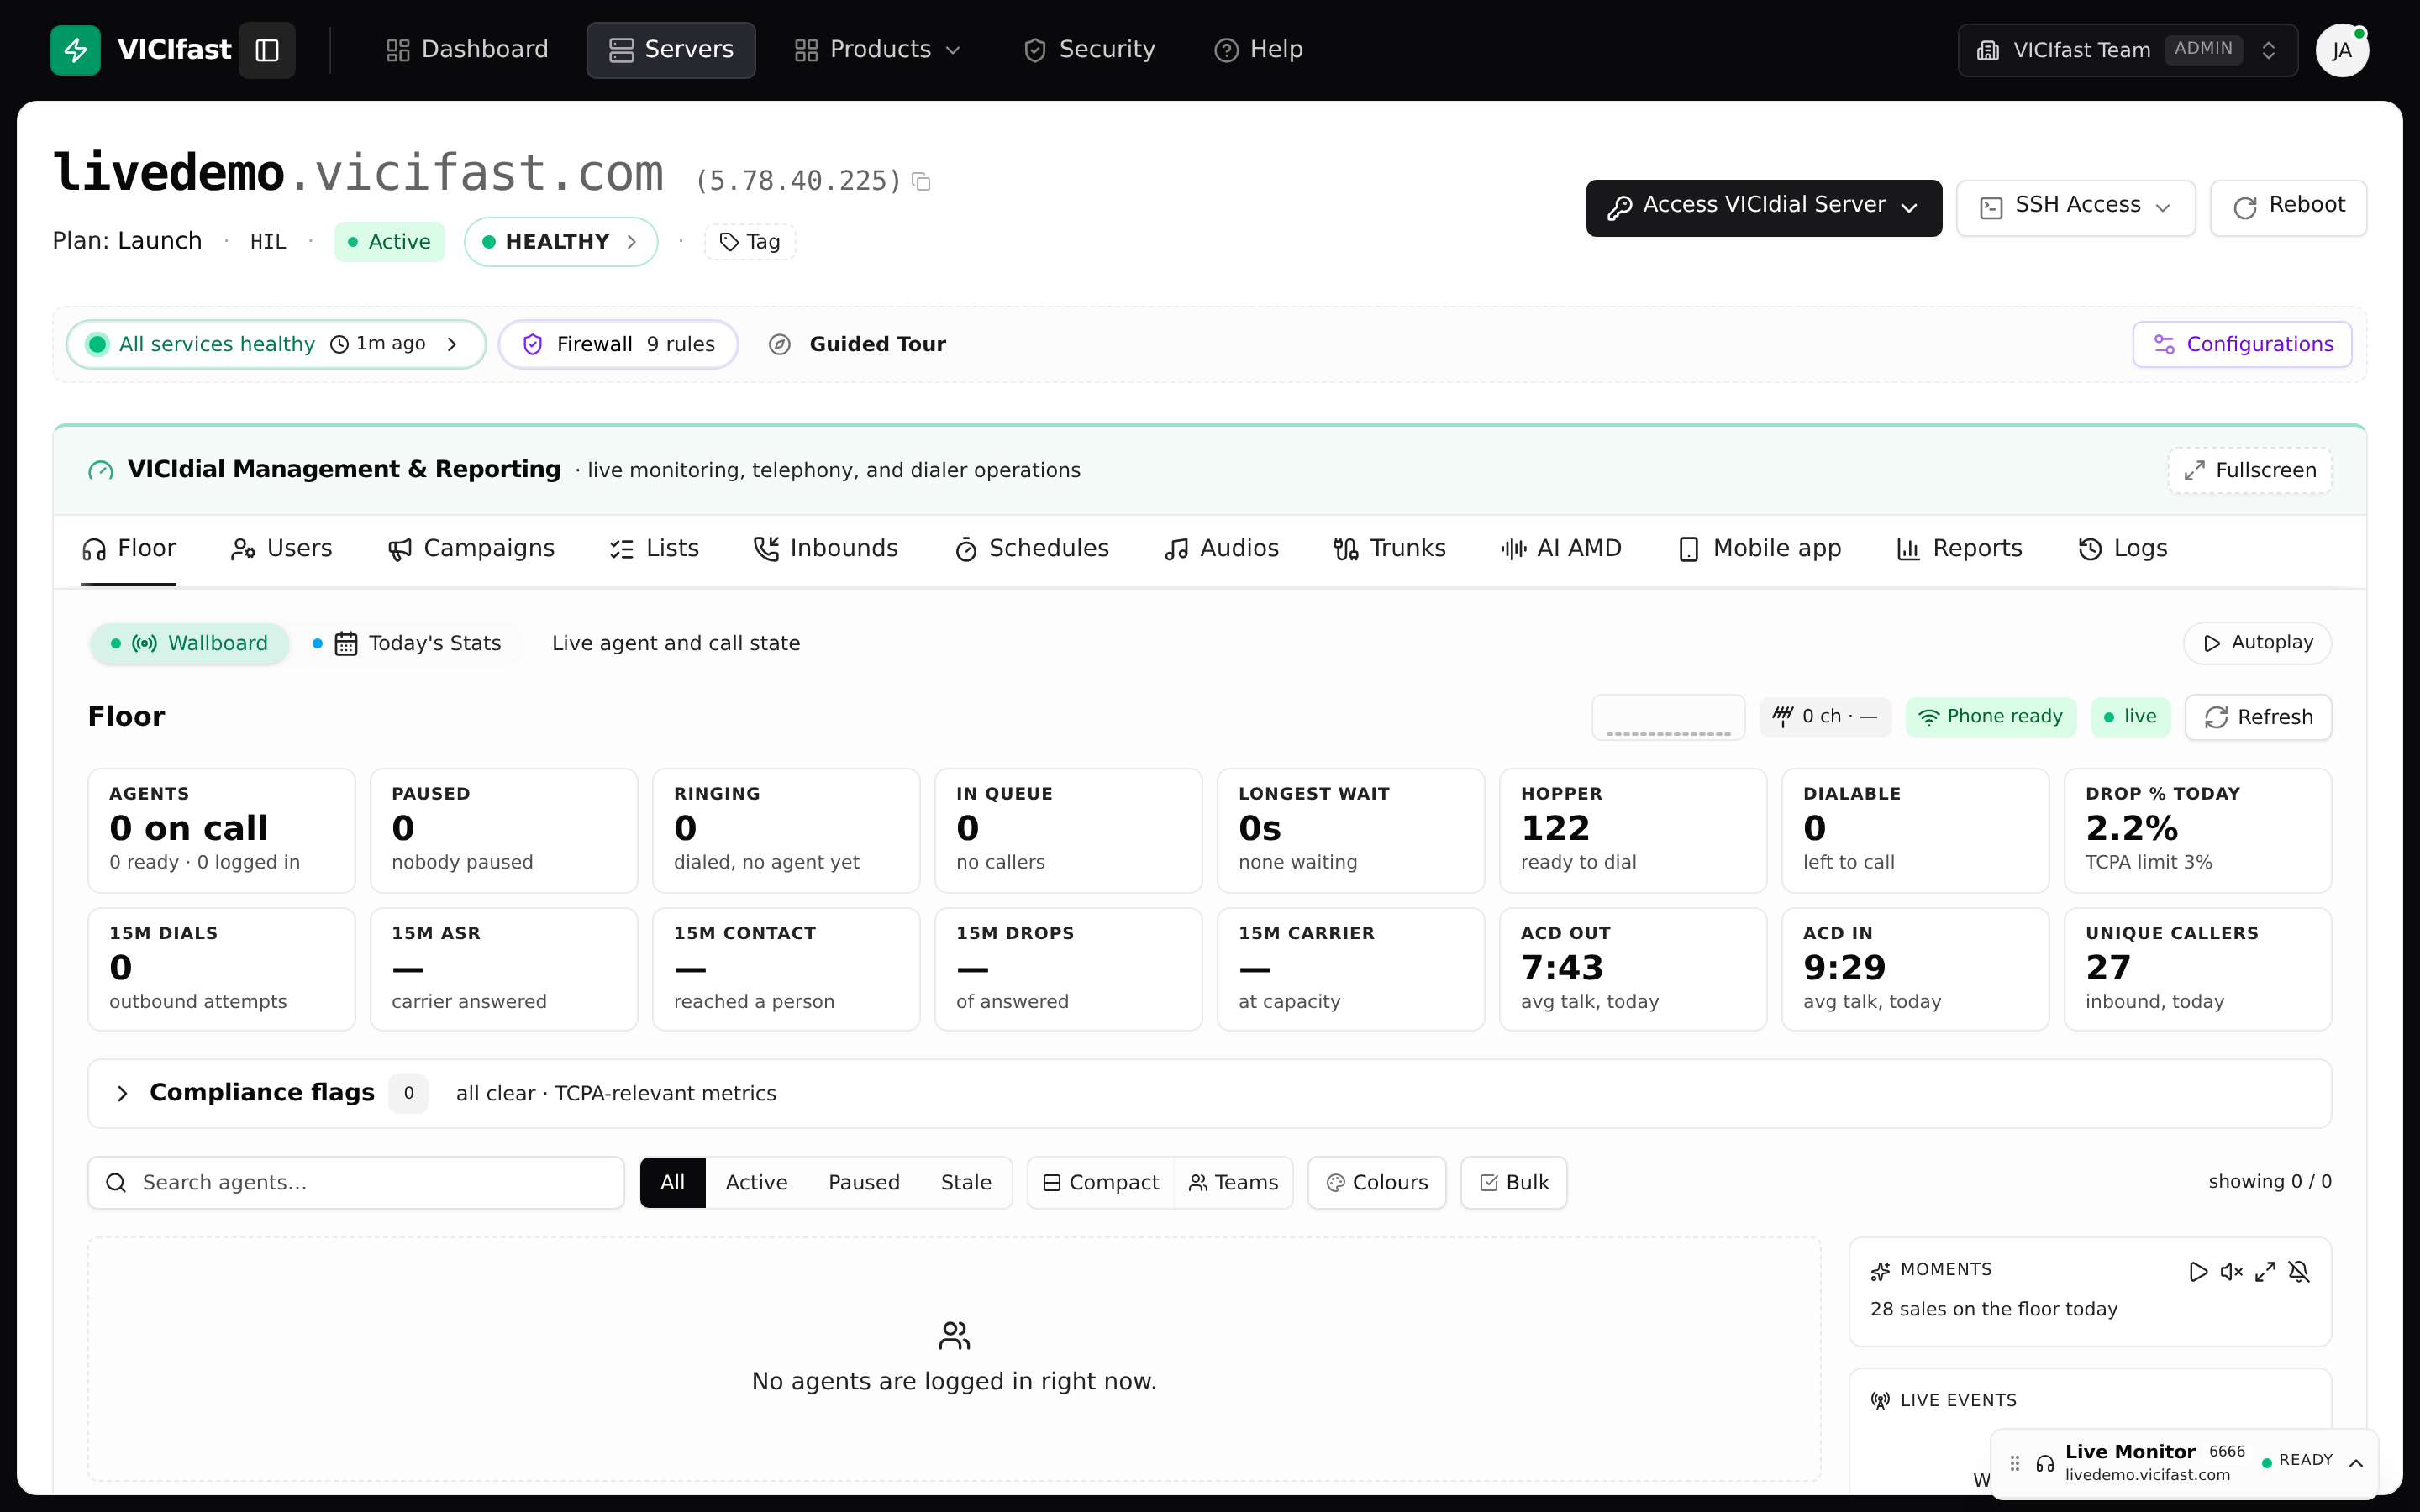
You can watch it happen on the Floor tab. See Taking calls: ready, pause and call results.
Step 7: Check the result
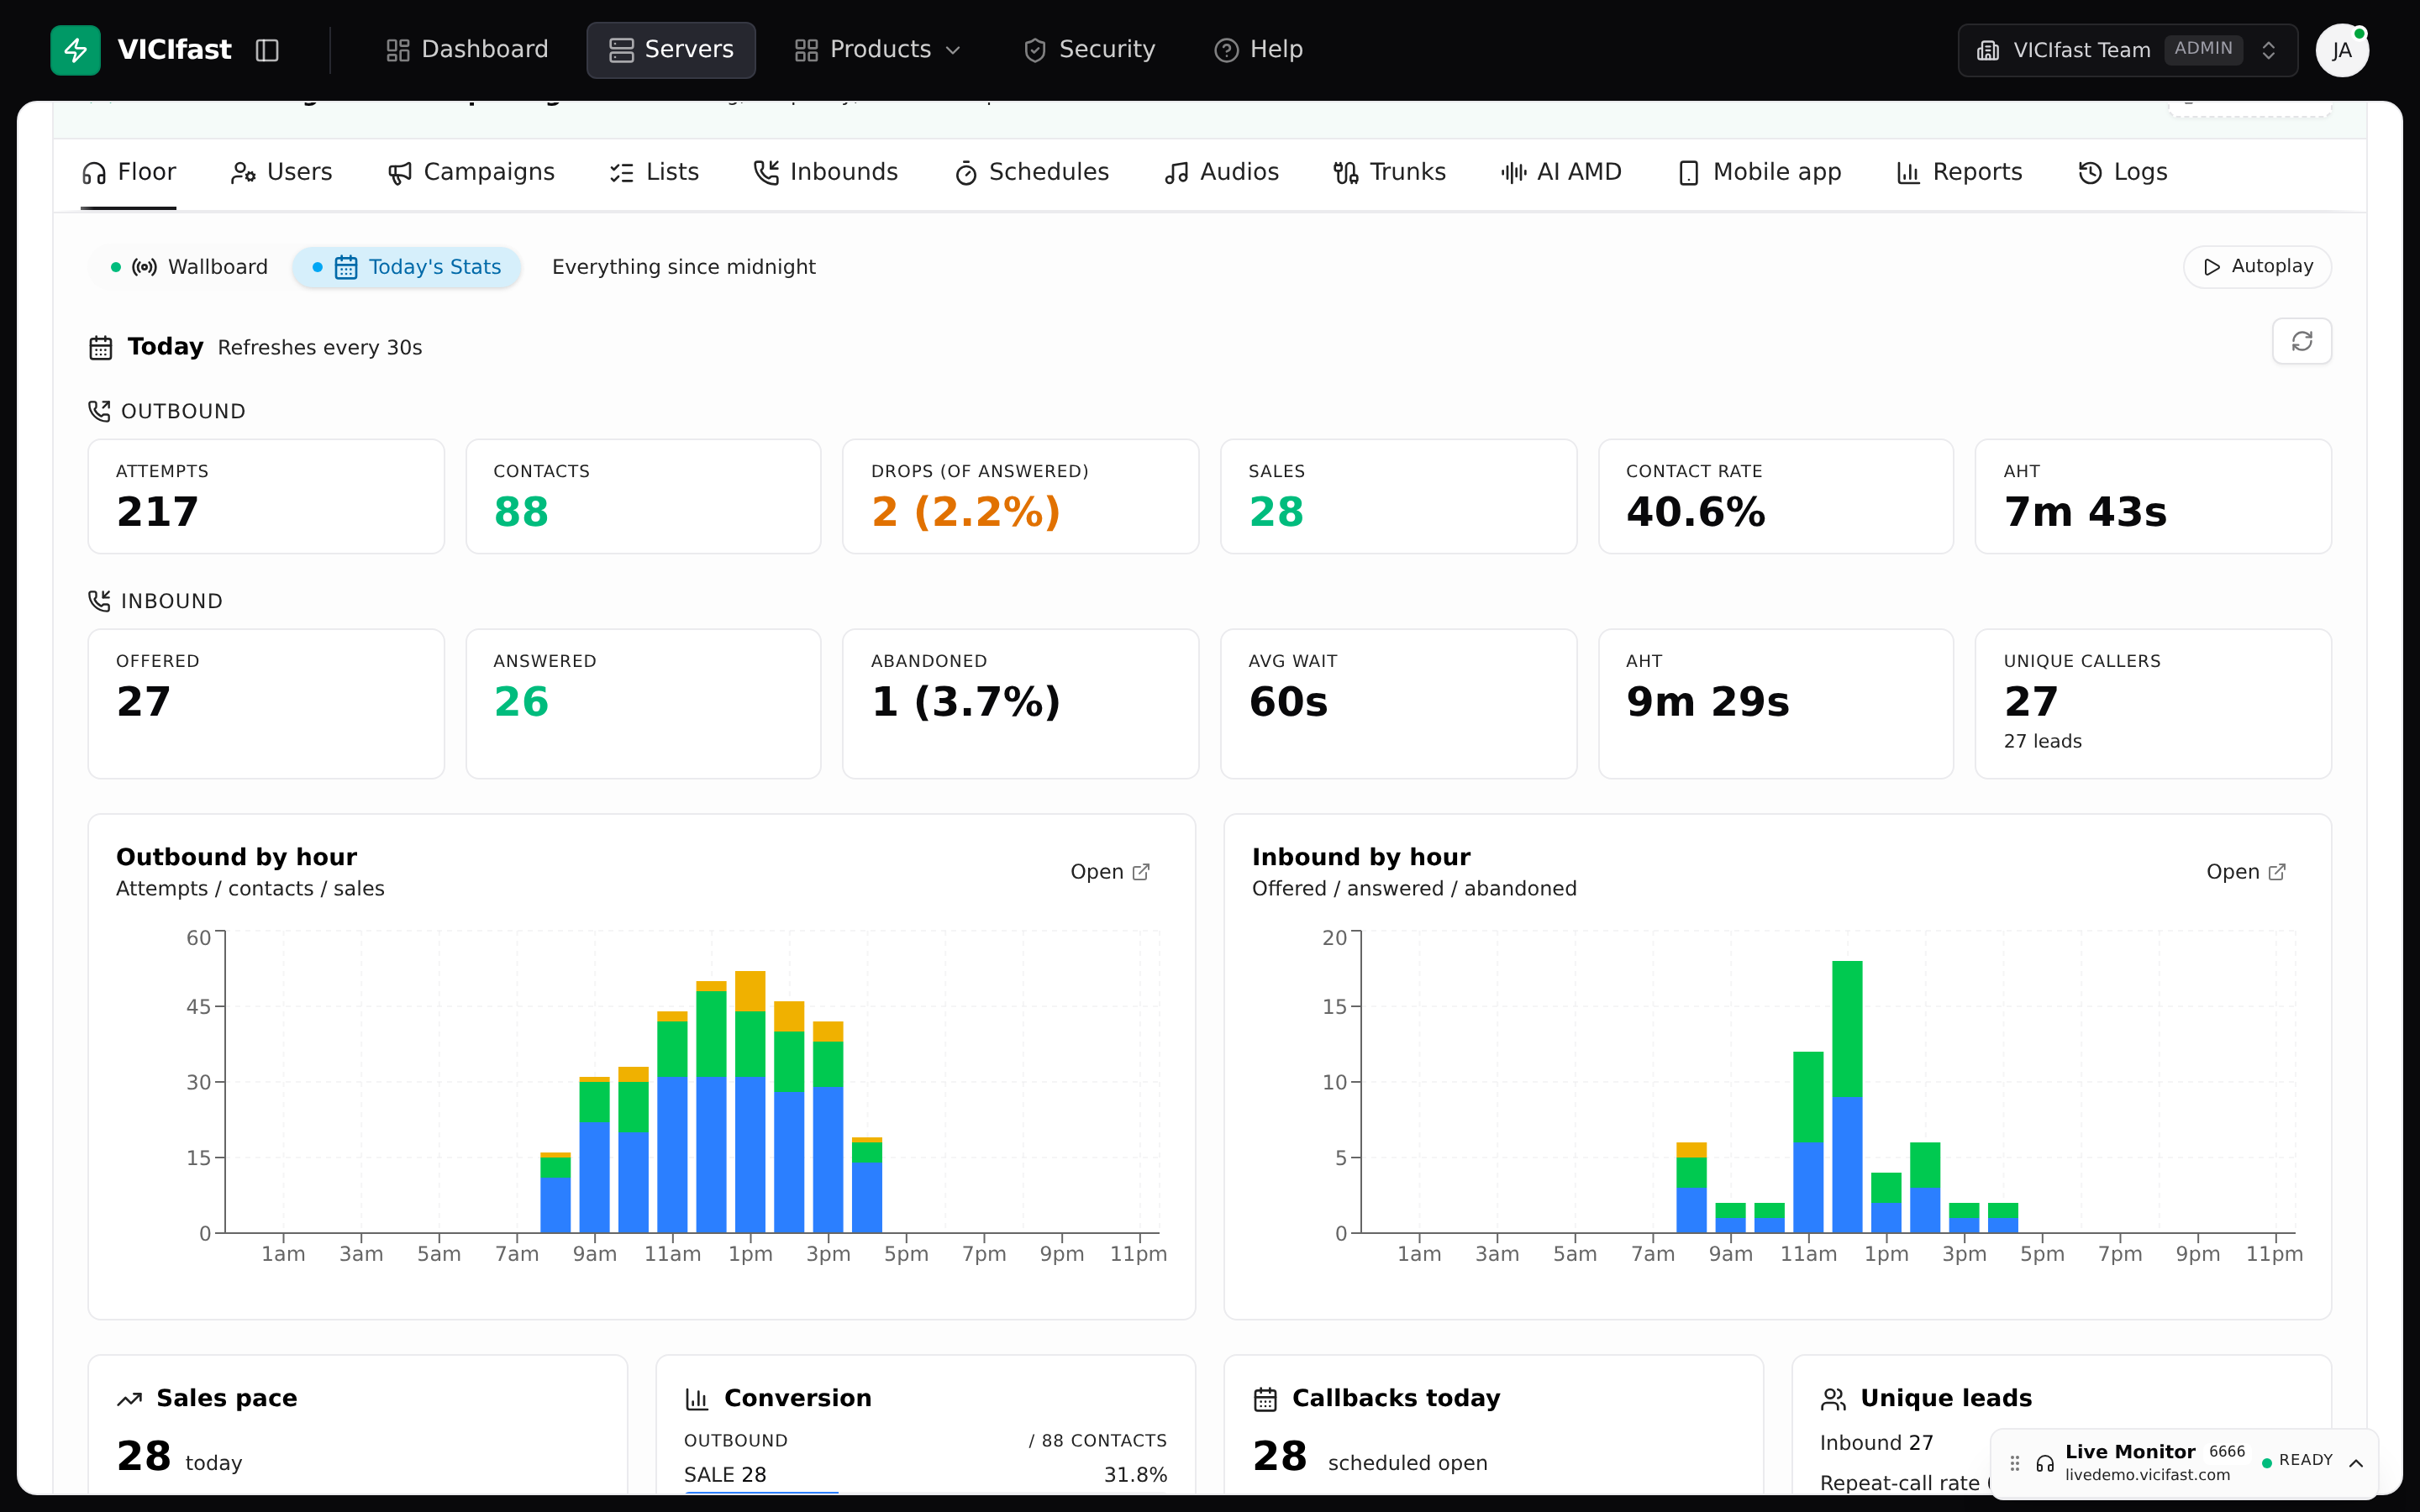
- Click the Floor tab, then Today's Stats for today's numbers.
- For more detail, open the Reports tab. See Reports and agent stats.
If something goes wrong
Frequently asked
- Check, in this order: the agent is signed in and not paused, the list has leads and is switched on for this campaign, the campaign's Status switch is on, and the leads are inside their calling hours. Also look for a red dialing into nothing banner. See My campaign isn't dialing.
- They need to approve their address with your agent link first, and again after changing network. See An agent can't reach the login page.
- Your carrier didn't accept the caller ID you sent. Try a number your carrier allows. See Caller ID and caller ID groups.
- It had no working phone line to call out through. Pick a line on the campaign's Dialing tab, then switch the campaign on in the Campaigns tab.
- Check the agent allowed the microphone. If it still happens, see Calls with no sound or one-way sound.
- That agent's phone isn't linked to their login. On the Users tab, click Fix Autologin on the banner that says the phone autologin is broken.