Connect your own SIP carrier
Add your own carrier as a phone line on the Trunks tab, test it, and send campaigns through it.
Advanced · 6 min read
A phone line (trunk) connects your dialer to the phone network. If you buy calling from your own carrier, such as Twilio or Telnyx, you add their details on the Trunks tab and your campaigns can call through them. If you use VICIfast Voice, its line is set up for you: see VICIfast Voice instead.
What you need
- You are the account owner, or a team member whose role can make changes, with the Trunks tab and Server settings ticked on the Members page. Writing your own dialplan or SIP settings also needs SSH and terminal.
- From your carrier's portal: the SIP address (a hostname or IP), and how they recognise you: a username and password, or your server's IP address.
- If your carrier checks your IP address, add your server's IP on their side first. See Your server's IP address.
Step 1: Open the Trunks tab
- Click My Servers in the sidebar, then click your server.
- Click the Trunks tab.
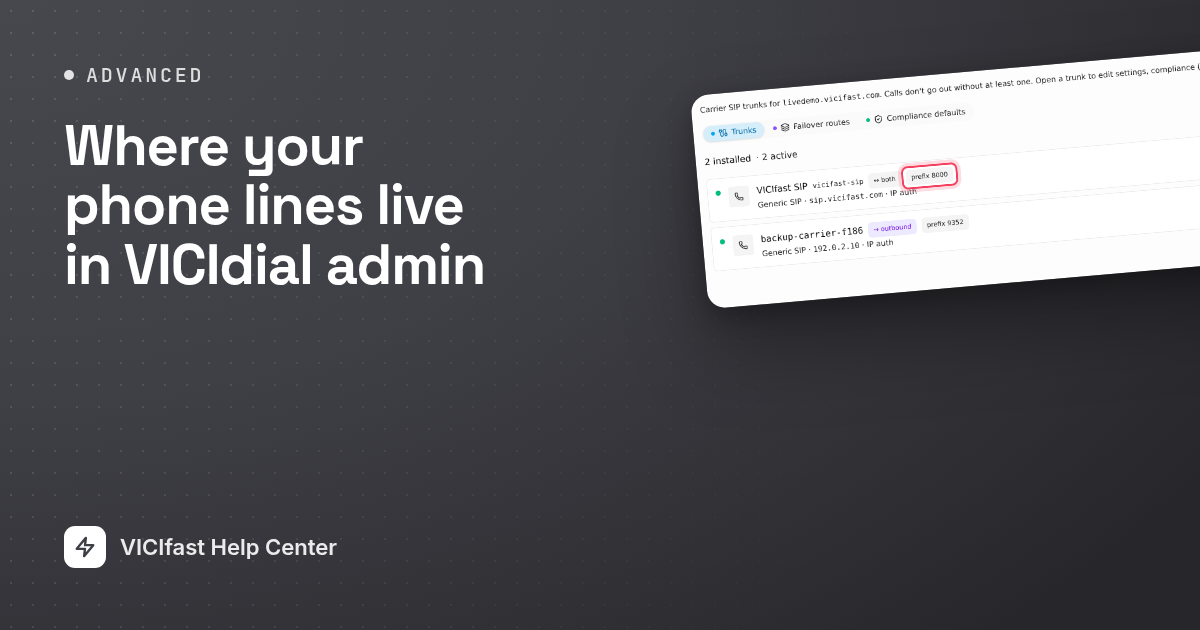
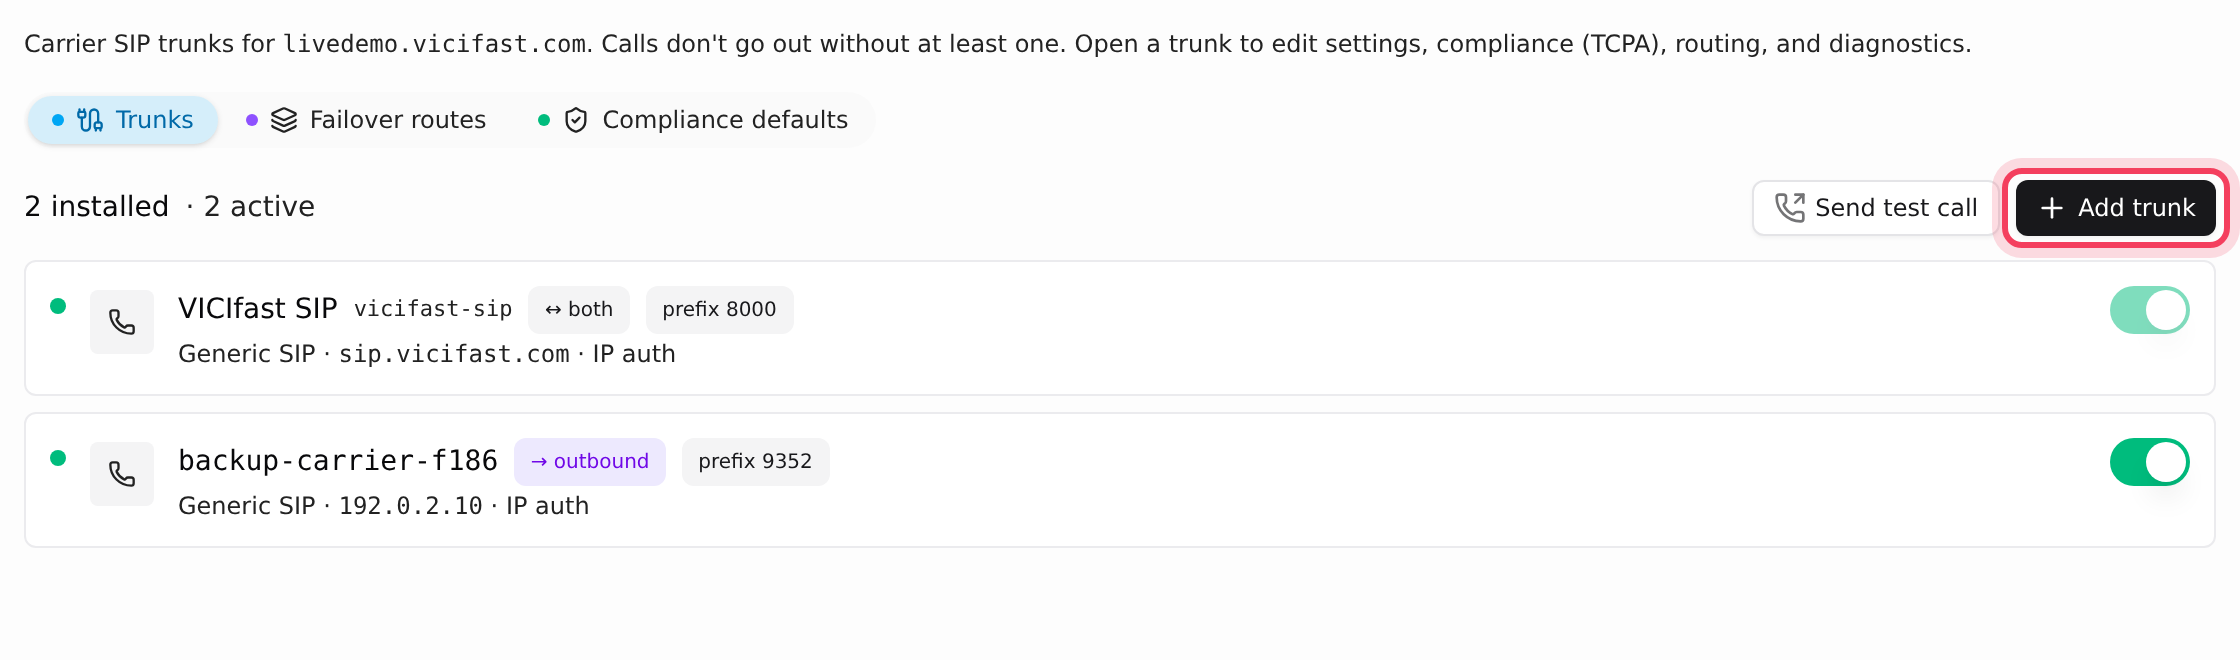
- You see three buttons at the top: Trunks (your lines), Failover routes (try several lines in order) and Compliance defaults (TCPA scrubbing for every line).
Step 2: Pick your carrier
- Click Add trunk. The Add SIP trunk panel opens.
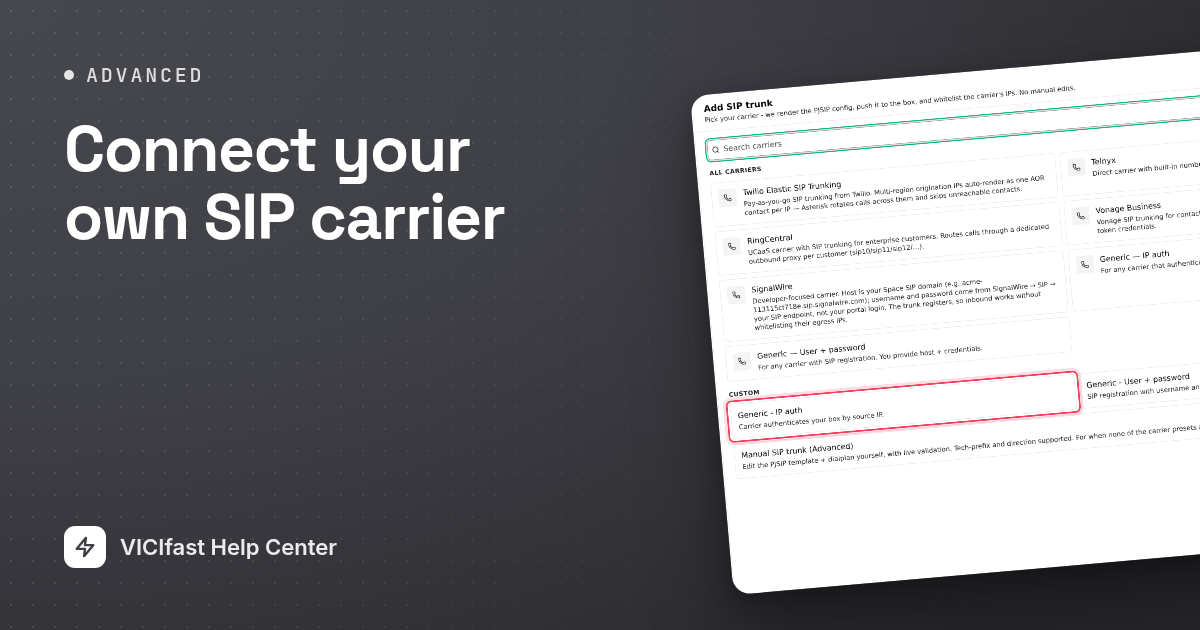
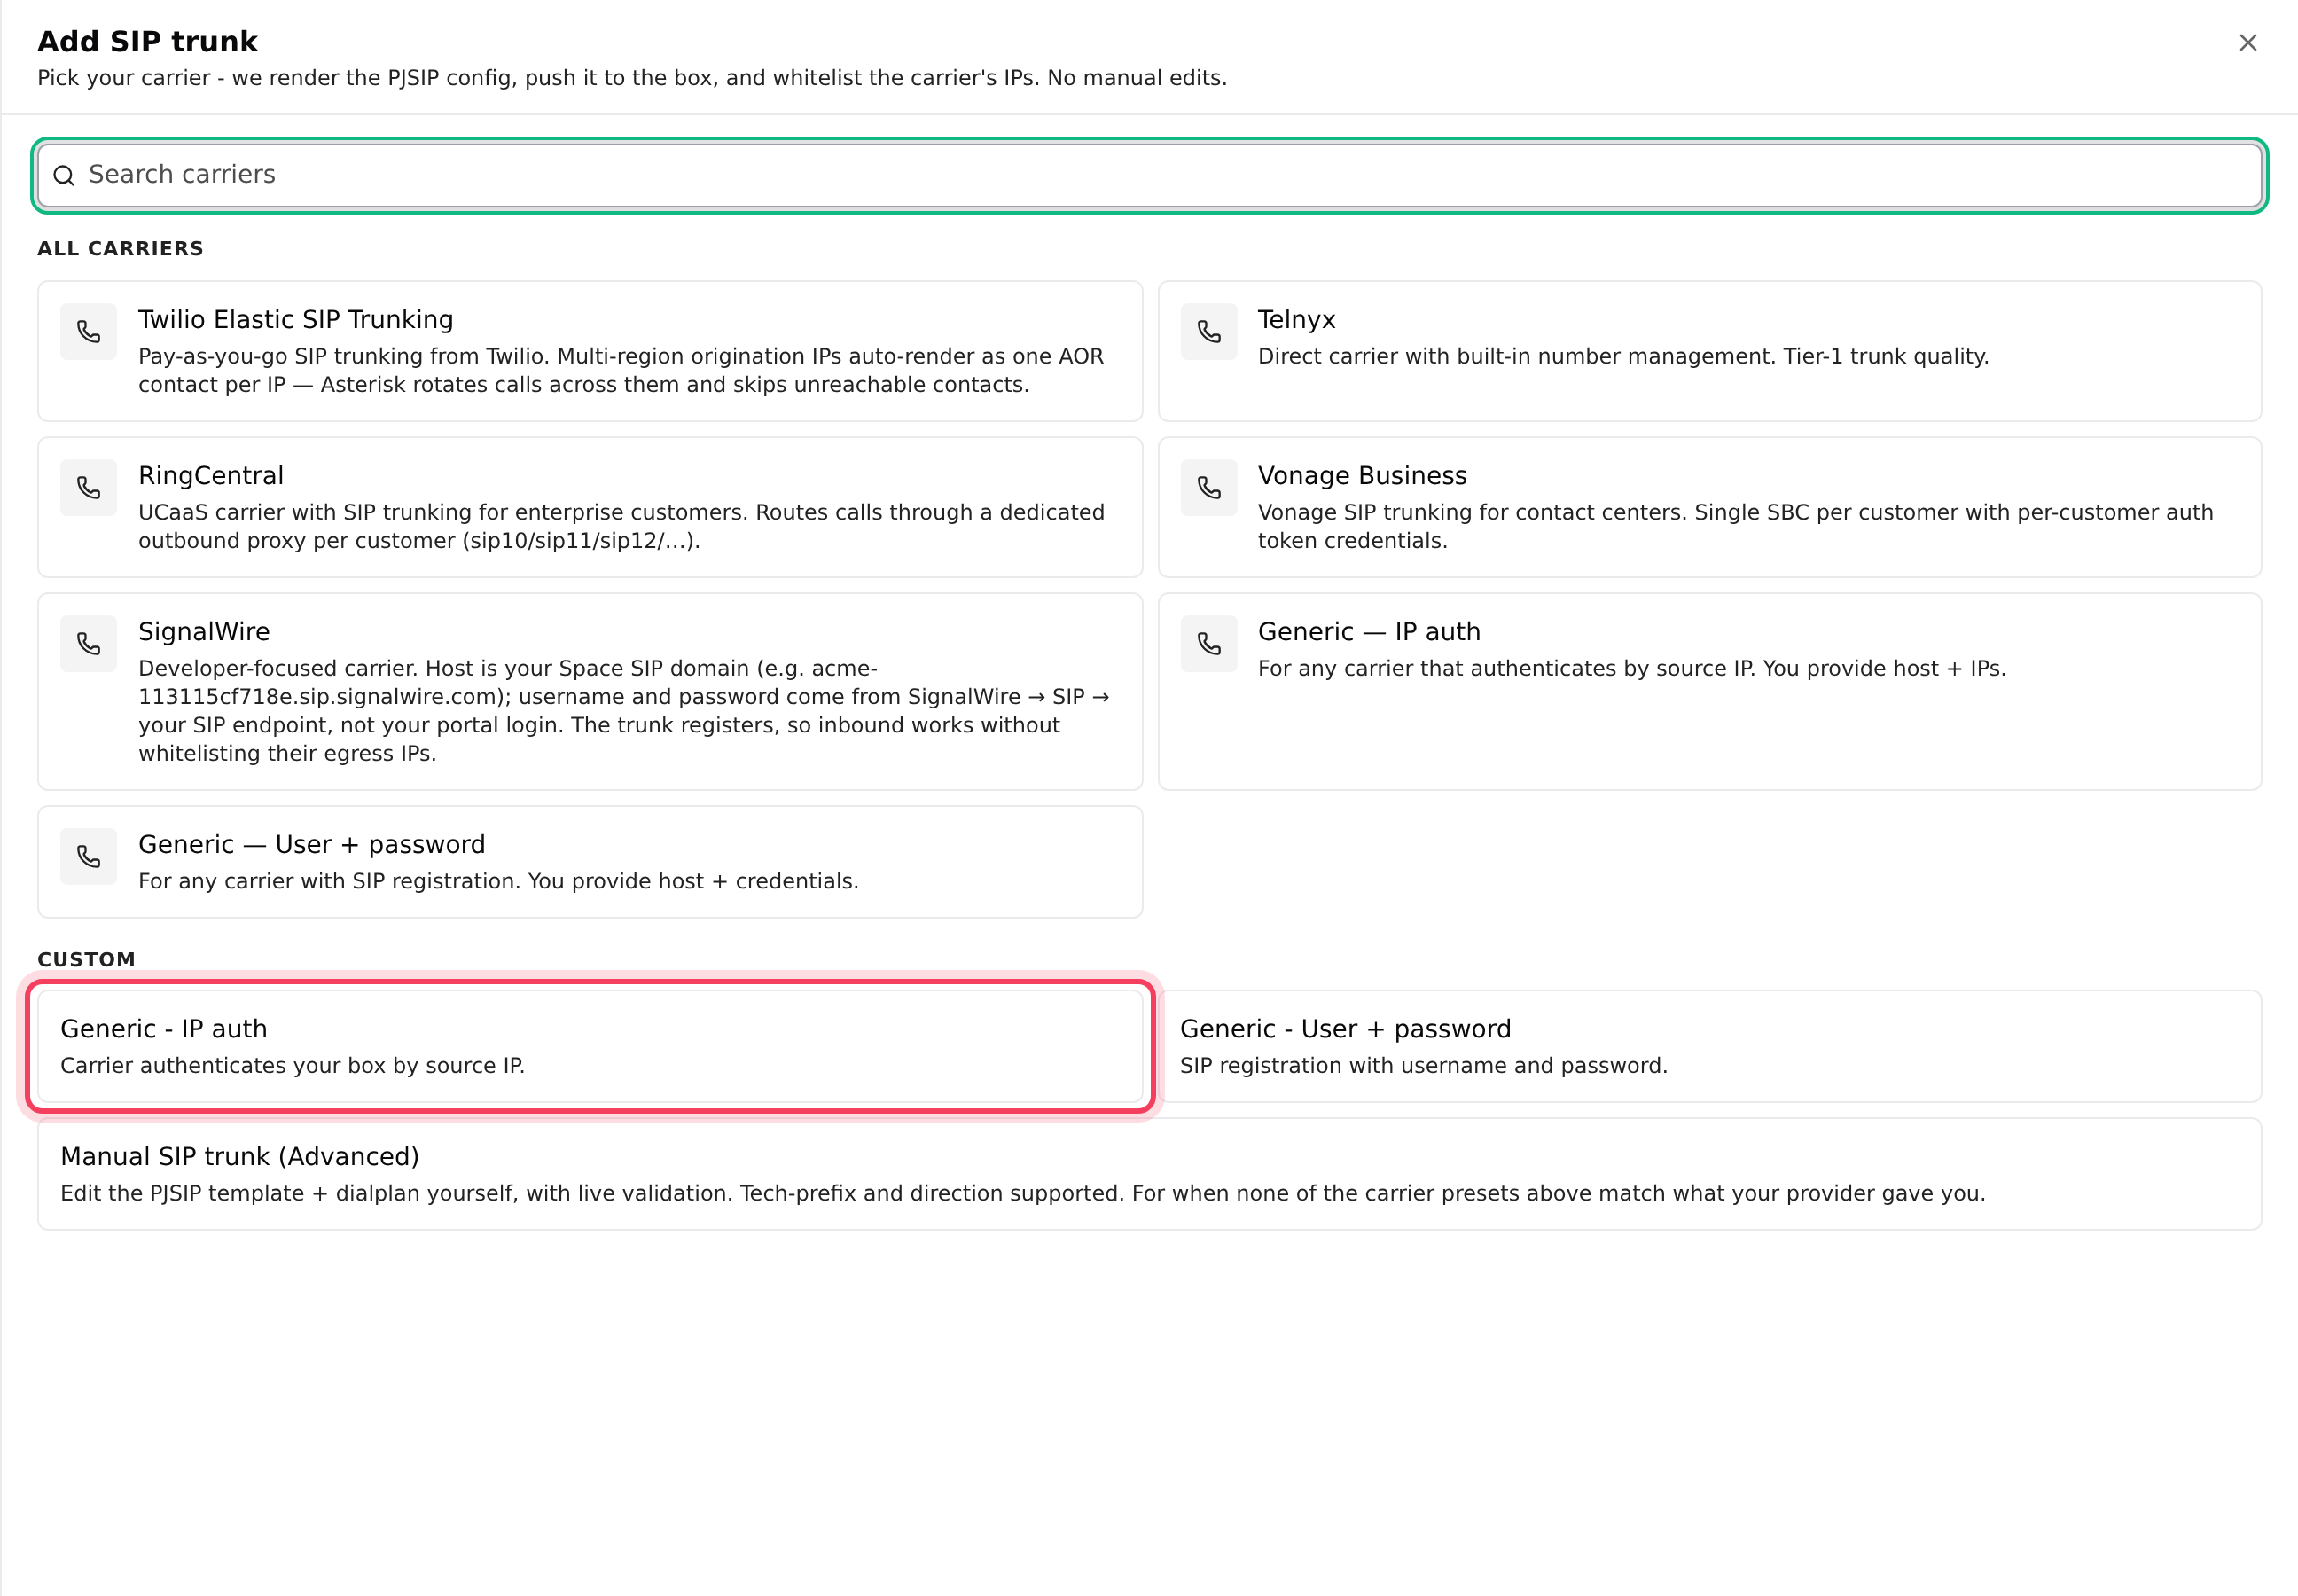
- Find your carrier with Search carriers, or pick it from the list. Ready-made templates exist for carriers such as Twilio Elastic SIP Trunking, Telnyx, RingCentral, Vonage Business and SignalWire. They already know each carrier's settings and addresses.
- Carrier not listed? Under Custom, pick Generic - IP auth if the carrier recognises your server by its IP, or Generic - User + password if they gave you a username and password.
- Only if your carrier gave you exact settings to paste: Manual SIP trunk (Advanced).
Step 3: Fill in the form
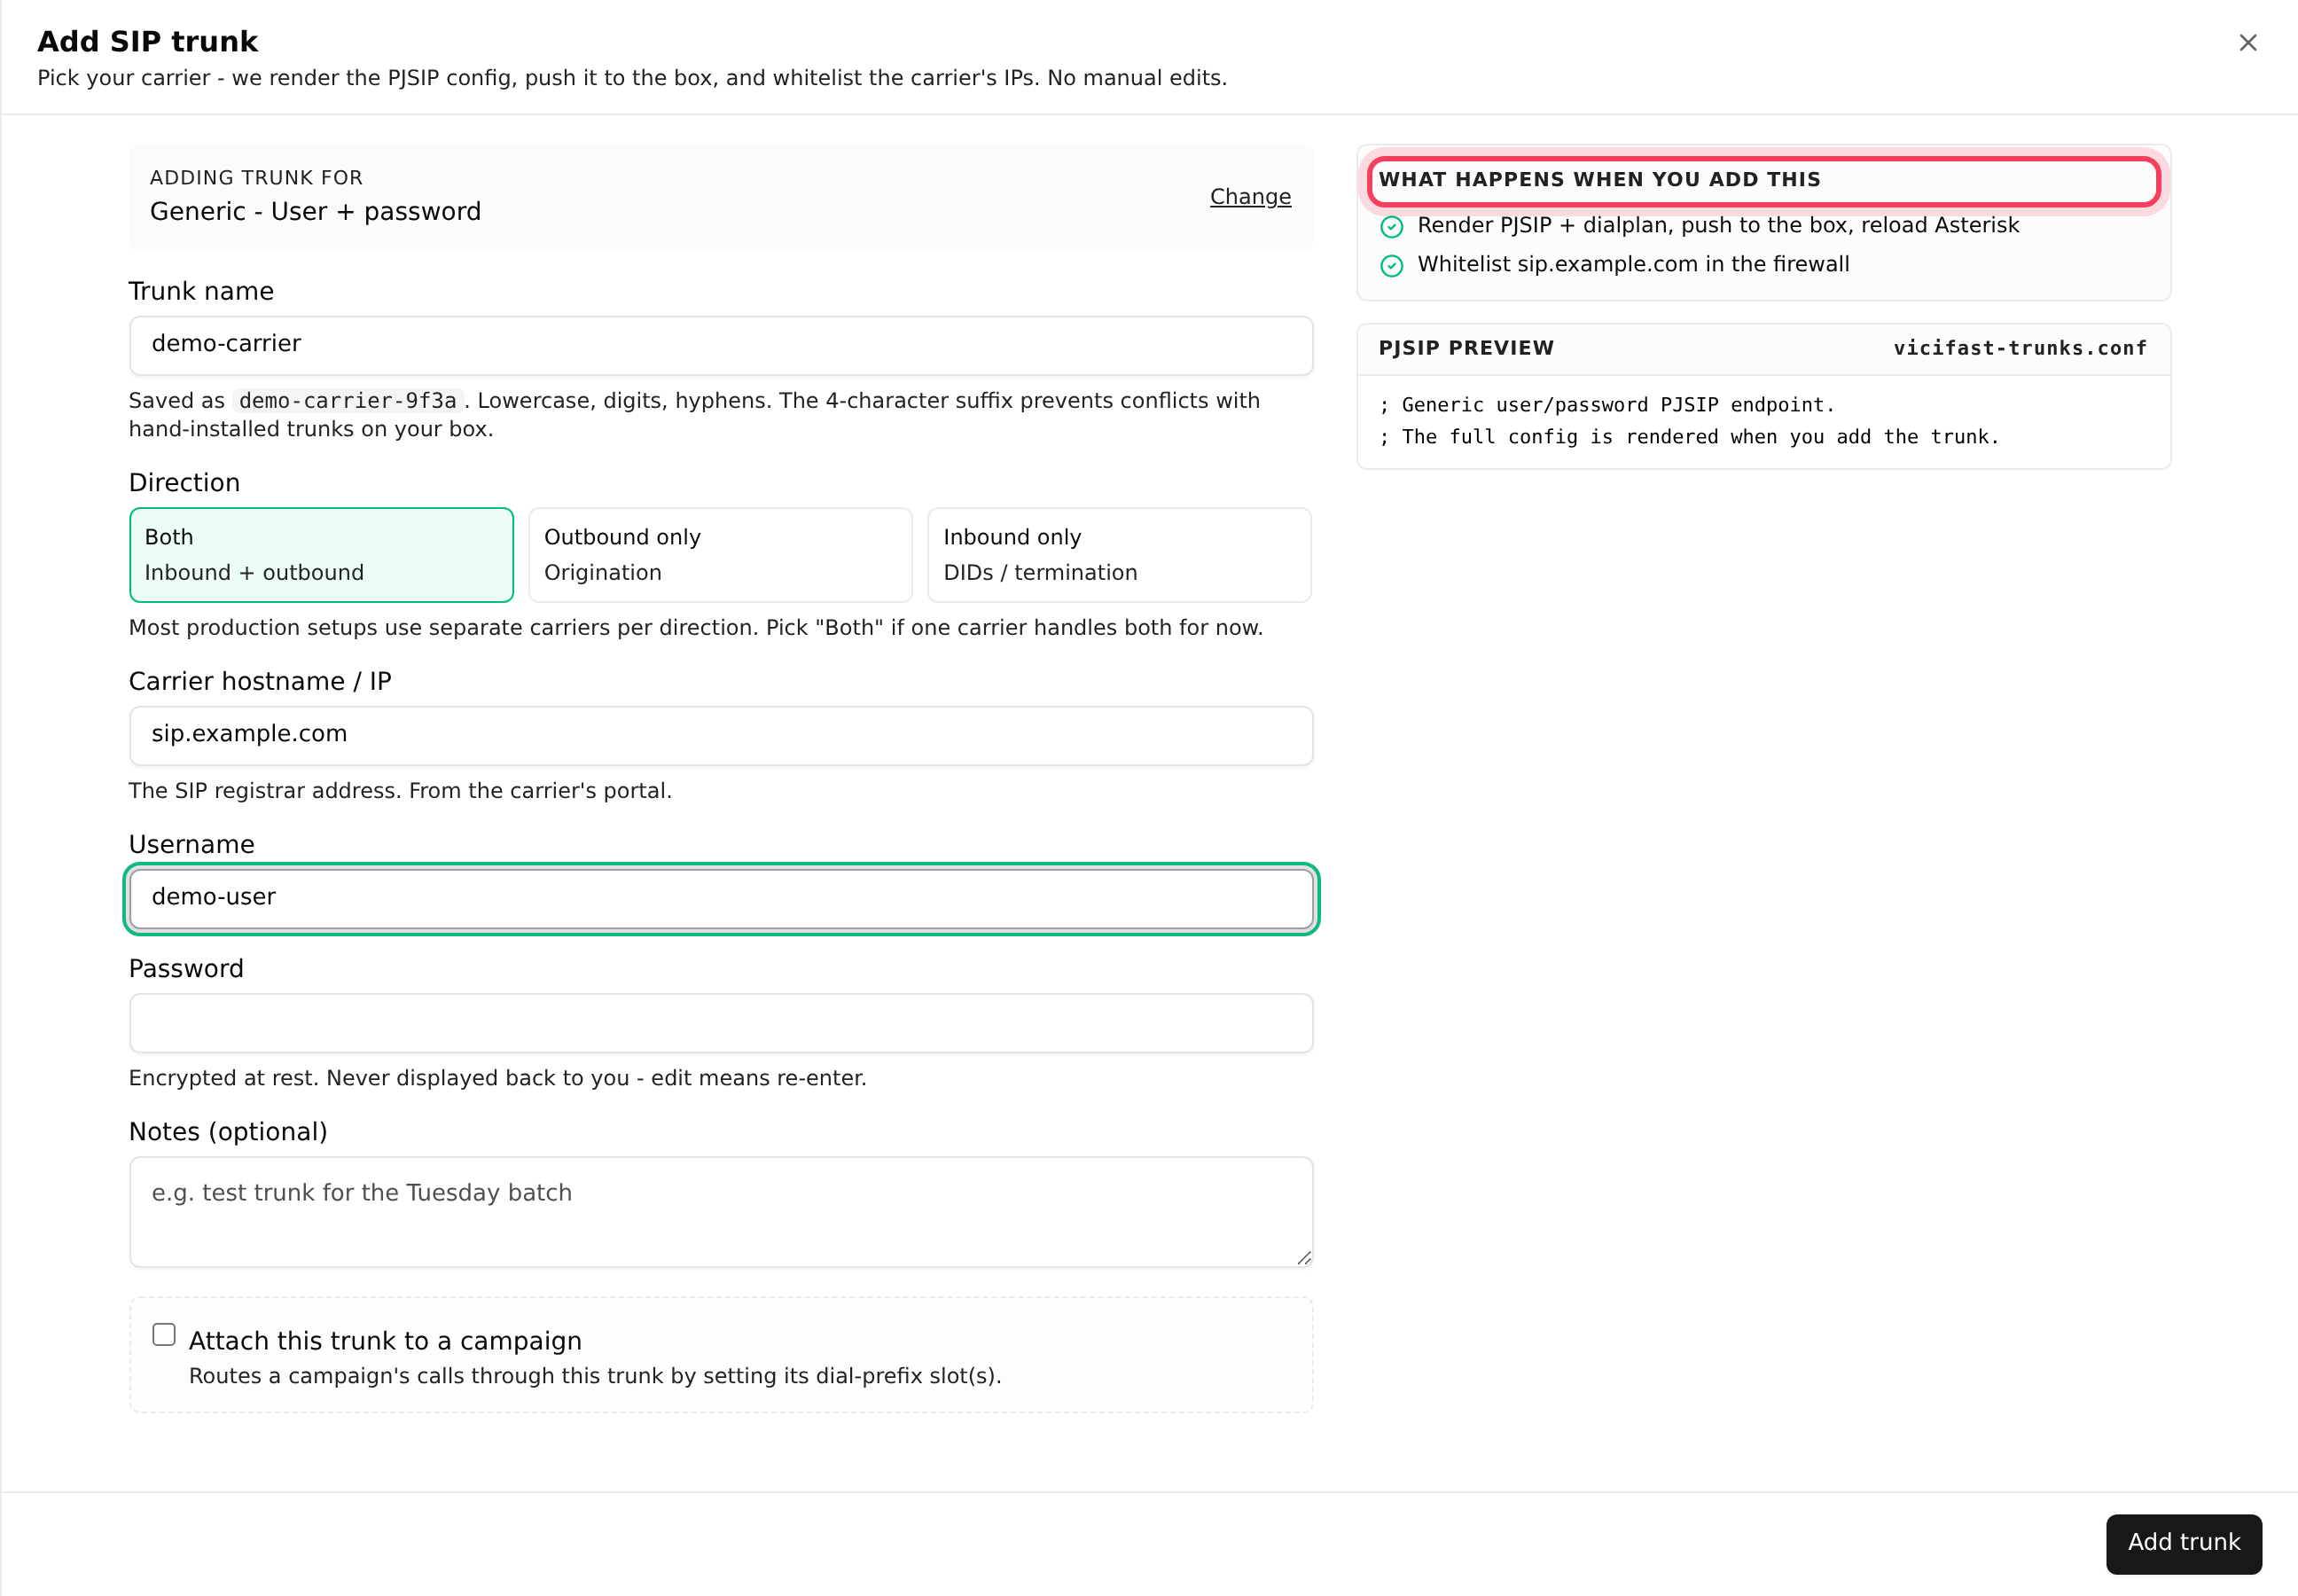
- Trunk name: lowercase letters, digits and hyphens. It is saved with a short 4-character ending so it never clashes with anything else on your server.
- Direction: Both, Outbound only or Inbound only. Some carriers lock this for you.
- Carrier hostname / IP: copy it from your carrier's portal.
- Username and Password, for carriers that use them. The password is encrypted and never shown again. To change it later, you type it again.
- Any extra fields your carrier needs. RingCentral, for example, also asks for Phone Number and Outbound proxy.
- Optional: tick Attach this trunk to a campaign, choose the Campaign, and under Use this trunk for tick Auto dial, Manual dial and/or 3-way transfer.
- Check What happens when you add this on the right, then click Add trunk.
Step 4: Wait for it to go live
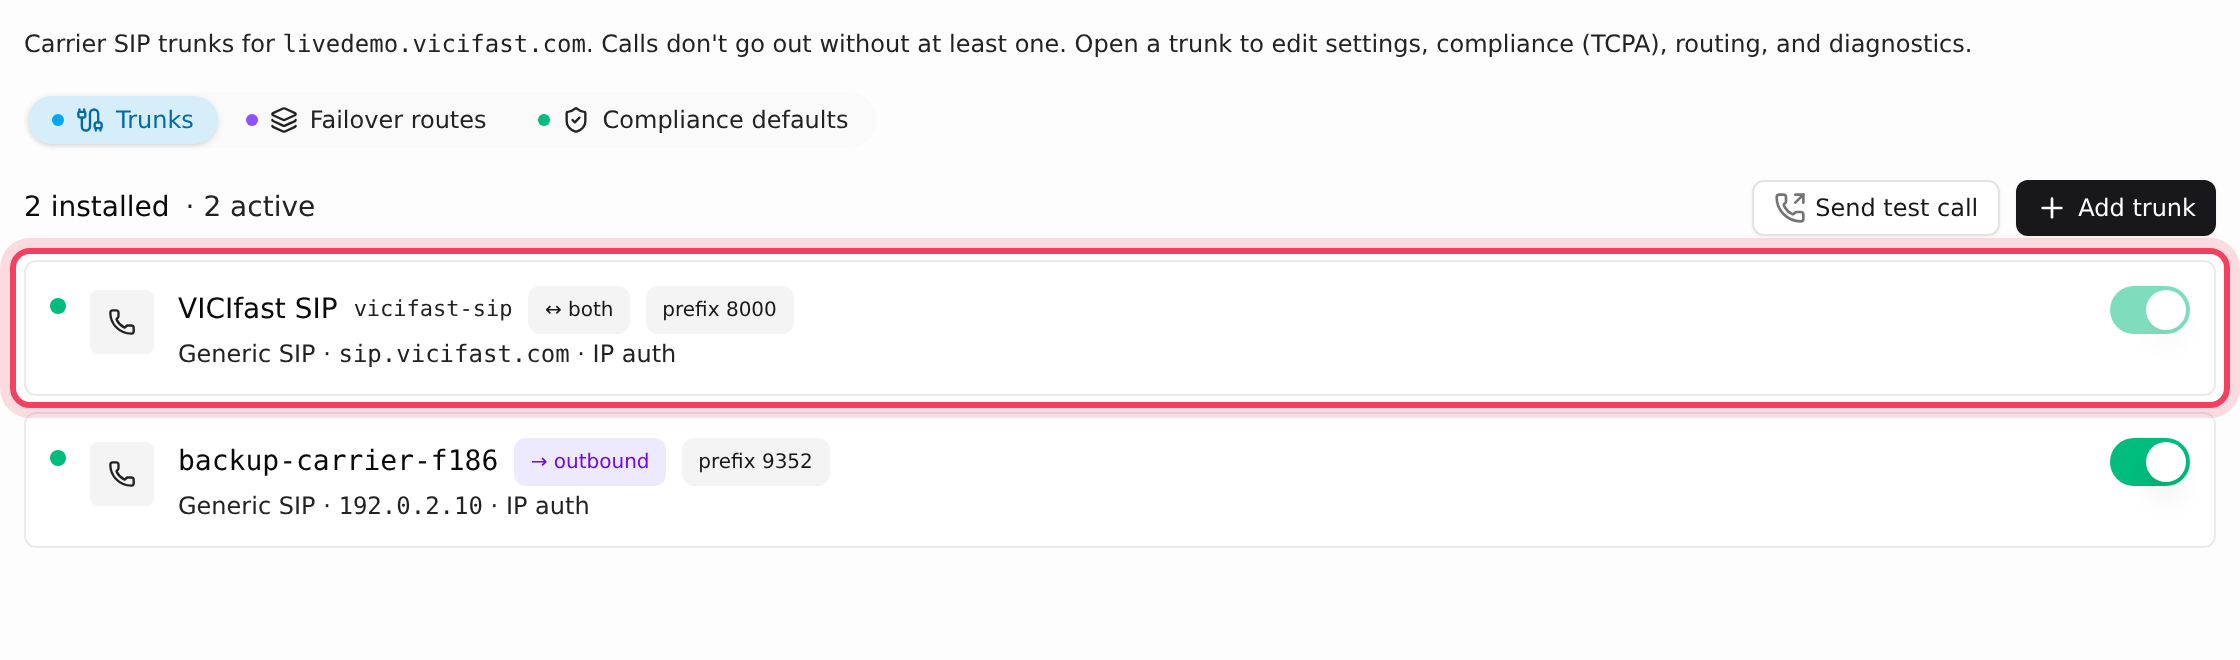
- The new line shows Installing or Applying…, usually for well under a minute.
- A green dot next to its name means it is active. The row also shows its 4-digit prefix, for example "prefix 9123".
- If it shows Failed, the reason appears in red under the name. Fix the cause, then click Retry.
Step 5: Test it
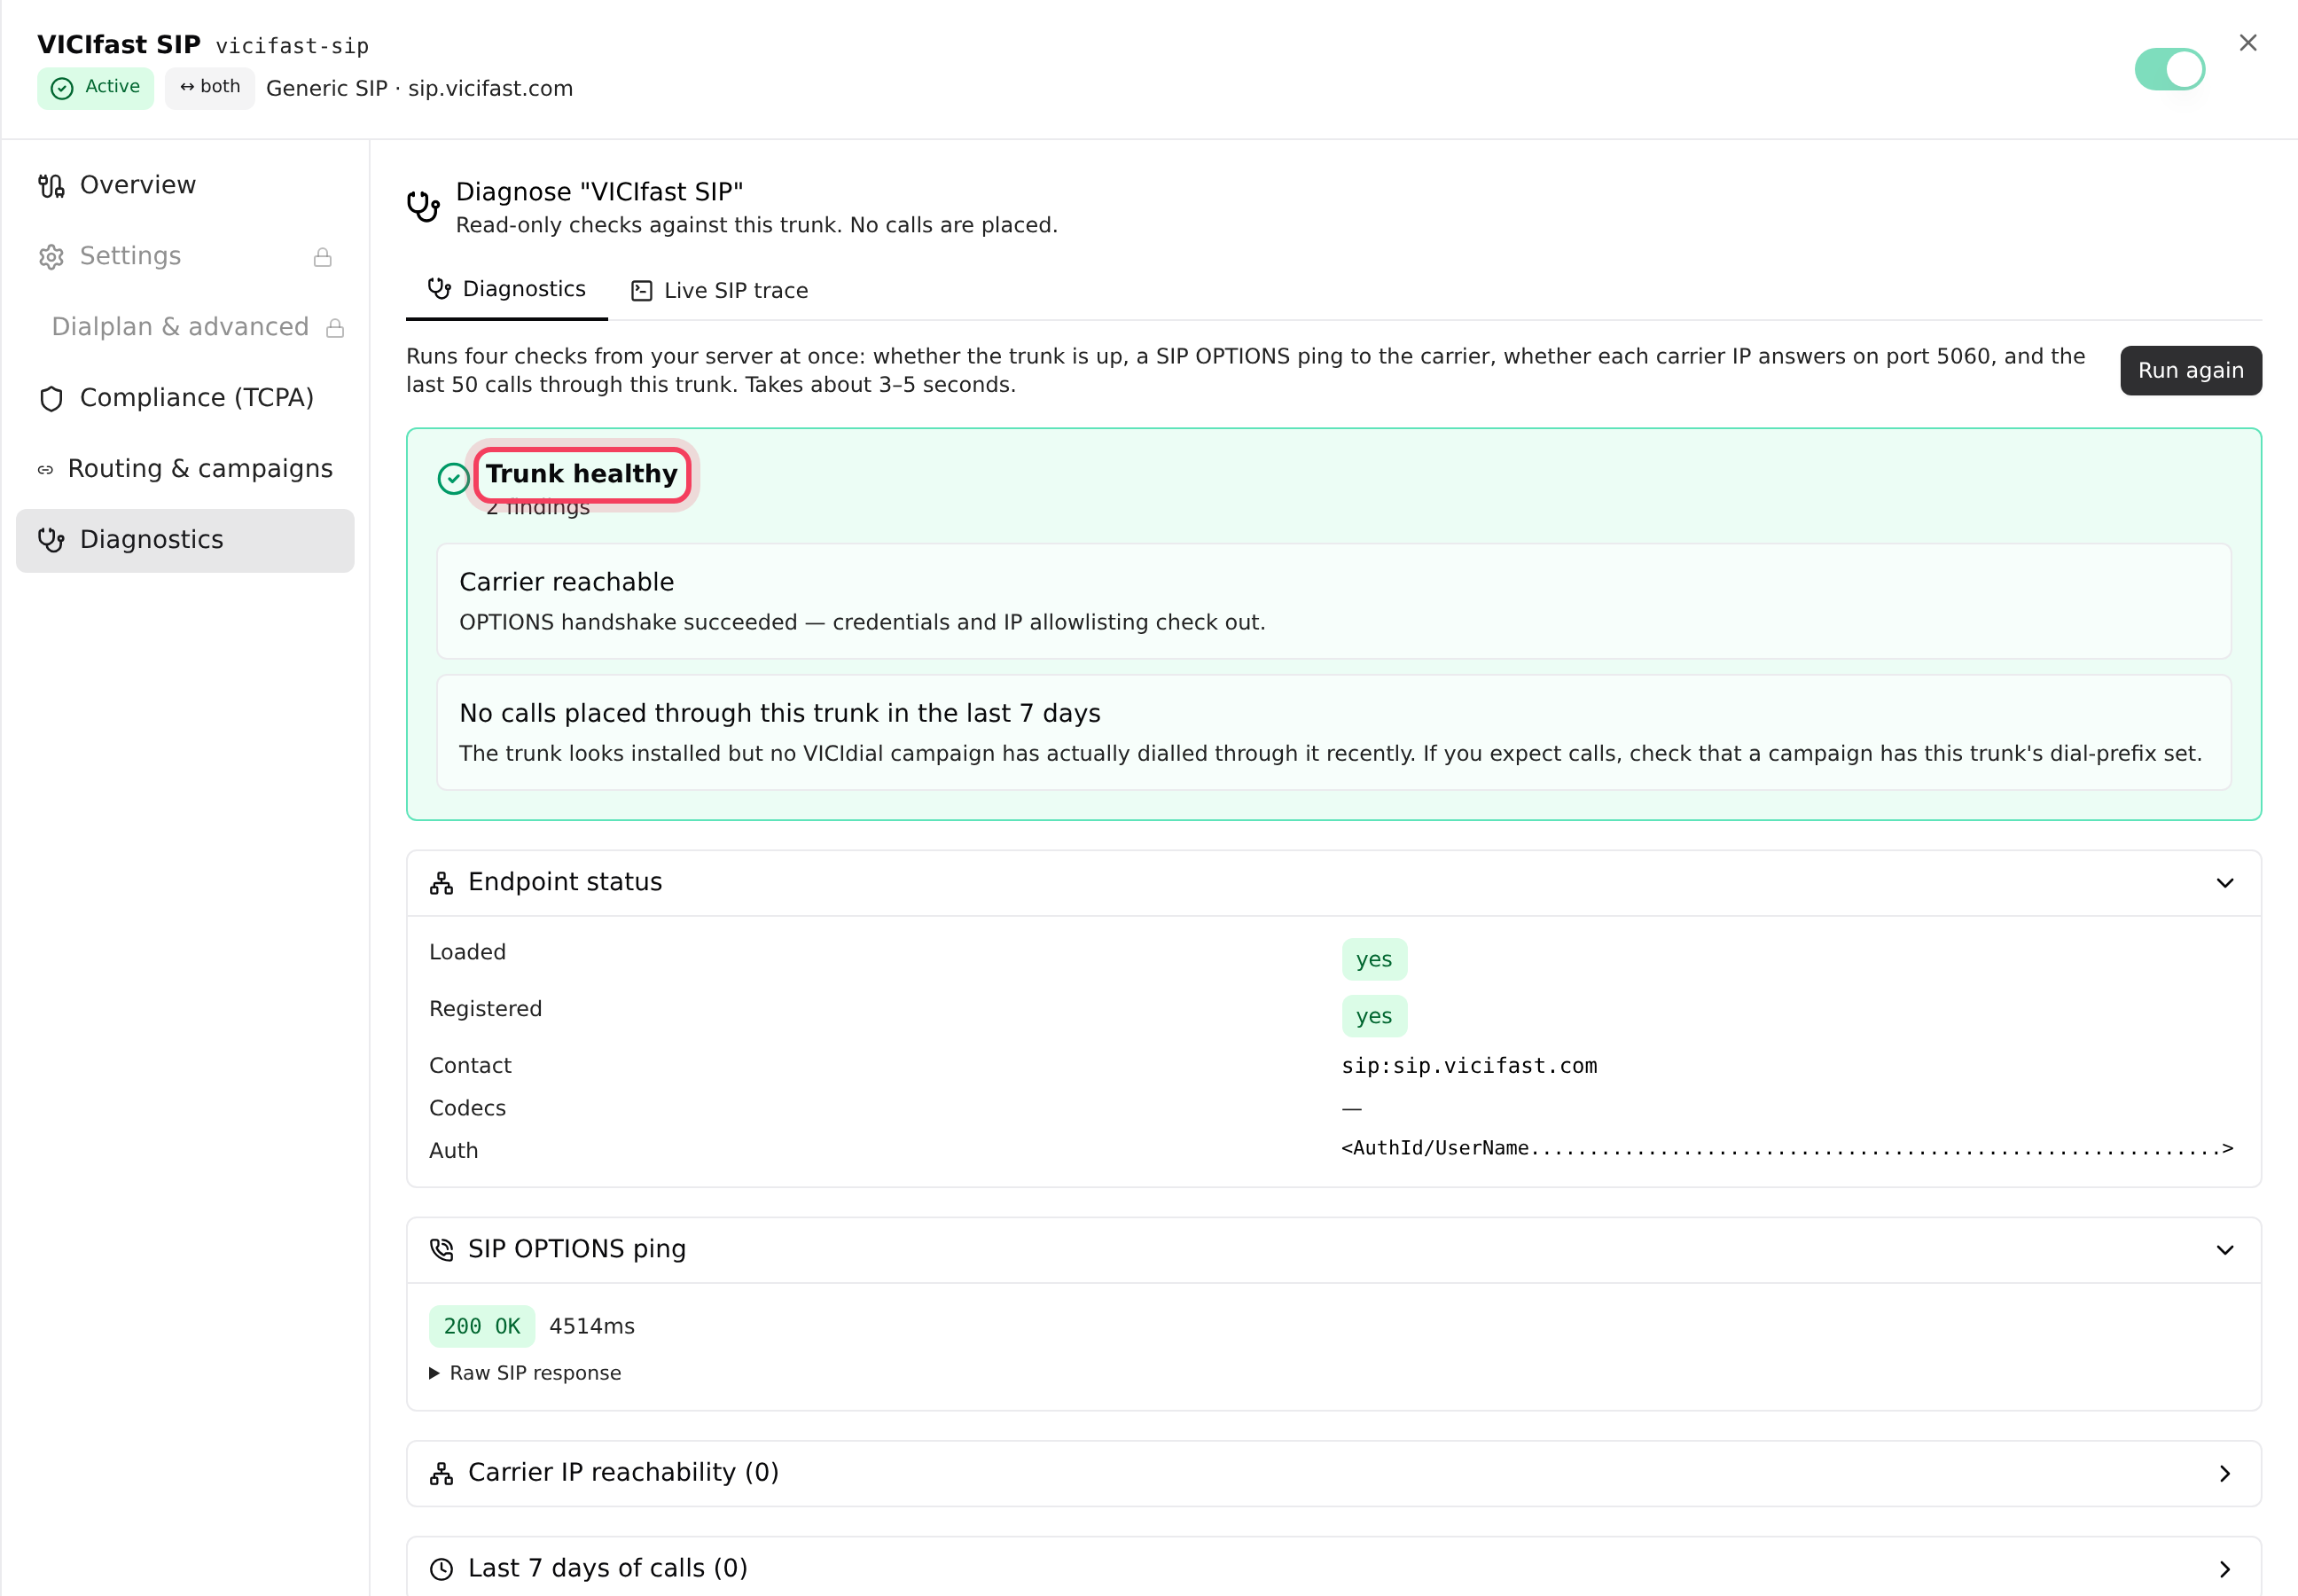
- Click the line's row. A panel opens with Overview, Settings, Dialplan & advanced, Compliance (TCPA), Routing & campaigns and Diagnostics.
- Click Diagnostics, then Run diagnostics. It takes about 3 to 5 seconds and places no calls. You get Endpoint status, SIP OPTIONS ping, Carrier IP reachability and Last 7 days of calls, with a plain-language verdict and a What to do line when something is wrong.
- To hear a real call, close the panel and click Send test call on the Trunks tab. Pick the Trunk, enter a Caller ID to present and a Number to call, then click Place the call.
- Your carrier's support asking for a trace? In Diagnostics, use Live SIP trace for 10, 30 or 60 seconds, then Copy trace and send it to them.
Step 6: Send campaigns through it
- In the line's panel, click Routing & campaigns.
- Tick the campaigns that should dial through this line. Ticking a campaign that uses another line moves it here.
- Click Apply routing.
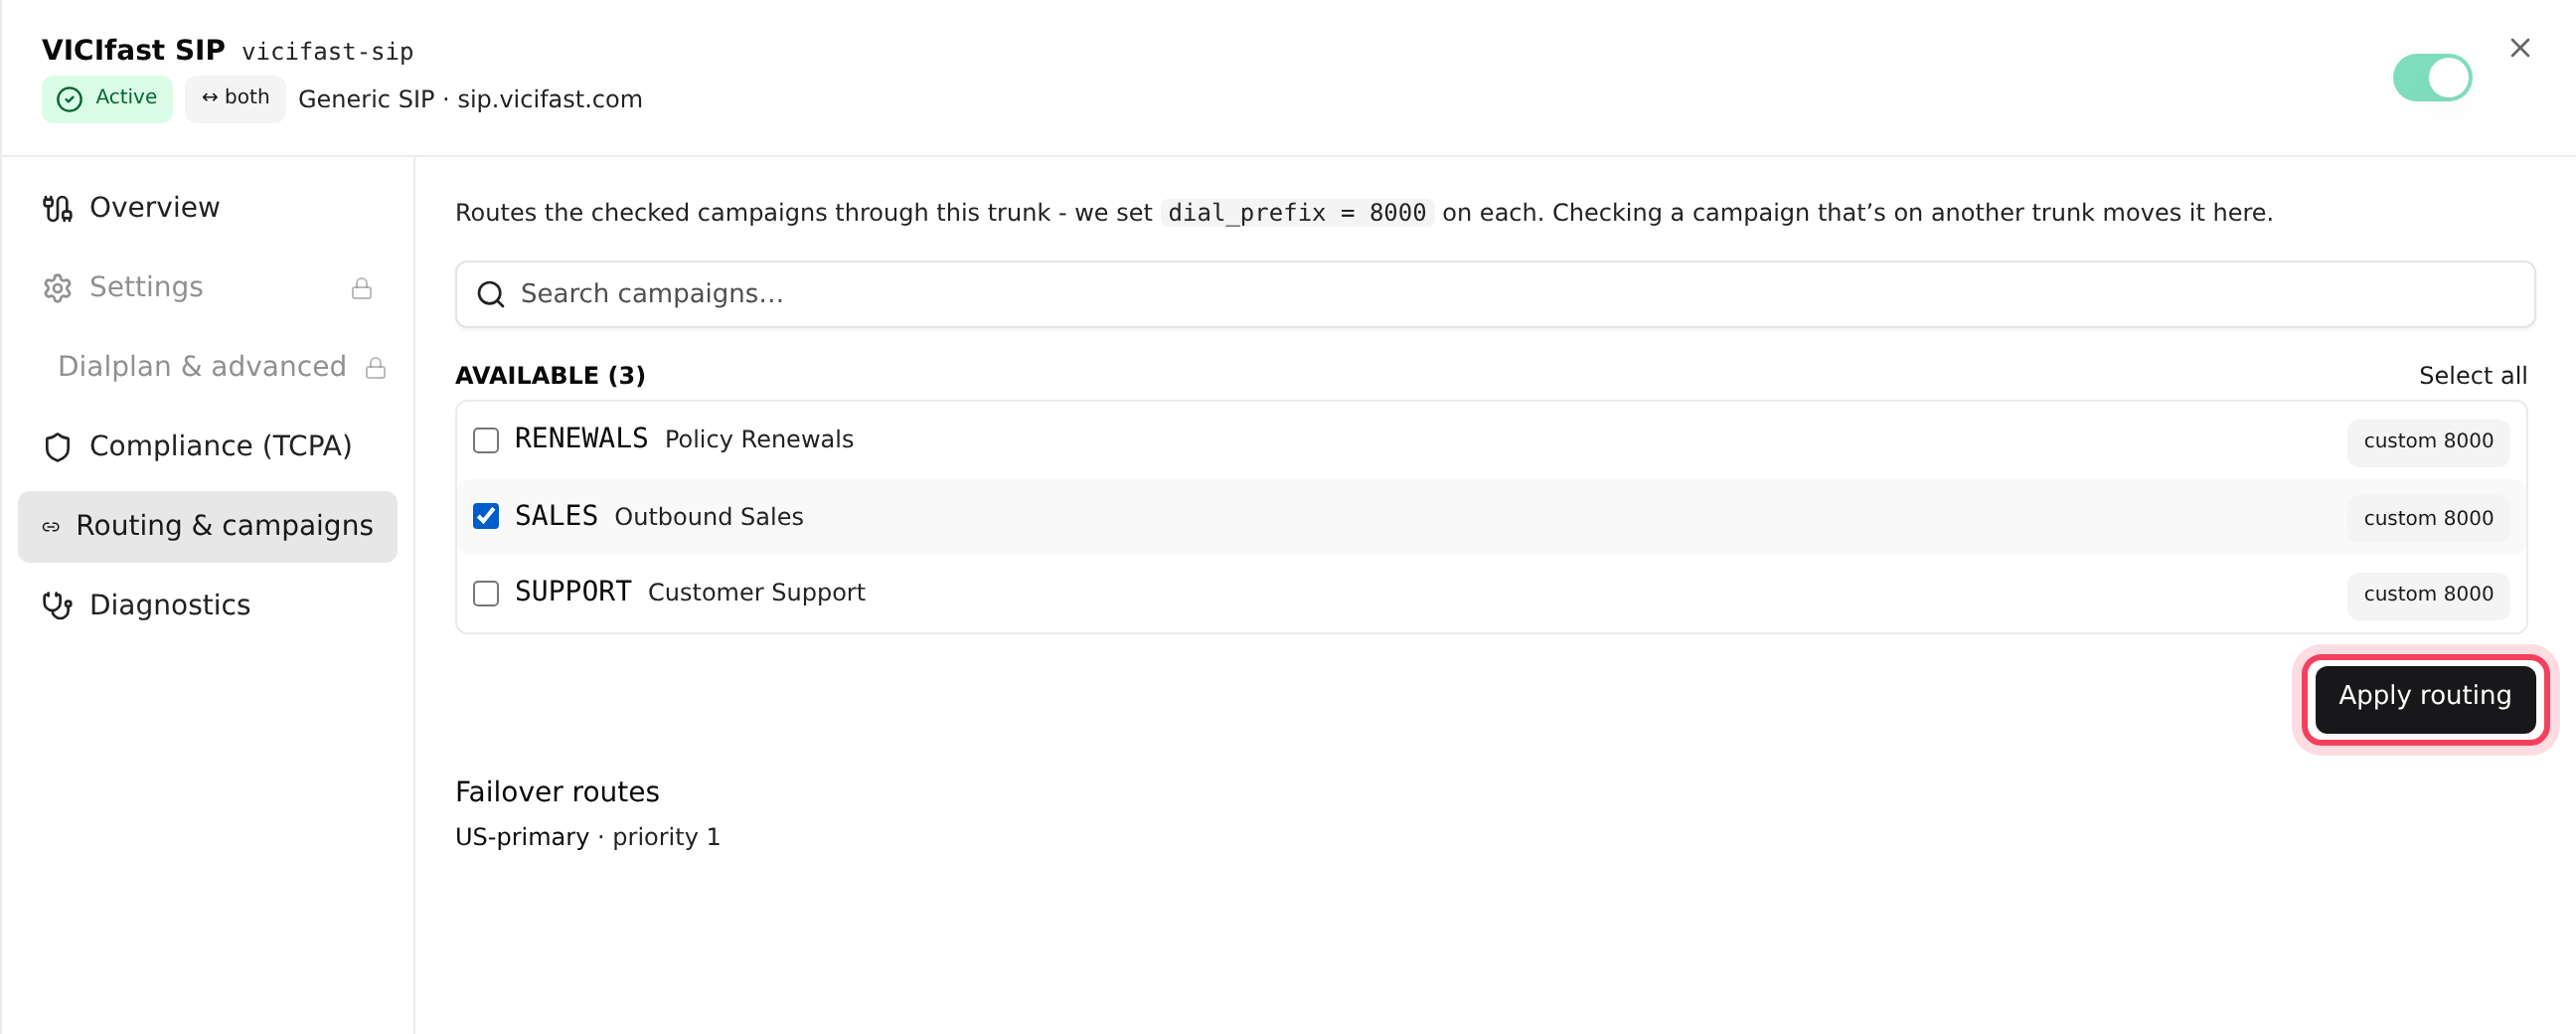
To pause a line without deleting it, use the switch on its row. Pausing unlinks its campaigns, and switching it back on does not relink them, so link them again here. To remove a line, open Overview and click Delete trunk.
Advanced: paste your own PJSIP settings
If your carrier hands you exact settings, or you are moving a line from an older VICIdial server, you can paste your own instead of using a template. This needs the SSH and terminal permission.
- Click Add trunk, and under Custom pick Manual SIP trunk (Advanced).
- Pick the Auth mode (IP auth or User + password). Fill in Tech prefix (outbound) only if your carrier asks for one.
- Paste your settings into PJSIP template, and your own routing into Dialplan if you need it. An empty box uses our default. Both boxes check your syntax as you type.
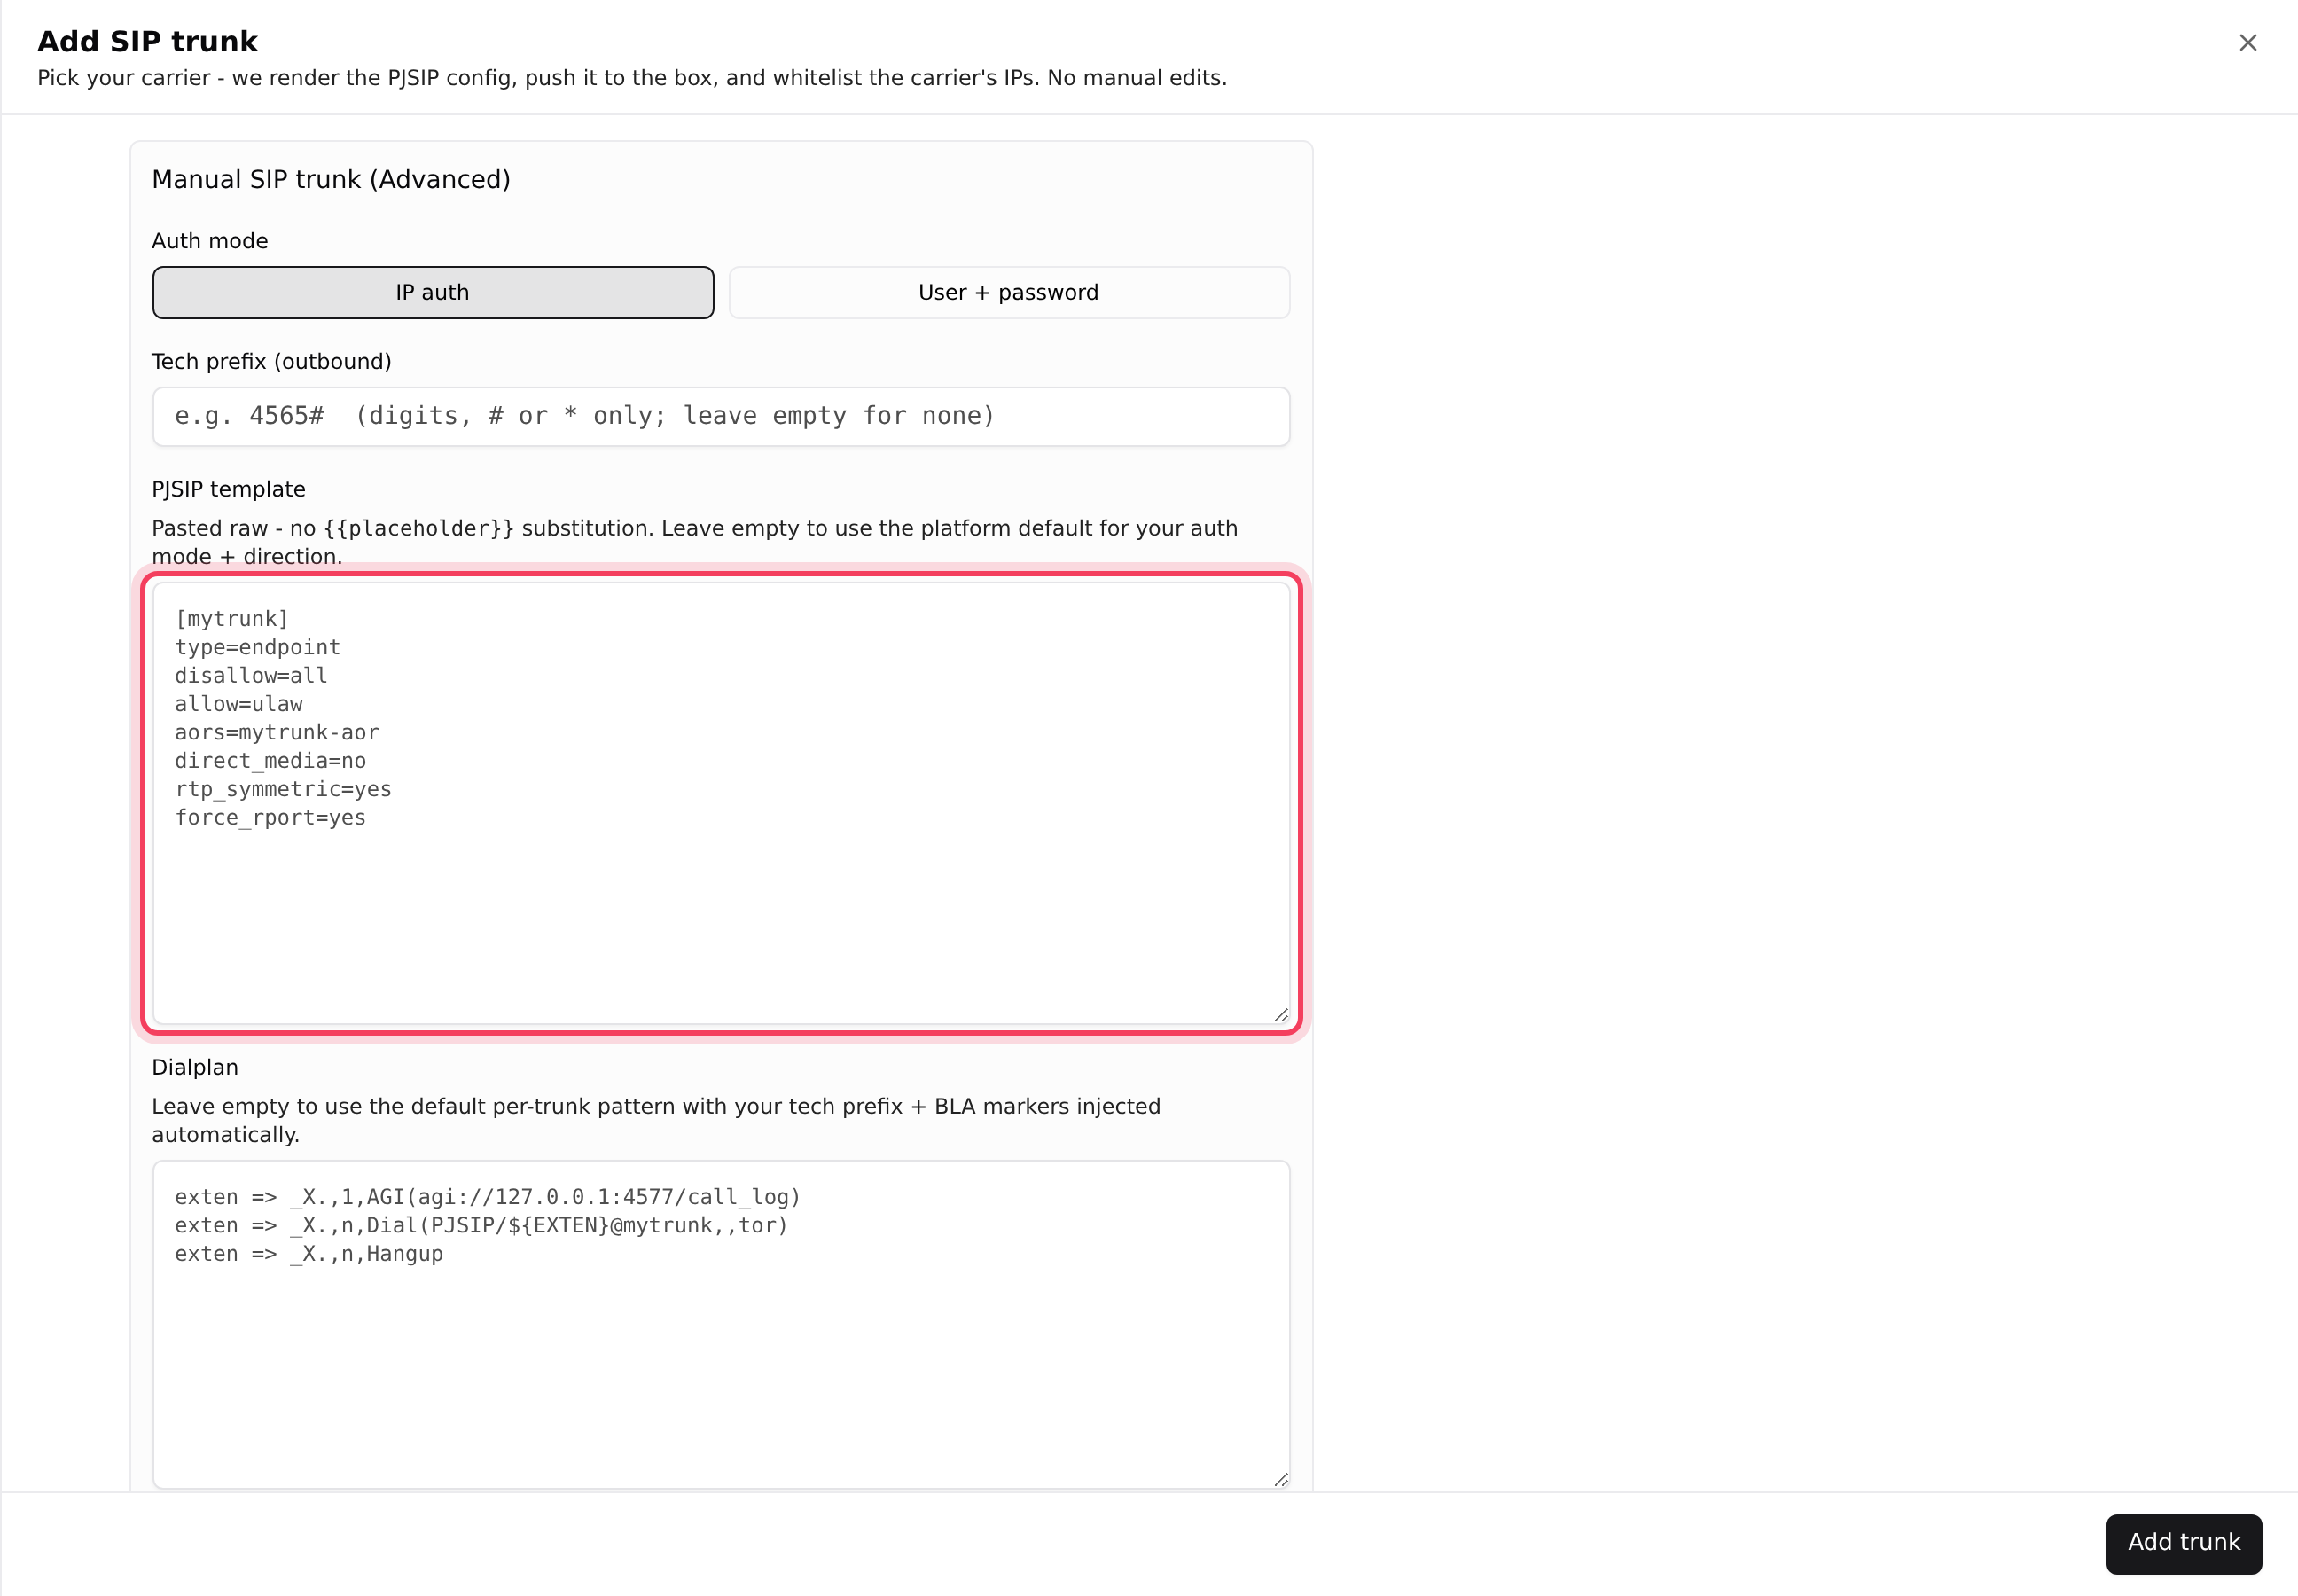
On a line you already have that doesn't use a carrier template, open it, click Dialplan & advanced, open Custom PJSIP template (advanced) and tick I understand this can take the trunk offline. If a save breaks the reload, the server goes back to the last working version.
Your text goes in exactly as written: nothing like {{password}} is filled in, so type the real host, user name and password. In your own Dialplan, start each pattern with the call_log line shown in the example, so VICIdial logs the call.
Your server runs Asterisk 22, which only has PJSIP, so chan_sip settings from older guides do nothing. Translate them:
- type=peer: separate sections with type=endpoint, type=aor and, for a password, type=auth (auth_type=userpass, username=, password=).
- host=: contact=sip:<host> in the aor section.
- canreinvite=no: direct_media=no. nat=force_rport,comedia: force_rport=yes and rtp_symmetric=yes.
- register =>: a section with type=registration. insecure=invite (IP auth): a section with type=identify and a match= line per carrier address.
Keep these from our default template: direct_media=no (without it calls aren't recorded and hold music and keypad tones fail), rtp_timeout=120 (ends a call whose audio has been dead for two minutes), disallow=all with allow=ulaw and allow=alaw, context=trunkinbound on lines that take calls, and qualify_frequency=60 in the aor. We add trust_connected_line=no to every endpoint unless you set it, because a carrier renaming the call on answer breaks answering-machine detection and call results.
If something goes wrong
Frequently asked
- The username or password does not match your carrier's portal. Open the line, click Settings and type the password again.
- Your server's IP is not on your carrier's allow-list. Add it in their portal, then run diagnostics again.
- Check Carrier IP reachability in the results. If those checks fail too, check the hostname, then ask your carrier whether they have an outage.
- Ask the account owner to give you the Trunks tab and Server settings on the Members page, with a role that can make changes.
- Writing your own dialplan or SIP settings needs the SSH and terminal permission. The owner can tick it for you, or make the change themselves.
- That is expected. See "Where your phone lines live in VICIdial admin".
- You probably pasted a chan_sip block (type=peer). Rewrite it as PJSIP sections, using the list under Advanced: paste your own PJSIP settings.