Order your server
Pick a plan, a region and an address, pay, and watch your VICIdial server build. Covers trials, Managed Floor, add-ons and every payment method.
Getting started · 5 min read
This guide walks you through ordering a VICIfast server: picking a plan, a region and an address, paying, and watching the server build. Use it for your first server, and again whenever you add one.
What you need
- An email address you can open. No account yet? You create one at the end of the order, without losing your choices.
- A way to pay: a card, your VICIfast wallet balance, USDT or PayPal.
- For a free trial: a card, and a verified, permanent email address (not a disposable one).
Step 1: Pick a plan
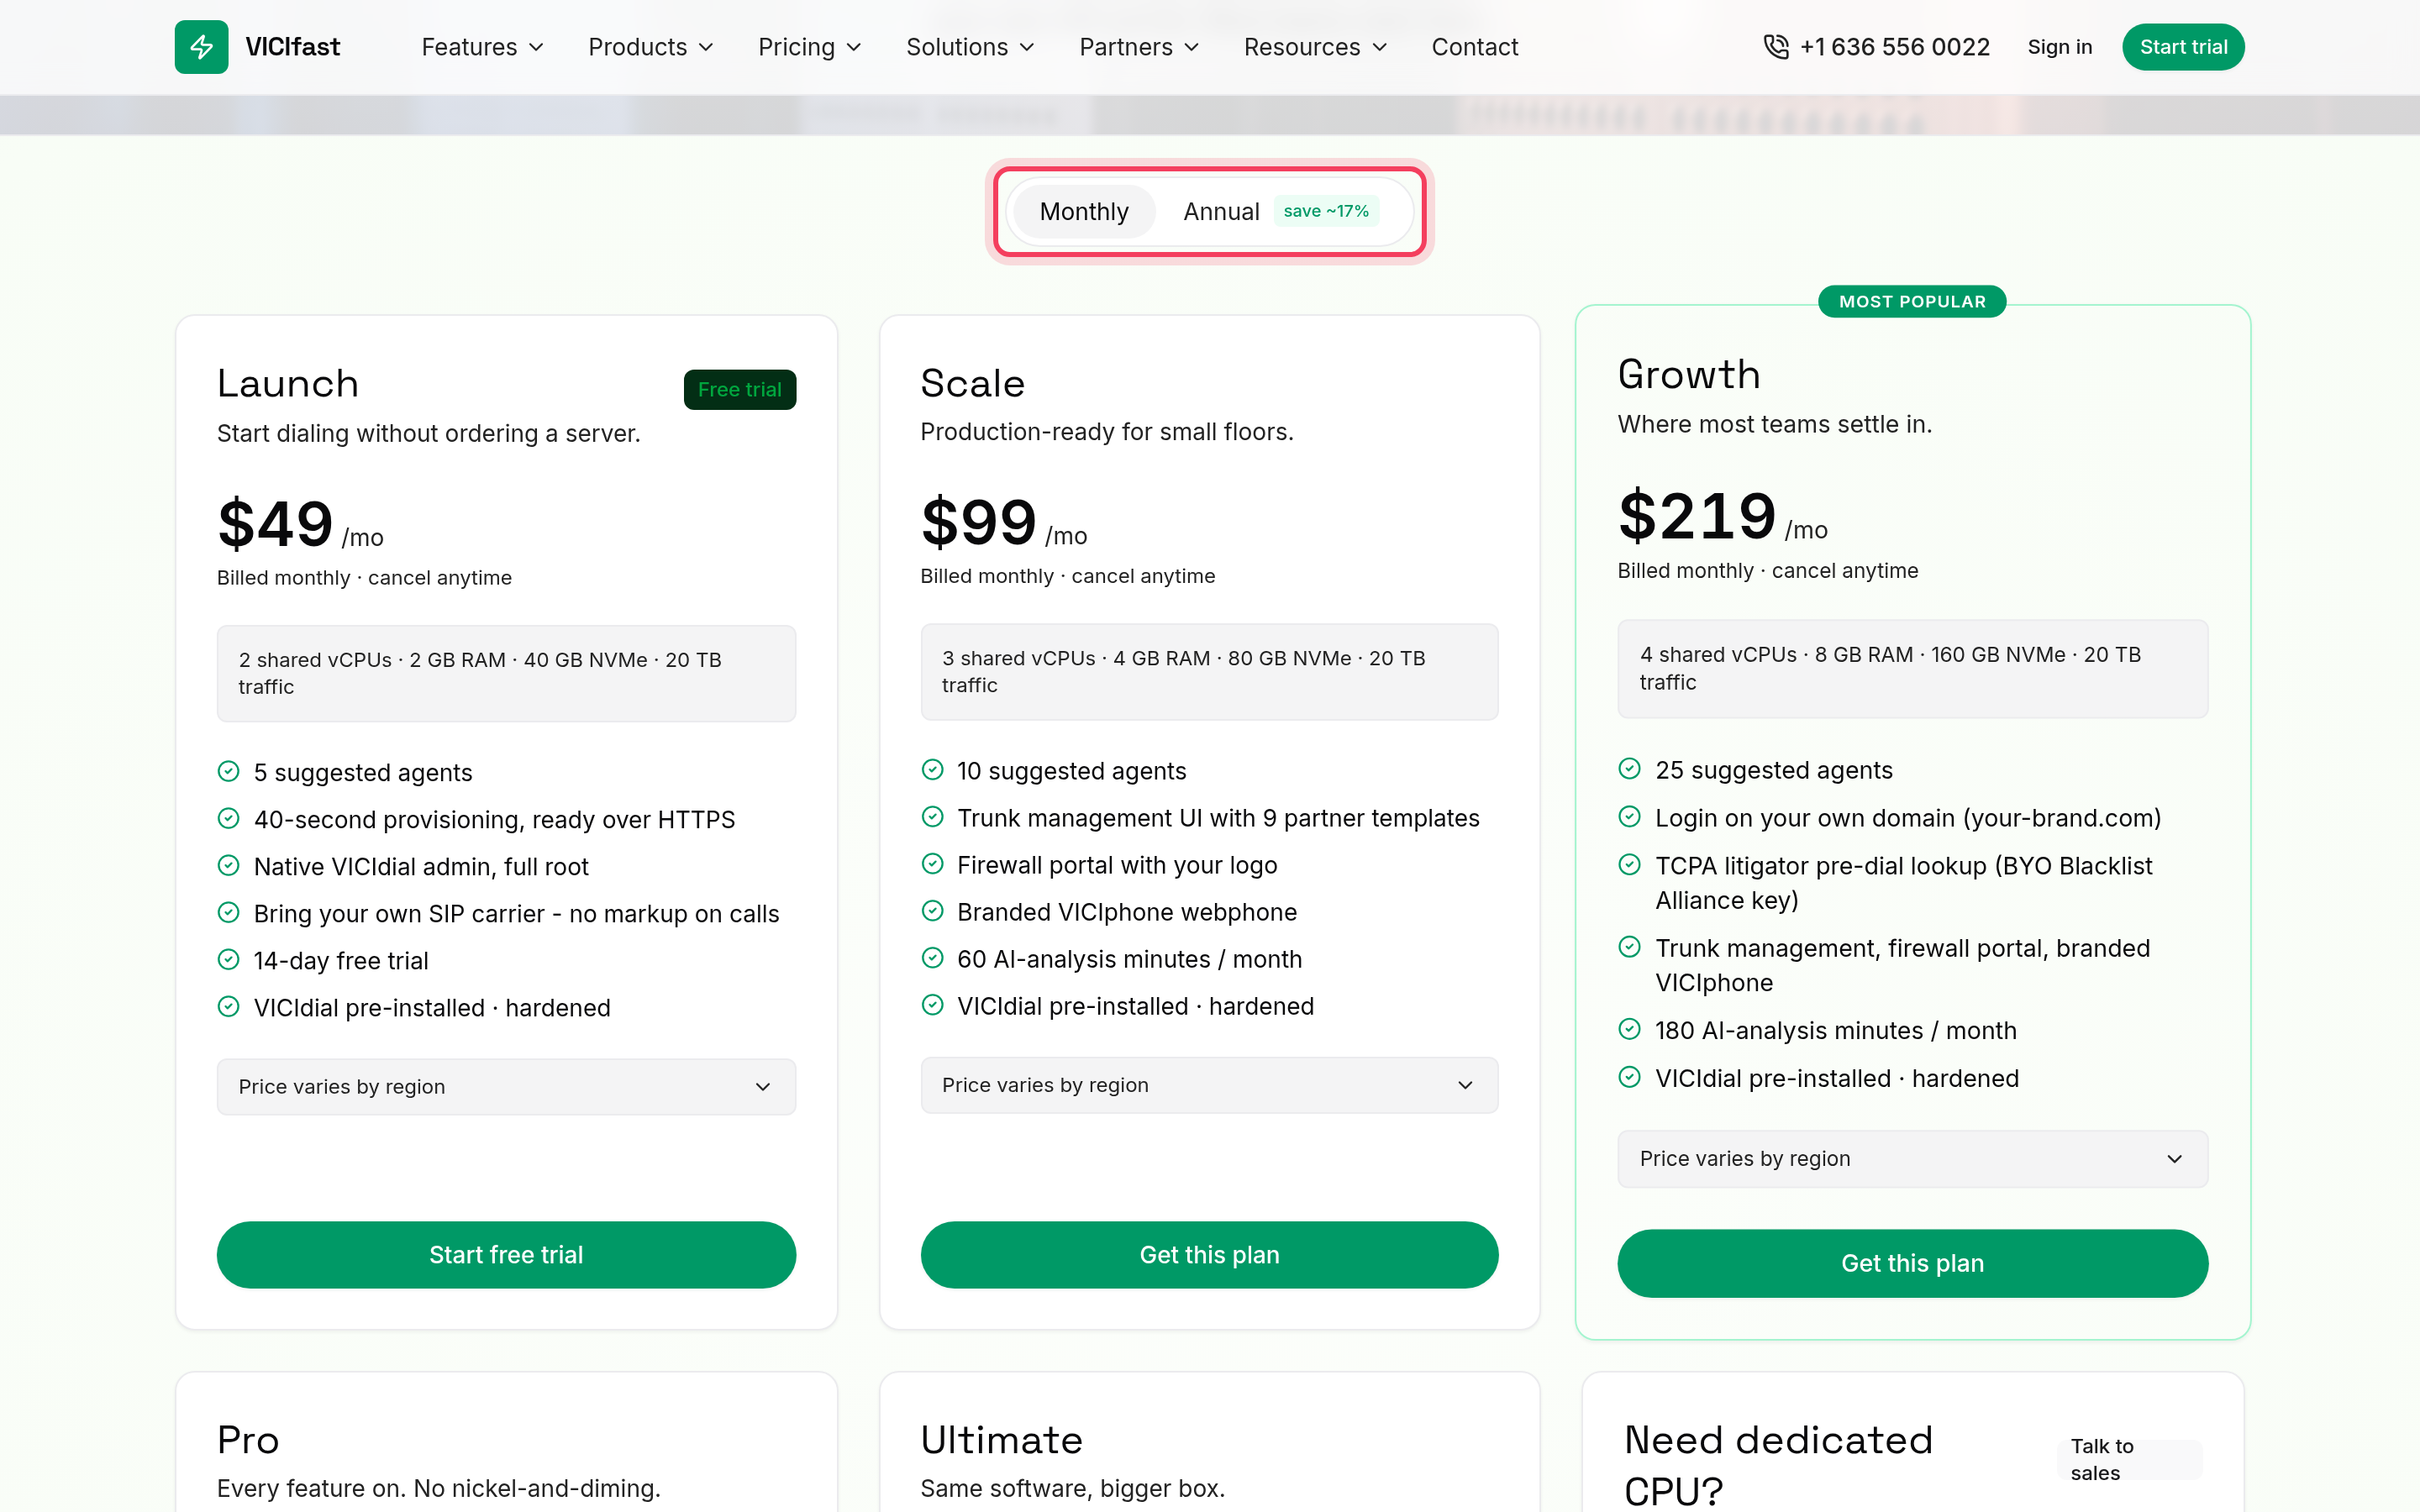
- Open the pricing page. Already a customer? Click Add a server under Quick actions on your Dashboard, or Order a server on My Servers. You get the same choice.
- Click See VPS plans or See dedicated plans. Bringing your own machine works differently: see Bring your own server.
- Use the Monthly / Annual switch at the top to compare yearly prices.
- Open Price varies by region on a plan card to see what it costs in each region.
- Click Get this plan. On a plan with a free trial, the button reads Start free trial.
Step 2: Choose a region and an address
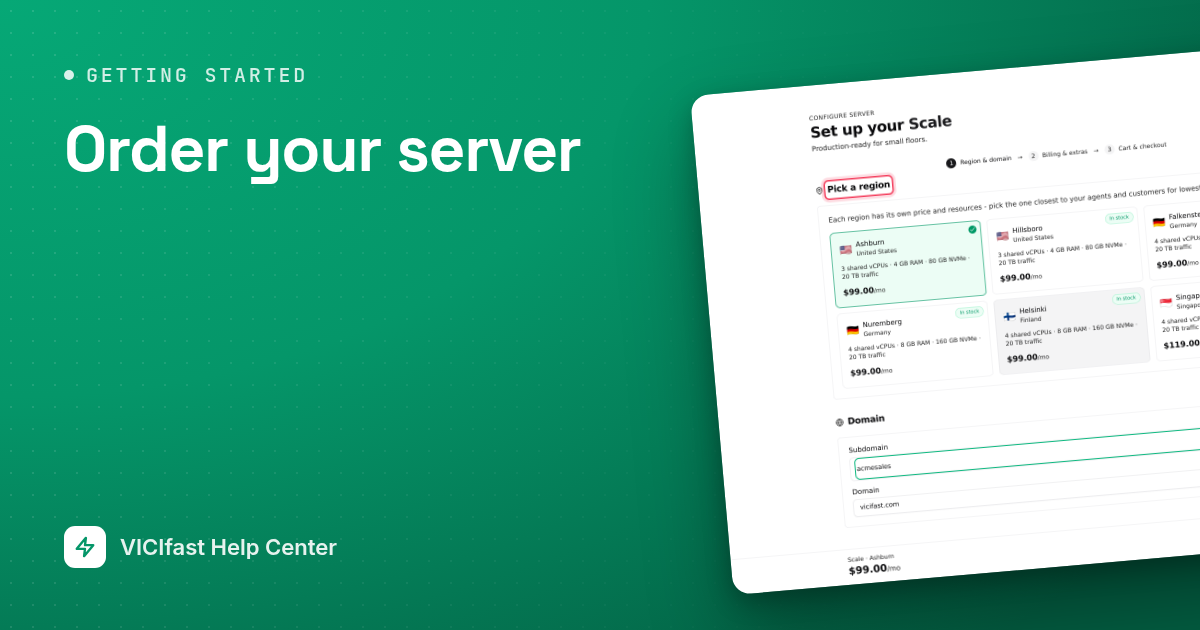
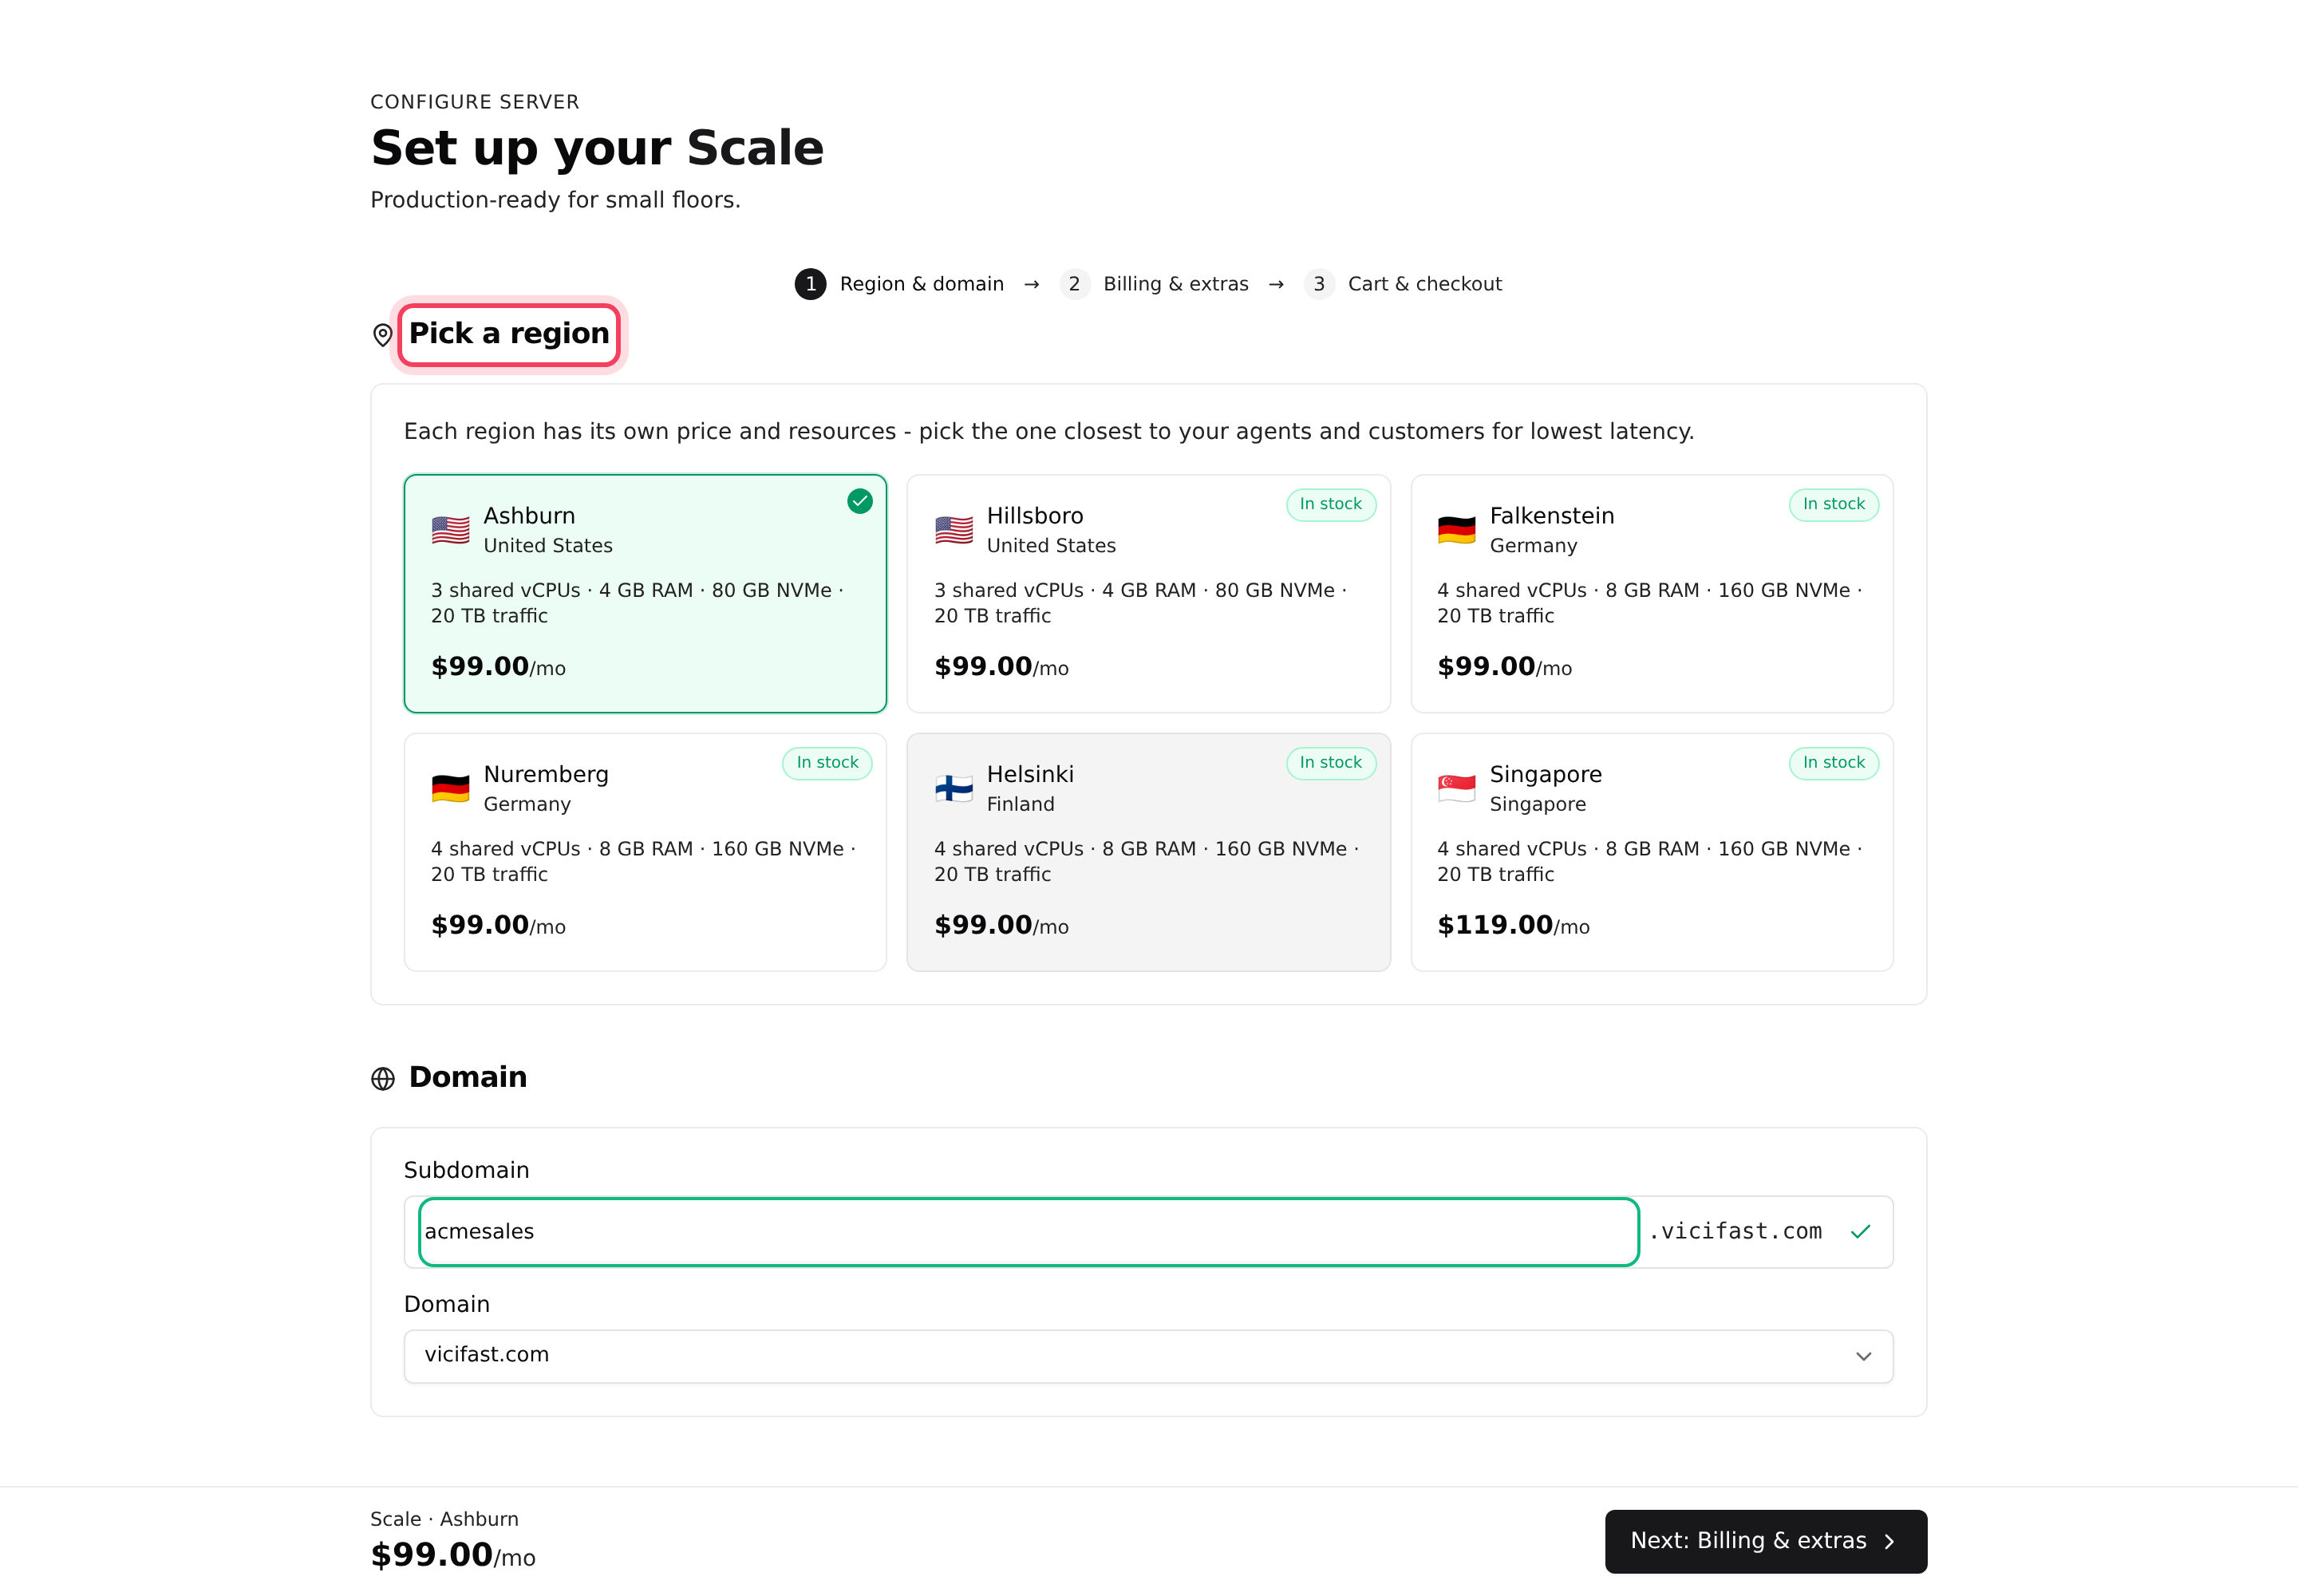
You are now on Region & domain, the first of a few short steps shown across the top of the page.
- Under Pick a region, click a region card. Each card shows the city, the resources and the monthly price there. Out of stock cards can't be picked. Choose the region closest to your agents and the people you call.
- Under Domain, type a Subdomain: your dialer's address, for example acmesales.vicifast.com. Use 3 to 40 lowercase letters and numbers. A green tick means the name is free.
- If your plan offers it, you can pick Your own domain instead. See Use your own domain.
- Click the Next button at the bottom, for example Next: Billing & extras. The bar beside it shows your running total.
Step 3: Choose how you start (trial plans only)
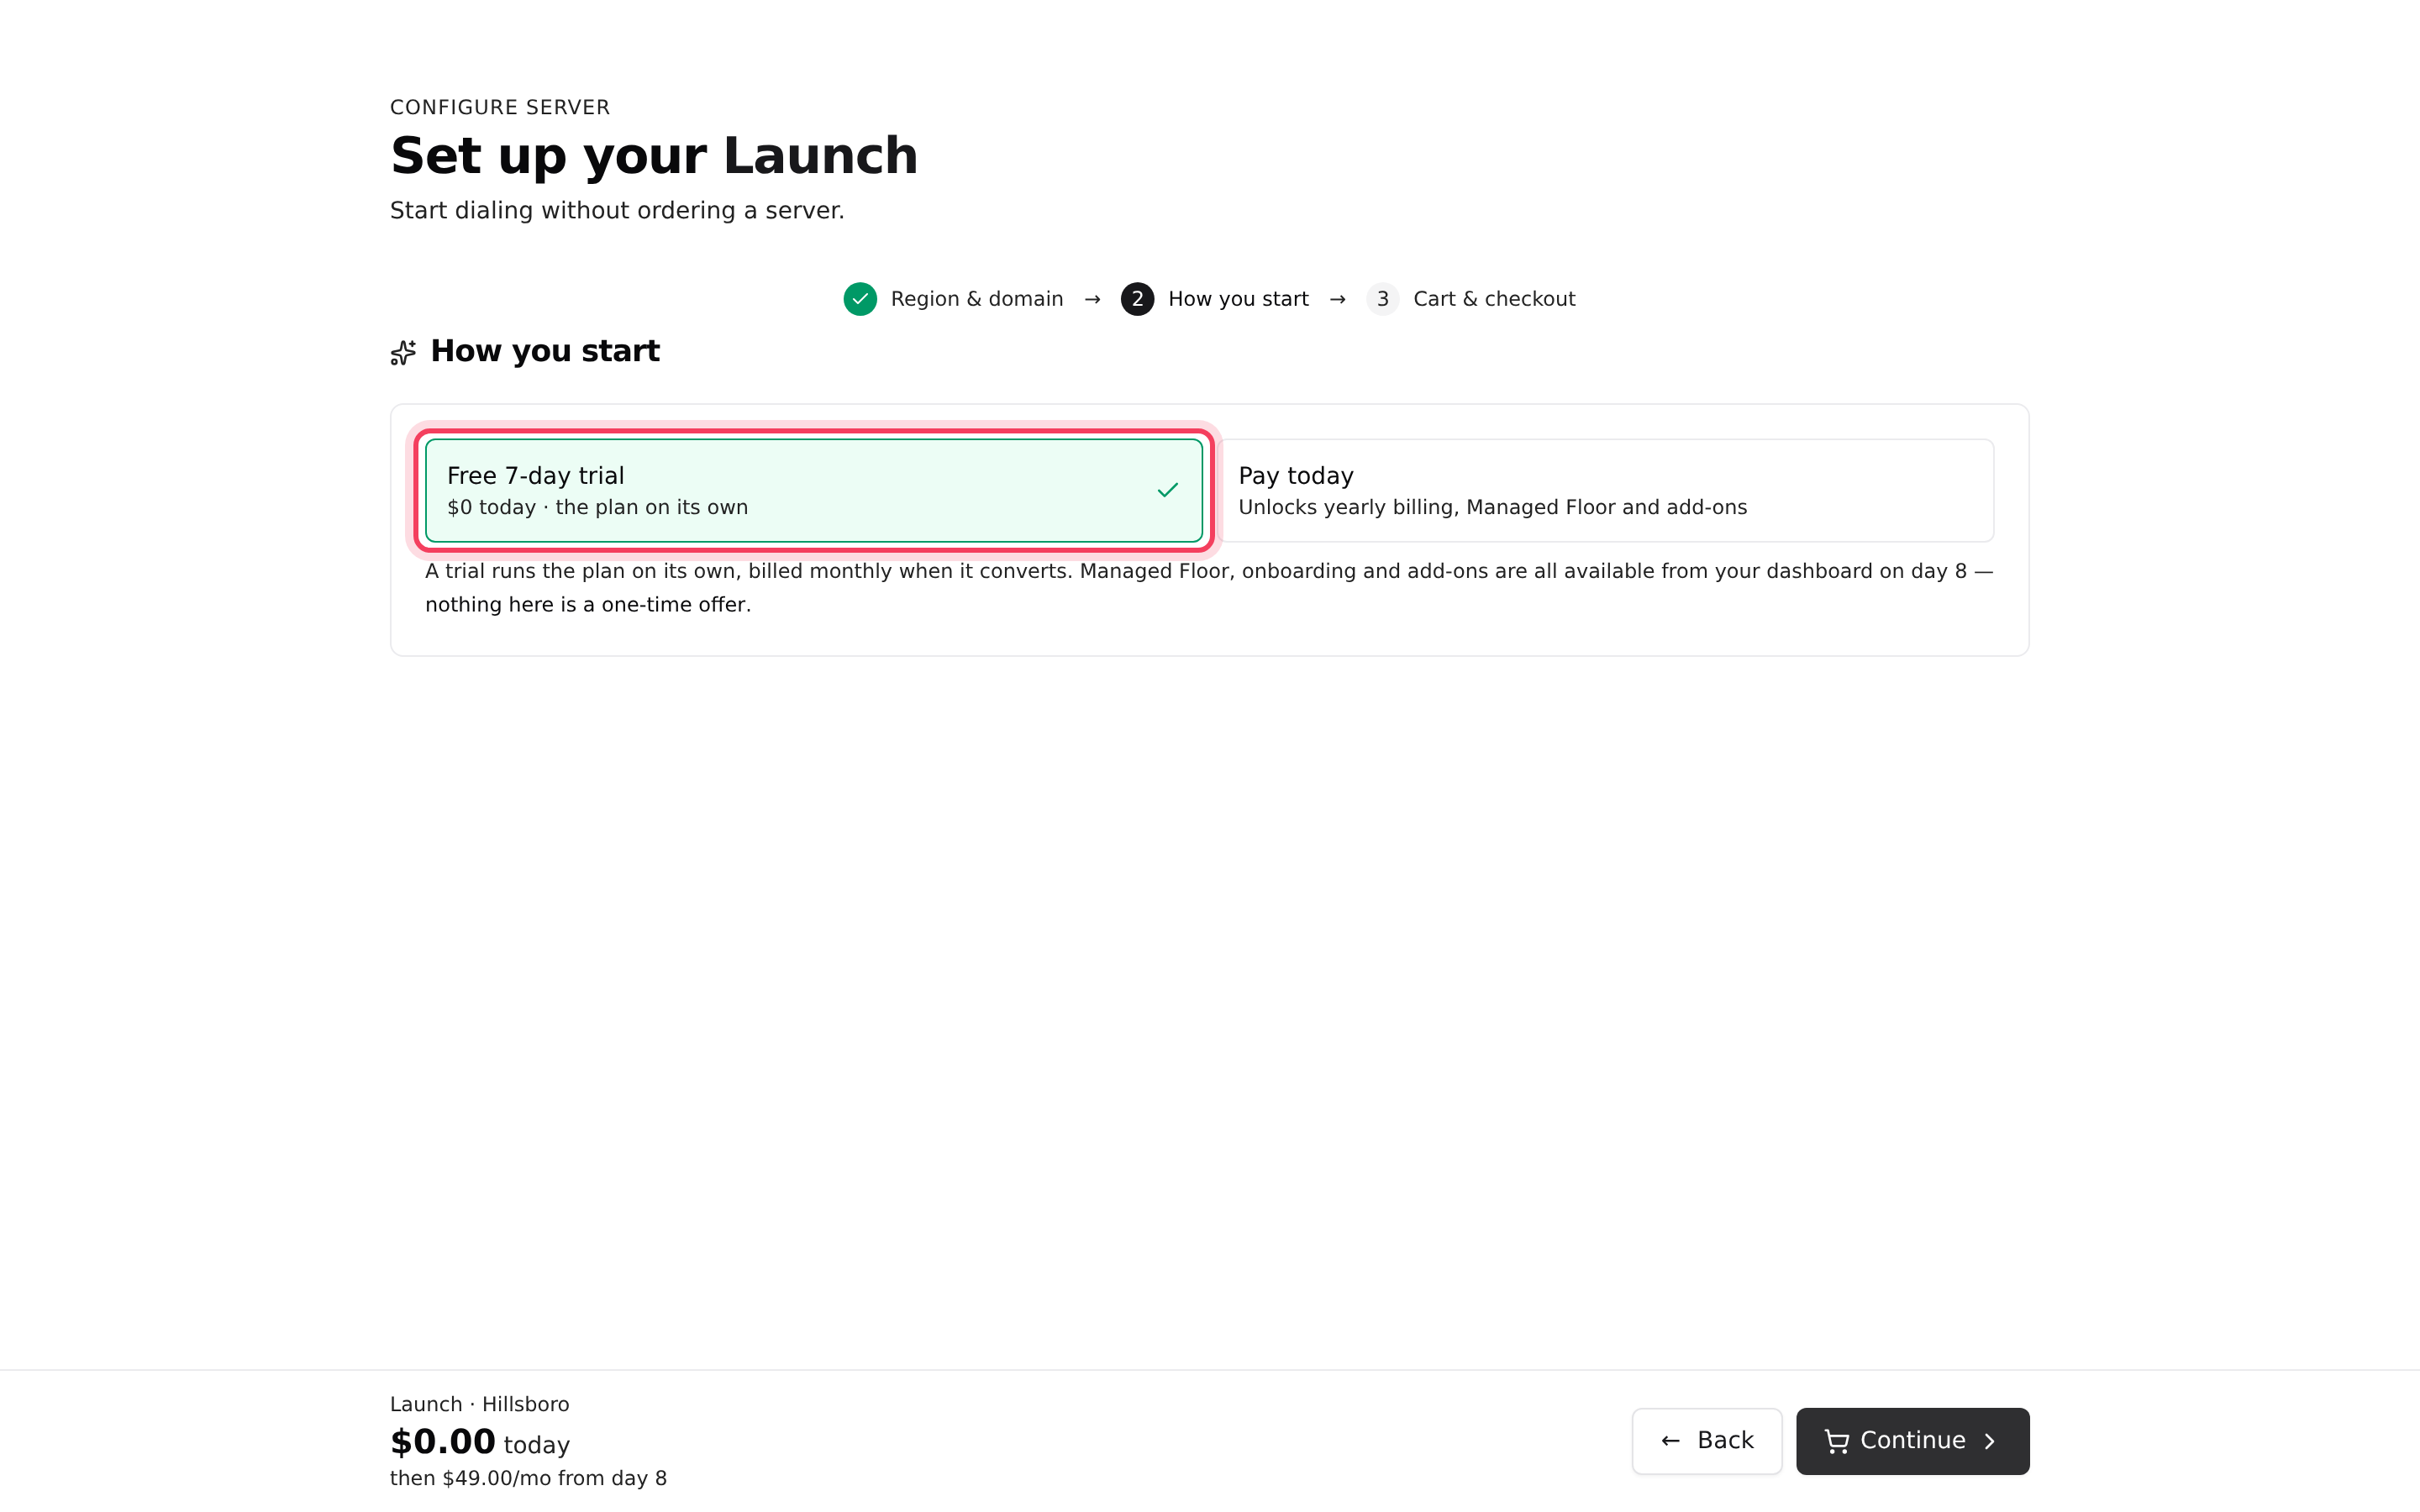
If the plan offers a free trial and you haven't used one before, you see How you start:
- Free 7-day trial: $0 today, the plan on its own. It is billed monthly when the trial converts. Managed Floor, onboarding and add-ons can be added from your dashboard on day 8.
- Pay today: you pay now, and yearly billing, Managed Floor and add-ons become available.
If you choose the trial, there is nothing more to pick: the button reads Add to cart, or Continue if you aren’t signed in yet.
Step 4: Choose who runs the dialer (some plans)
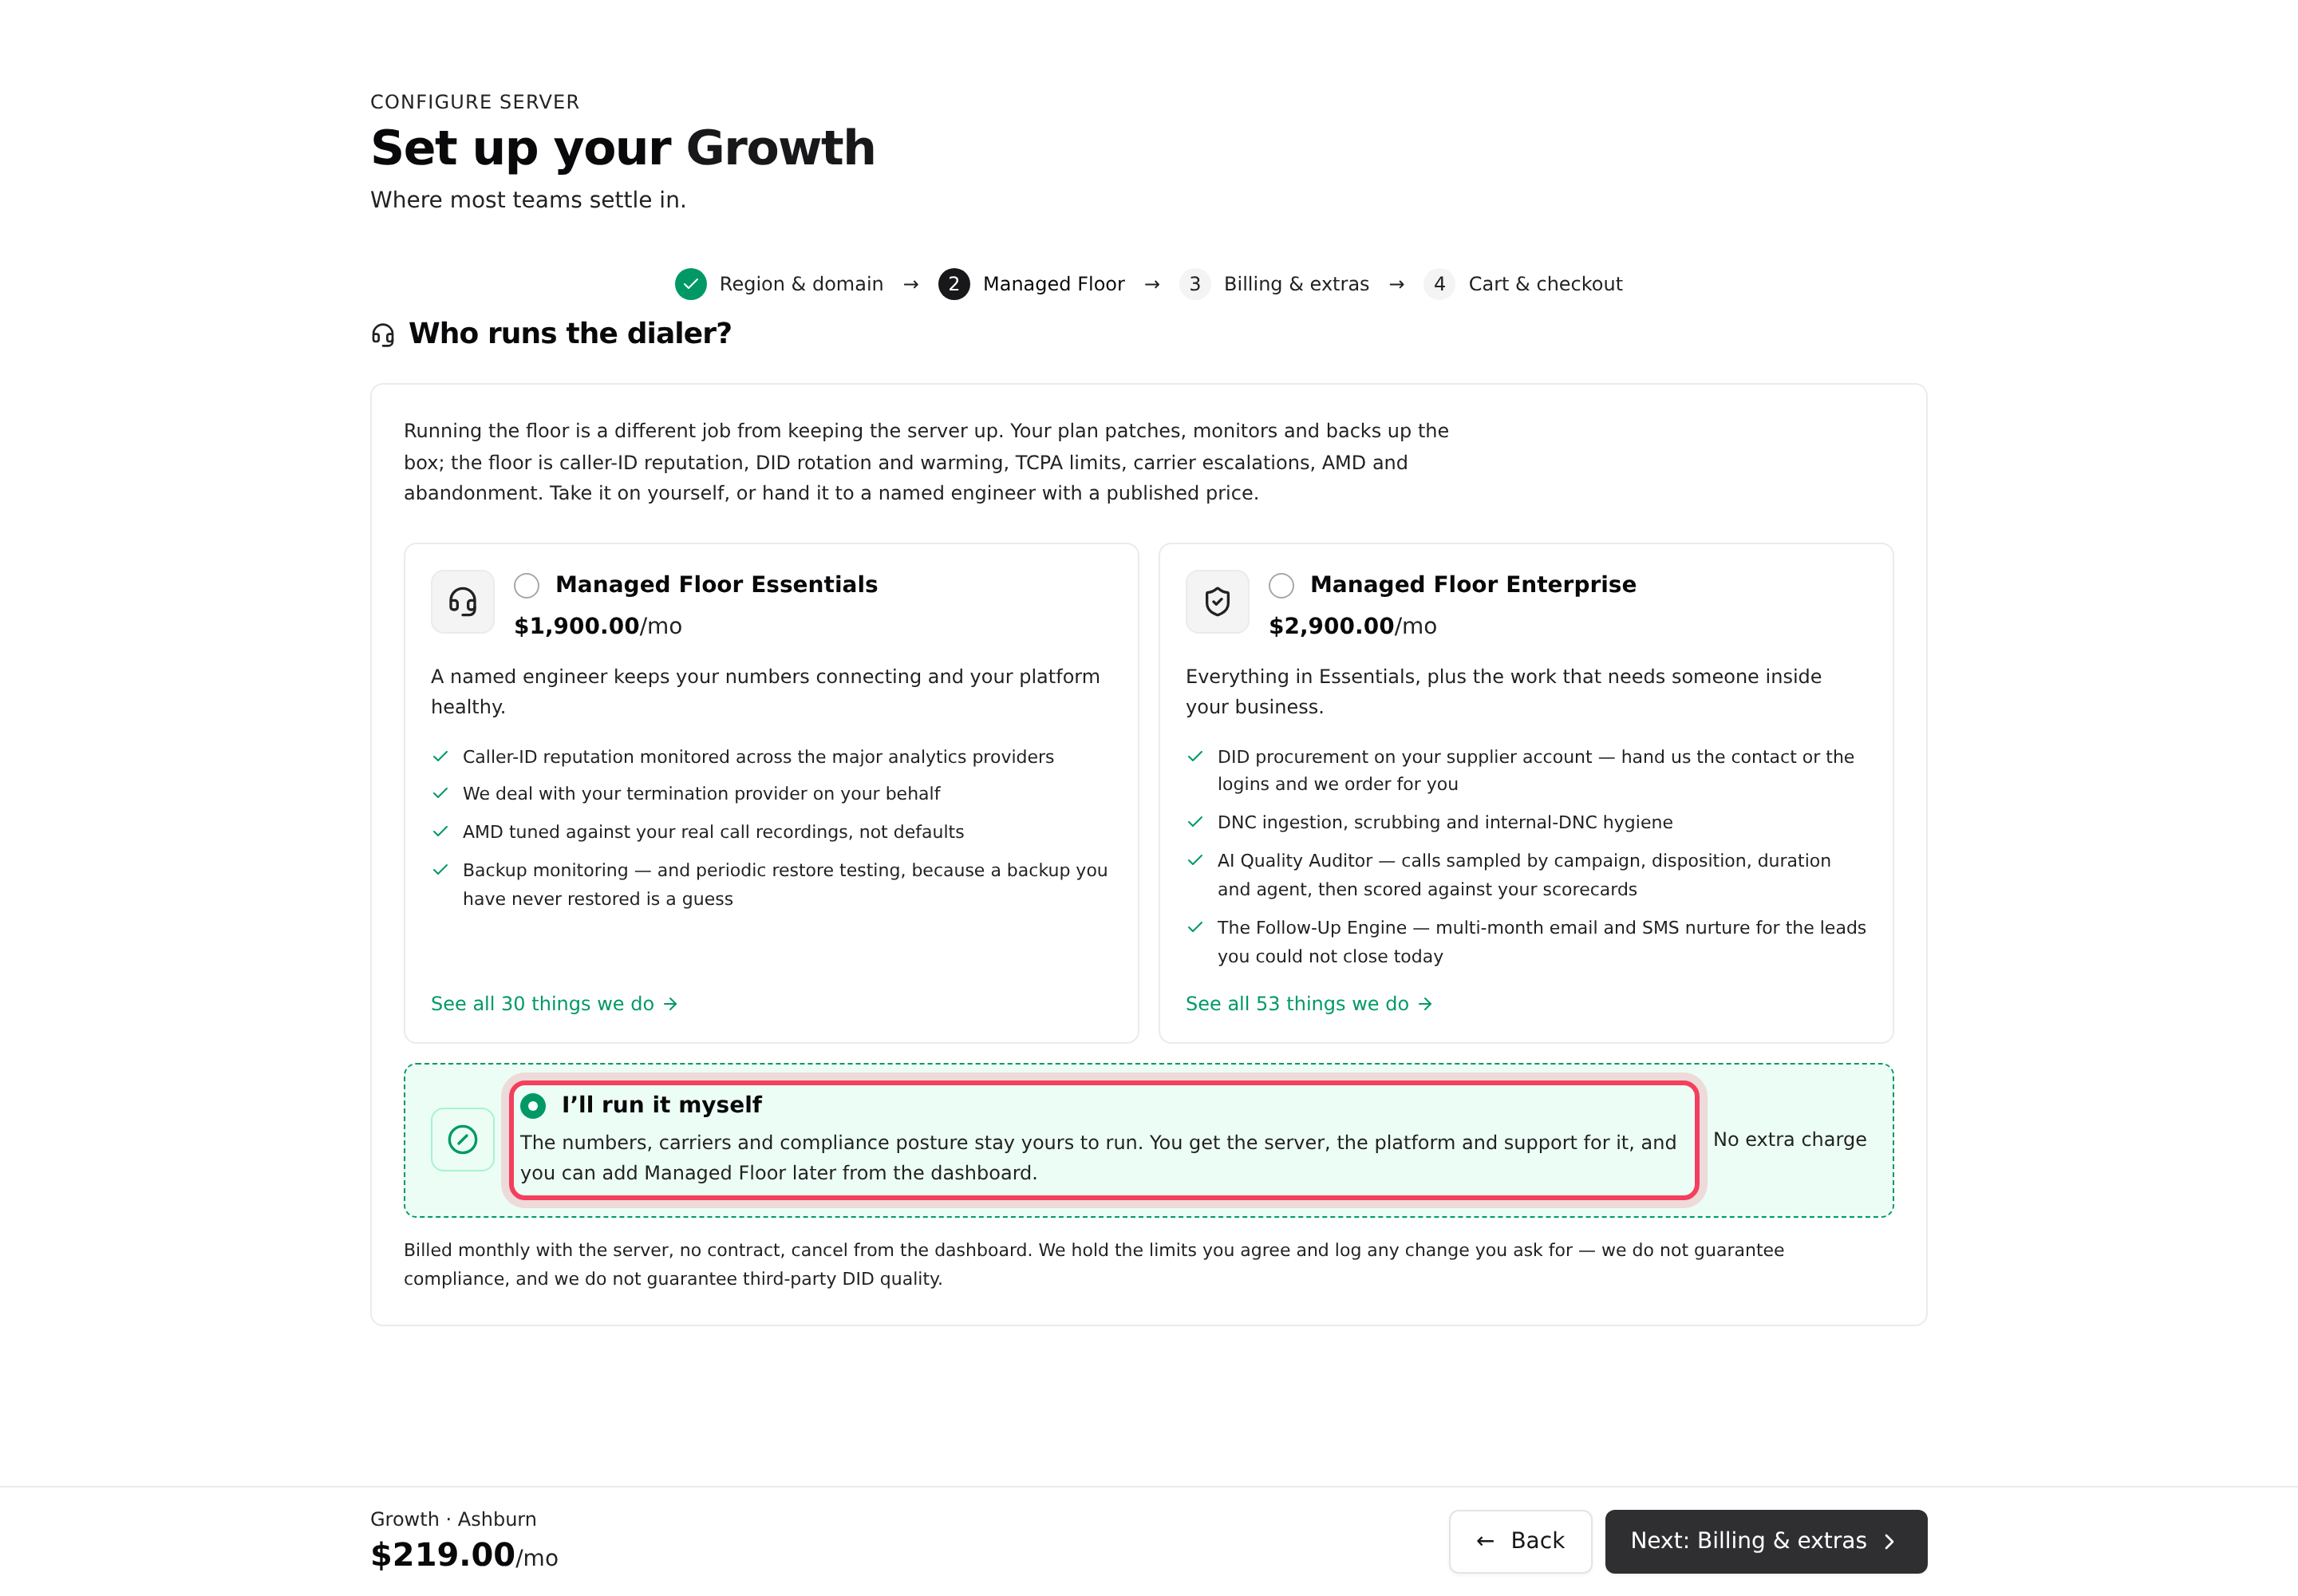
On plans where it is offered, Who runs the dialer? asks whether you want Managed Floor: a named engineer who runs the calling side of your floor for a monthly fee.
- Pick one of the two Managed Floor cards, or I’ll run it myself at no extra charge.
- Click the See all … things we do link on a card to read the full list.
- Click Next: Billing & extras.
Managed Floor is billed monthly with the server, with no contract. See Managed Floor.
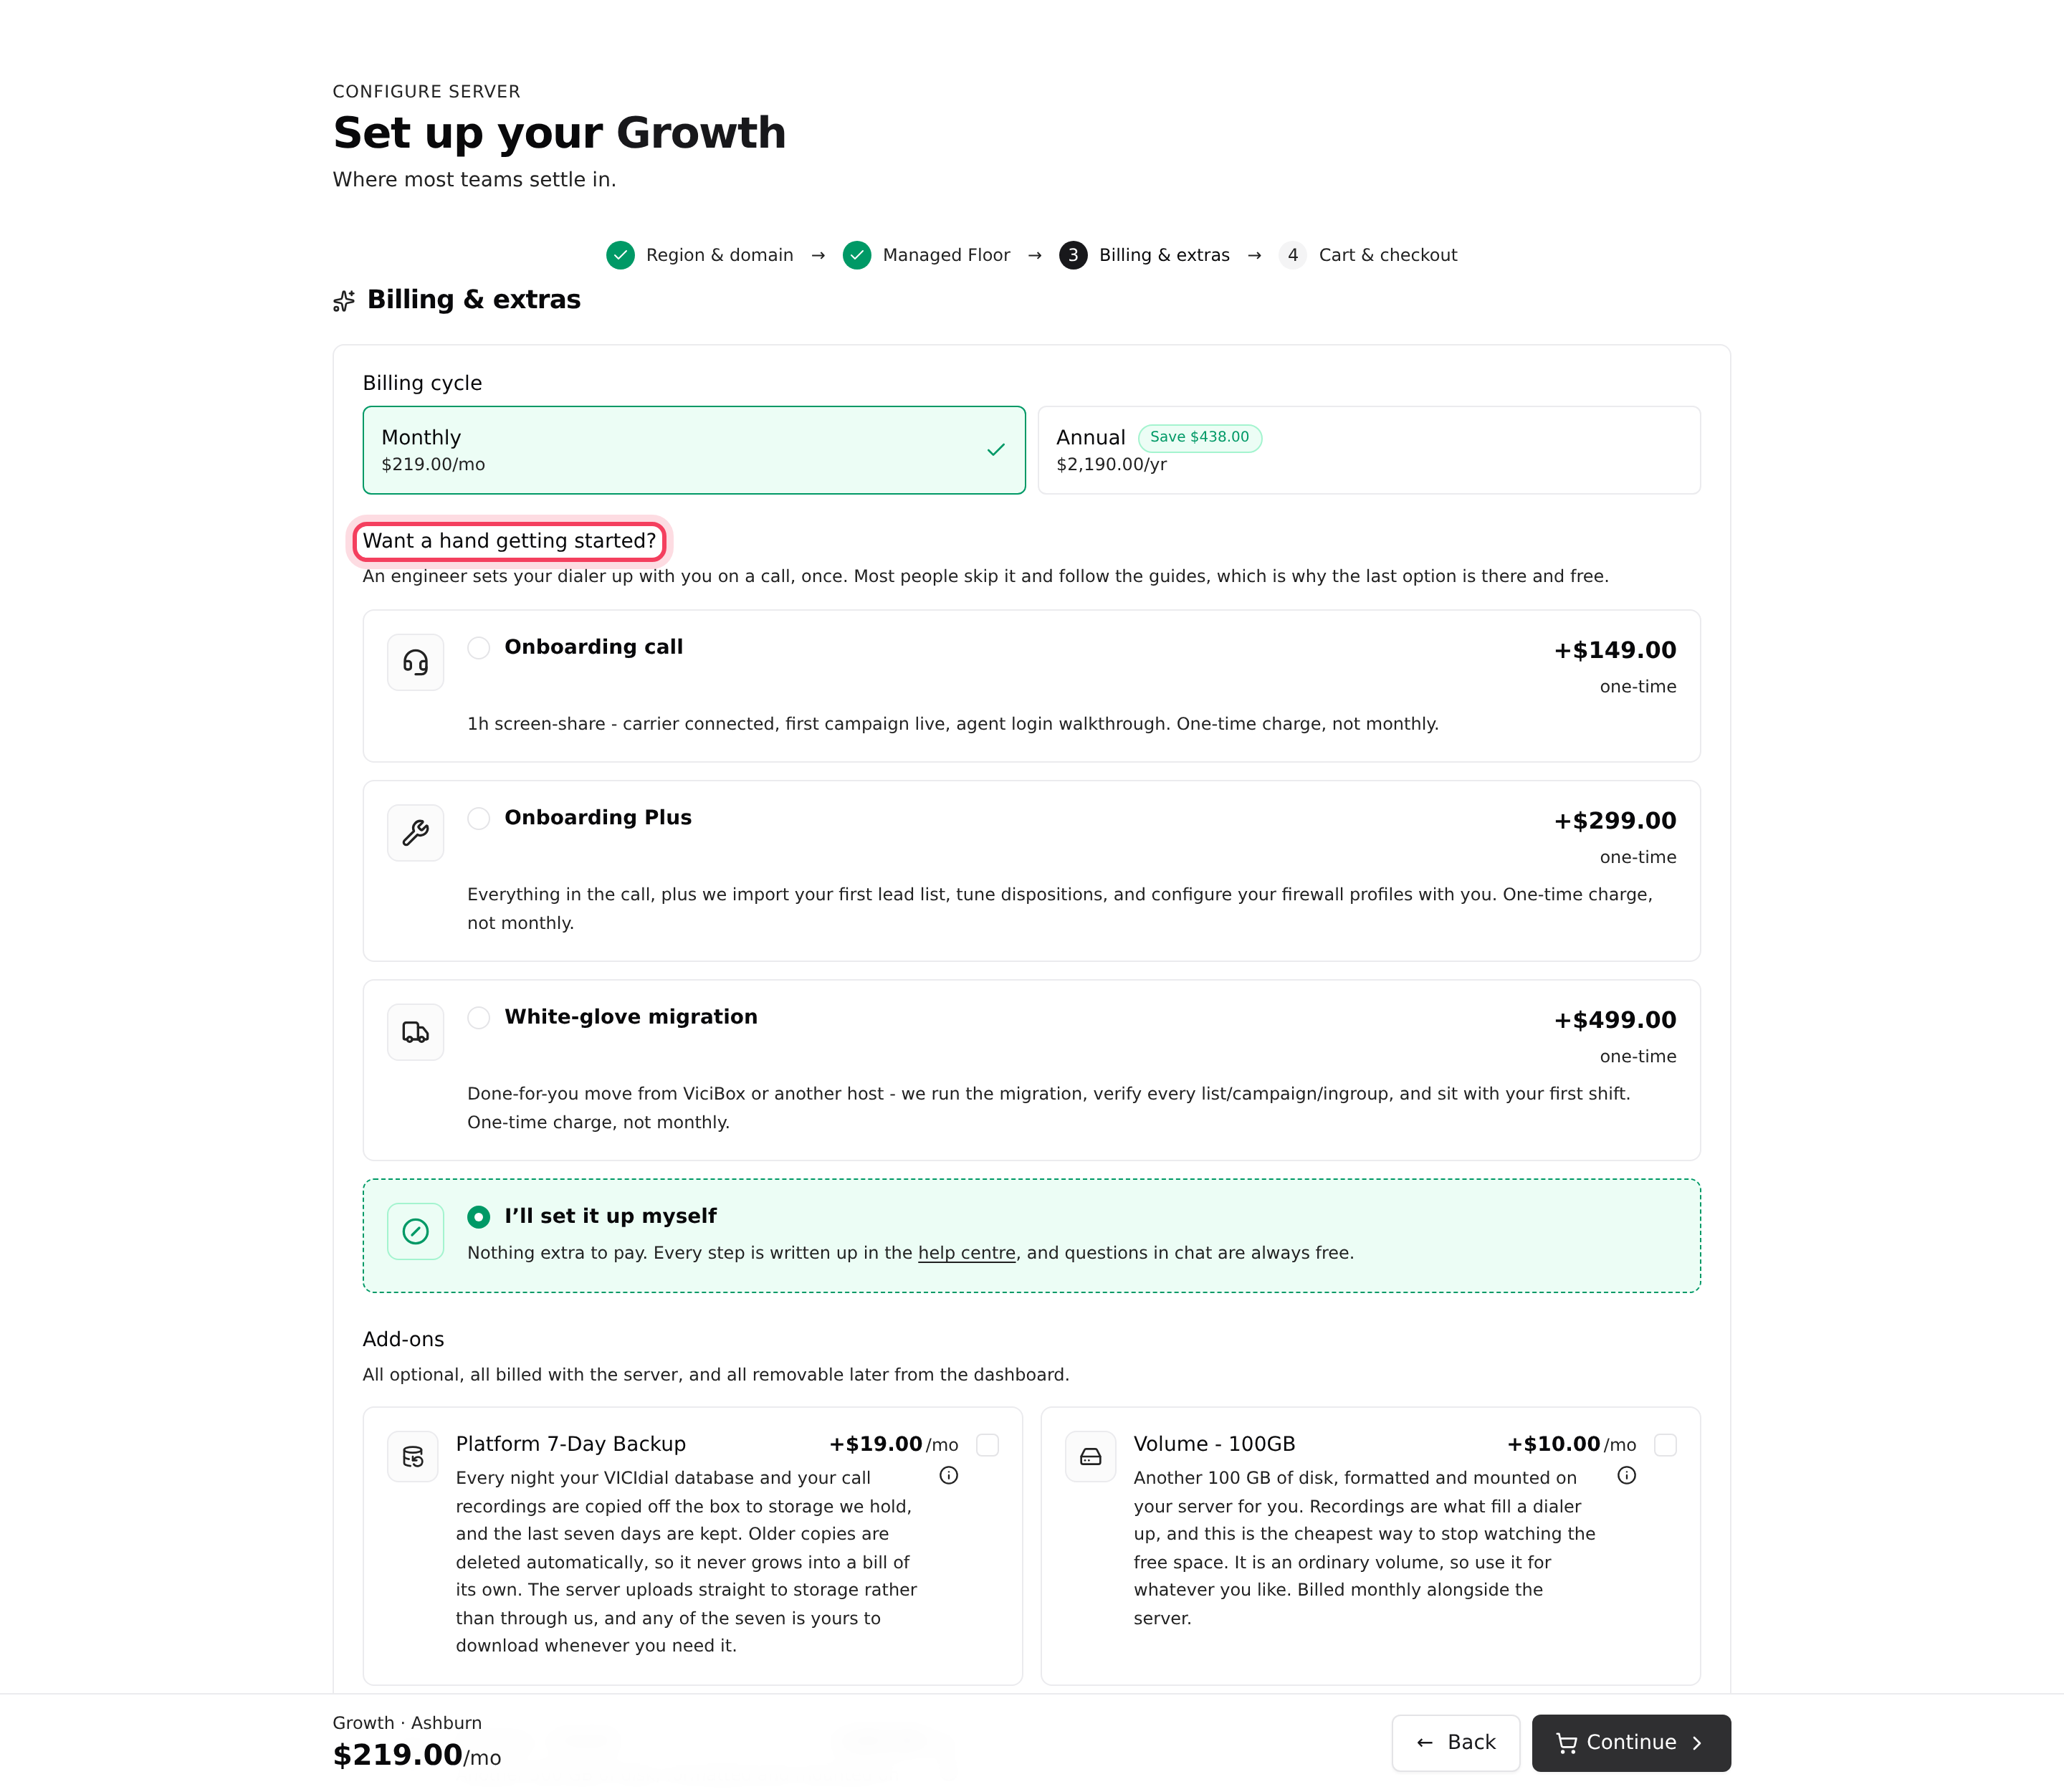
Step 5: Billing and extras
- Under Billing cycle, pick Monthly or Annual. Annual shows how much you save.
- Under Want a hand getting started?, pick an onboarding session with one of our engineers, or I’ll set it up myself. Onboarding is a one-time charge. See Onboarding help.
- Under Add-ons, tick anything you want. Add-ons are optional, billed with the server and can be removed later from your dashboard.
- Click Add to cart. If you aren't signed in, the button reads Continue: create your account or sign in right there, then click Continue to cart.
Step 6: Pay
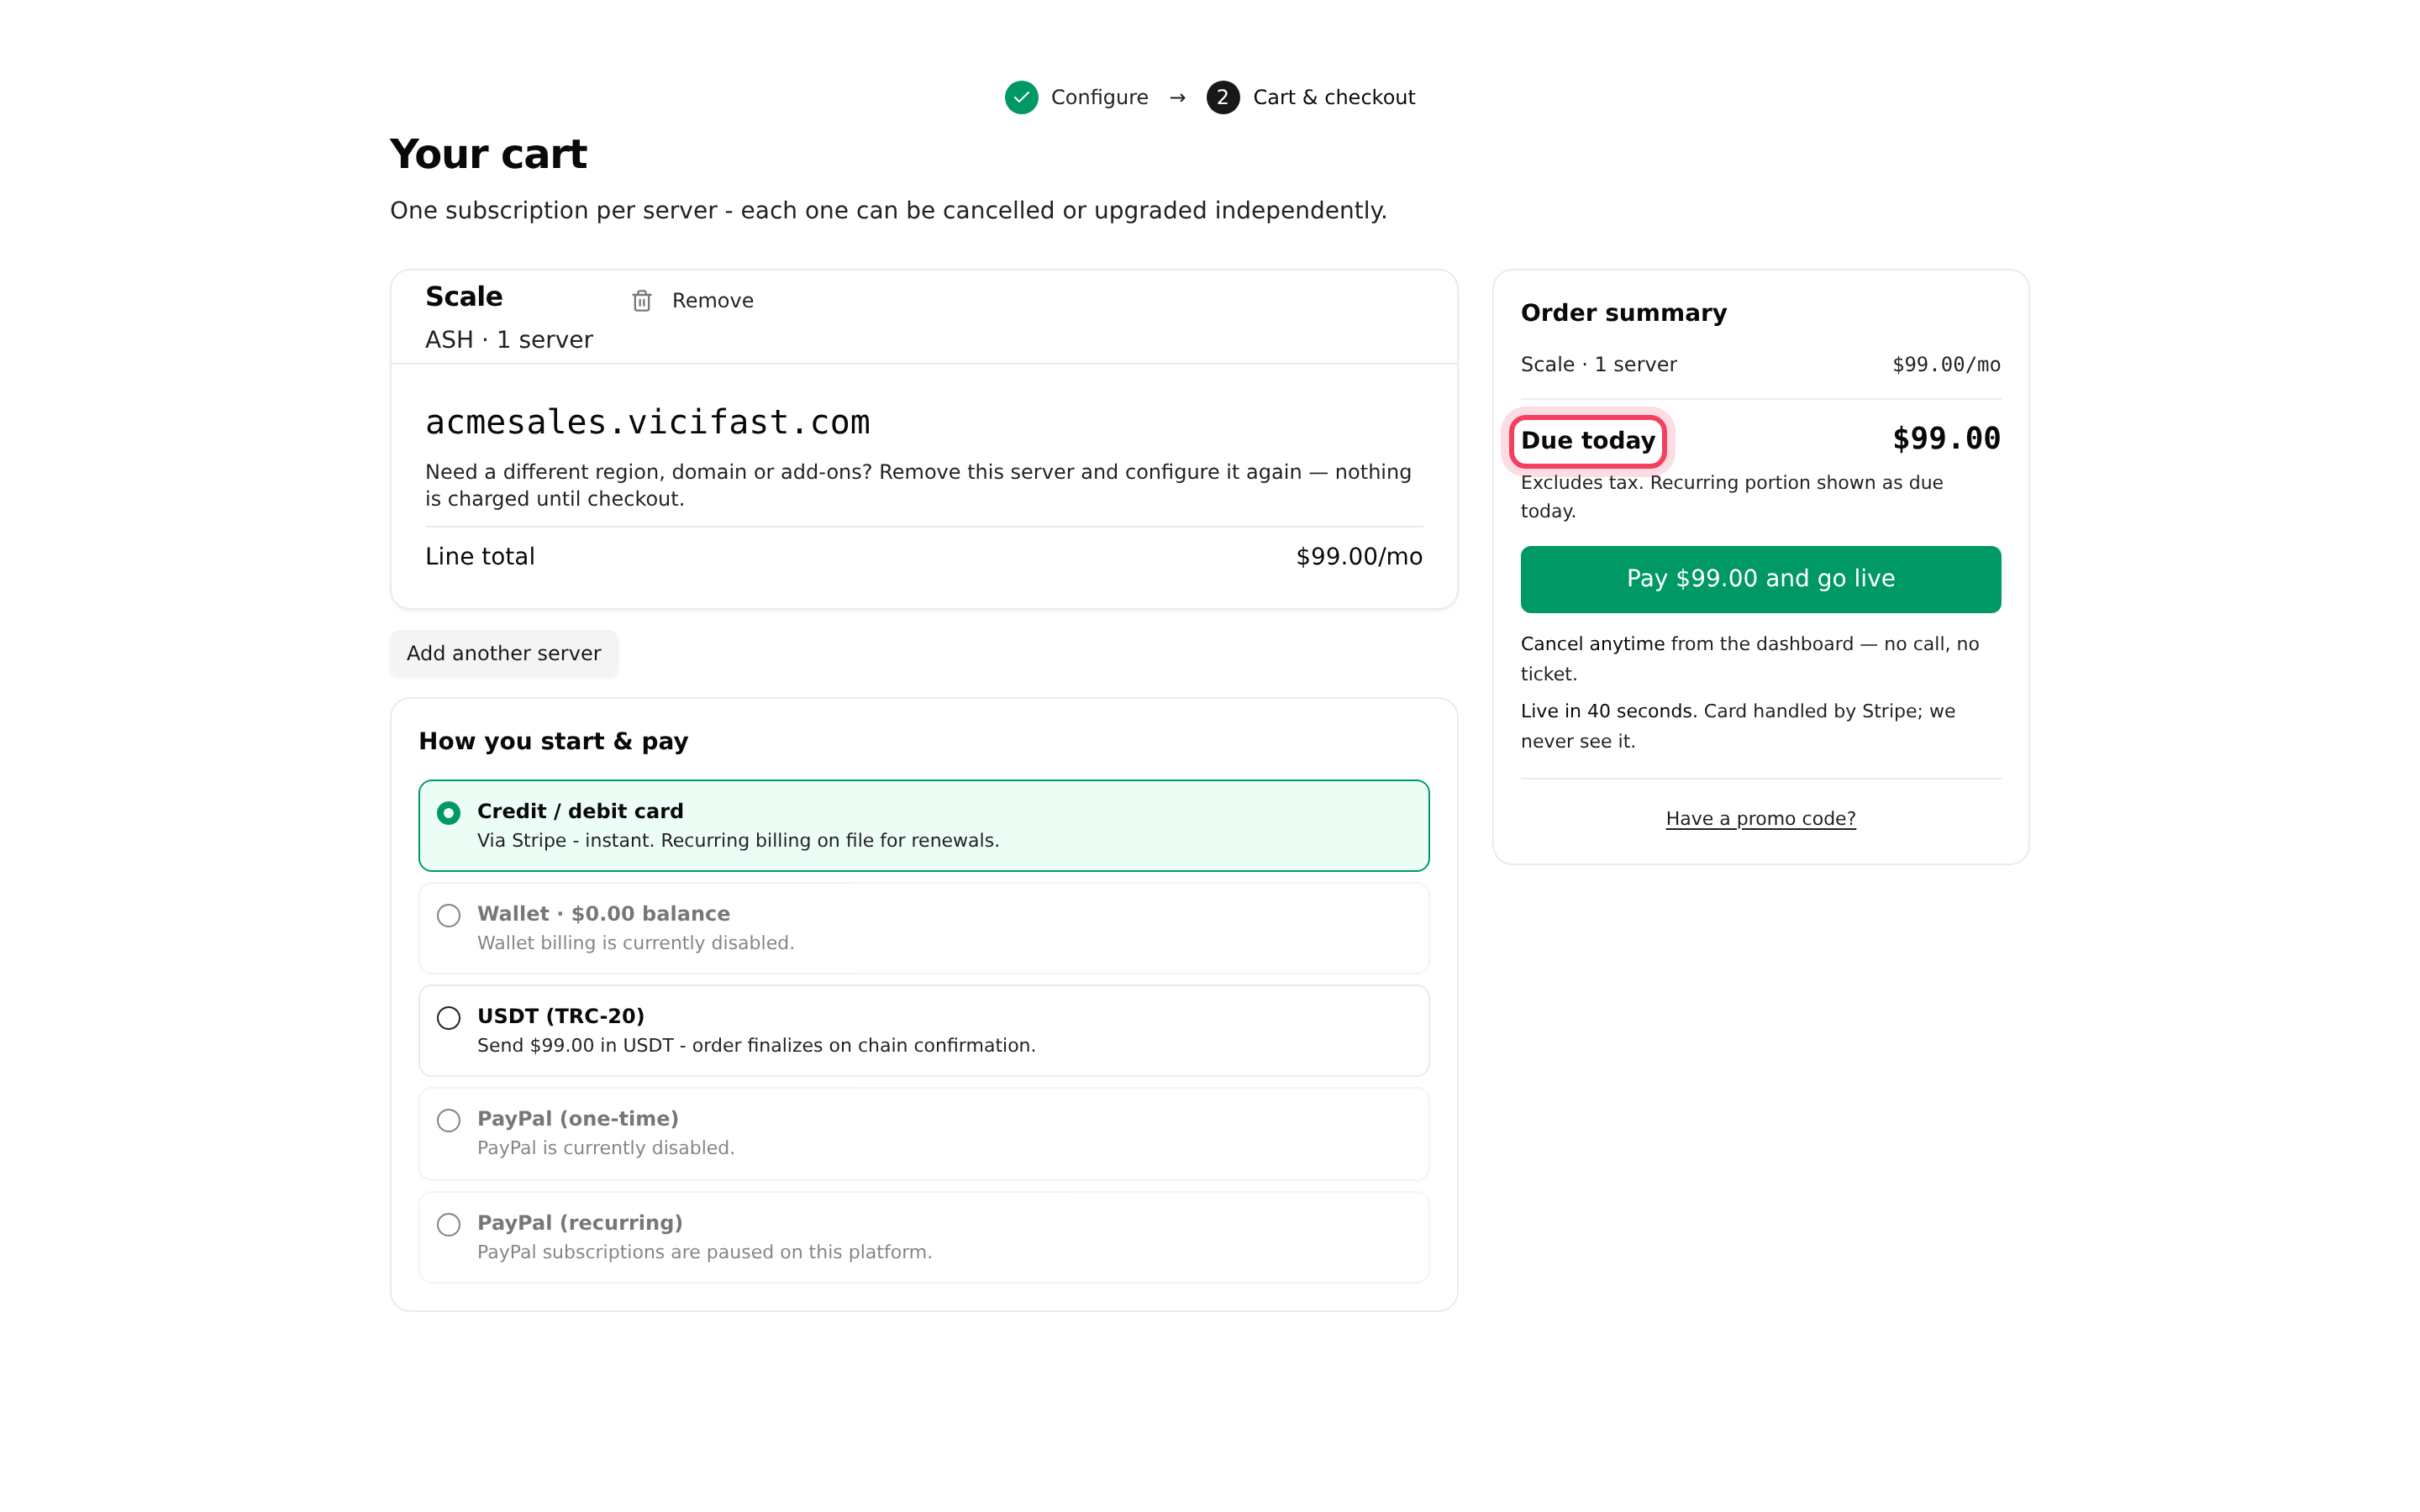
Your cart lists each server with its address, add-ons and line total.
- To change a server's region, name or add-ons, click Remove and configure it again. Nothing is charged until checkout. Add another server adds a second server to the order.
- Under How you start & pay, pick Credit / debit card, Wallet, USDT (TRC-20), PayPal (one-time) or PayPal (recurring). A method you can't use says why.
- For anything other than a card, fill in Billing address (two-letter country code and postcode) and click Save address. It is needed for the tax on your invoice.
- Have a promo code? Click Have a promo code?, type it and click Apply. Codes work with card payments only.
- Check Order summary and Due today, then click Pay … and go live. For a trial it reads Start free trial - $0 today.
Step 7: Watch your server build
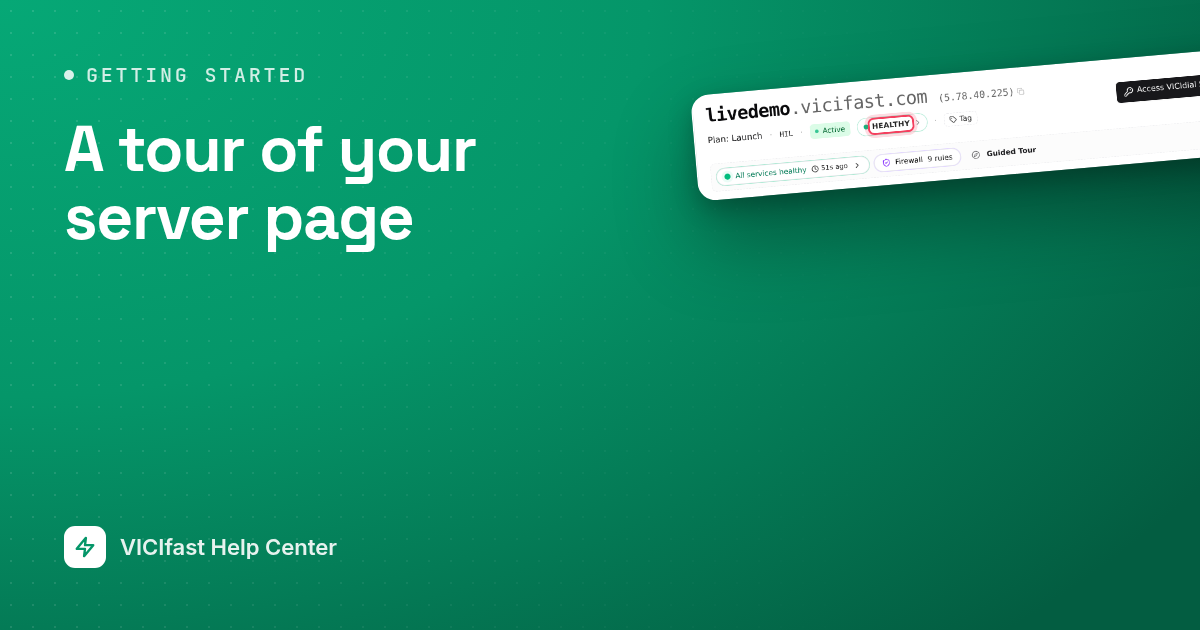
After payment you land on your new server's page. If you ordered several servers, you land on My Servers. A progress card shows what is happening:
- Waiting for the datacenter… while the datacenter builds your machine.
- Setting up your server once the machine is handed over: the step it is on, a countdown, and a row of dots, one per step. VICIdial is live in under 40 seconds from the handover.
- Finishing setup while the server is secured and checked.
When the card finishes, the page reloads and the status reads Active. You also get an email whose subject is your server's address followed by "is ready".
Along the way the status reads Pending payment (the payment hasn't gone through yet, so nothing is built), then Provisioning (your machine is being created), Installing (VICIdial is being installed and secured) and Active. Failed means a setup step went wrong; our team is told automatically.
If something goes wrong
Frequently asked
- Pick another region. If it runs out after the server is in your cart, checkout says so and lists regions that have stock. Remove the server and configure it again.
- Click the link in the verification email we sent when you signed up, or resend it from your account settings. Disposable email addresses are not accepted for trials.
- A free trial needs a card so it can be billed when it ends. Choose Pay today under How you start & pay and they appear.
- Someone claimed that address while it sat in your cart. Click Remove on that server and configure it again with another name.
- Your bank wants an extra check (3-D Secure). Click the Complete payment button and finish it. If it is still unpaid 12 hours after the order, the order is cancelled and your card is not charged.
- Click Report to support on the card to send us the details. On My Servers, the server also offers Re-provision (try again in a region with stock, same price) and Cancel install (your payment is refunded to your card or wallet).