VICIfast Voice: apply, buy numbers and route them
Get a phone line from us for your dialer, buy local and toll-free numbers from your wallet, and choose where each number rings.
Phone lines, numbers & caller ID · 5 min read
VICIfast Voice is a phone line (a trunk) from us. Your dialer sends its calls over it, answering-machine detection is included, and you can buy local and toll-free numbers that ring your queues. This guide takes you from the application to your first number ringing.
What you need
- You must be the account owner. Team members don't see the Trunks & DIDs pages.
- A server with us. Numbers ring a queue on a server, and calls go out from your servers.
- Money in your wallet before you buy numbers.
Step 1: Fill in the application
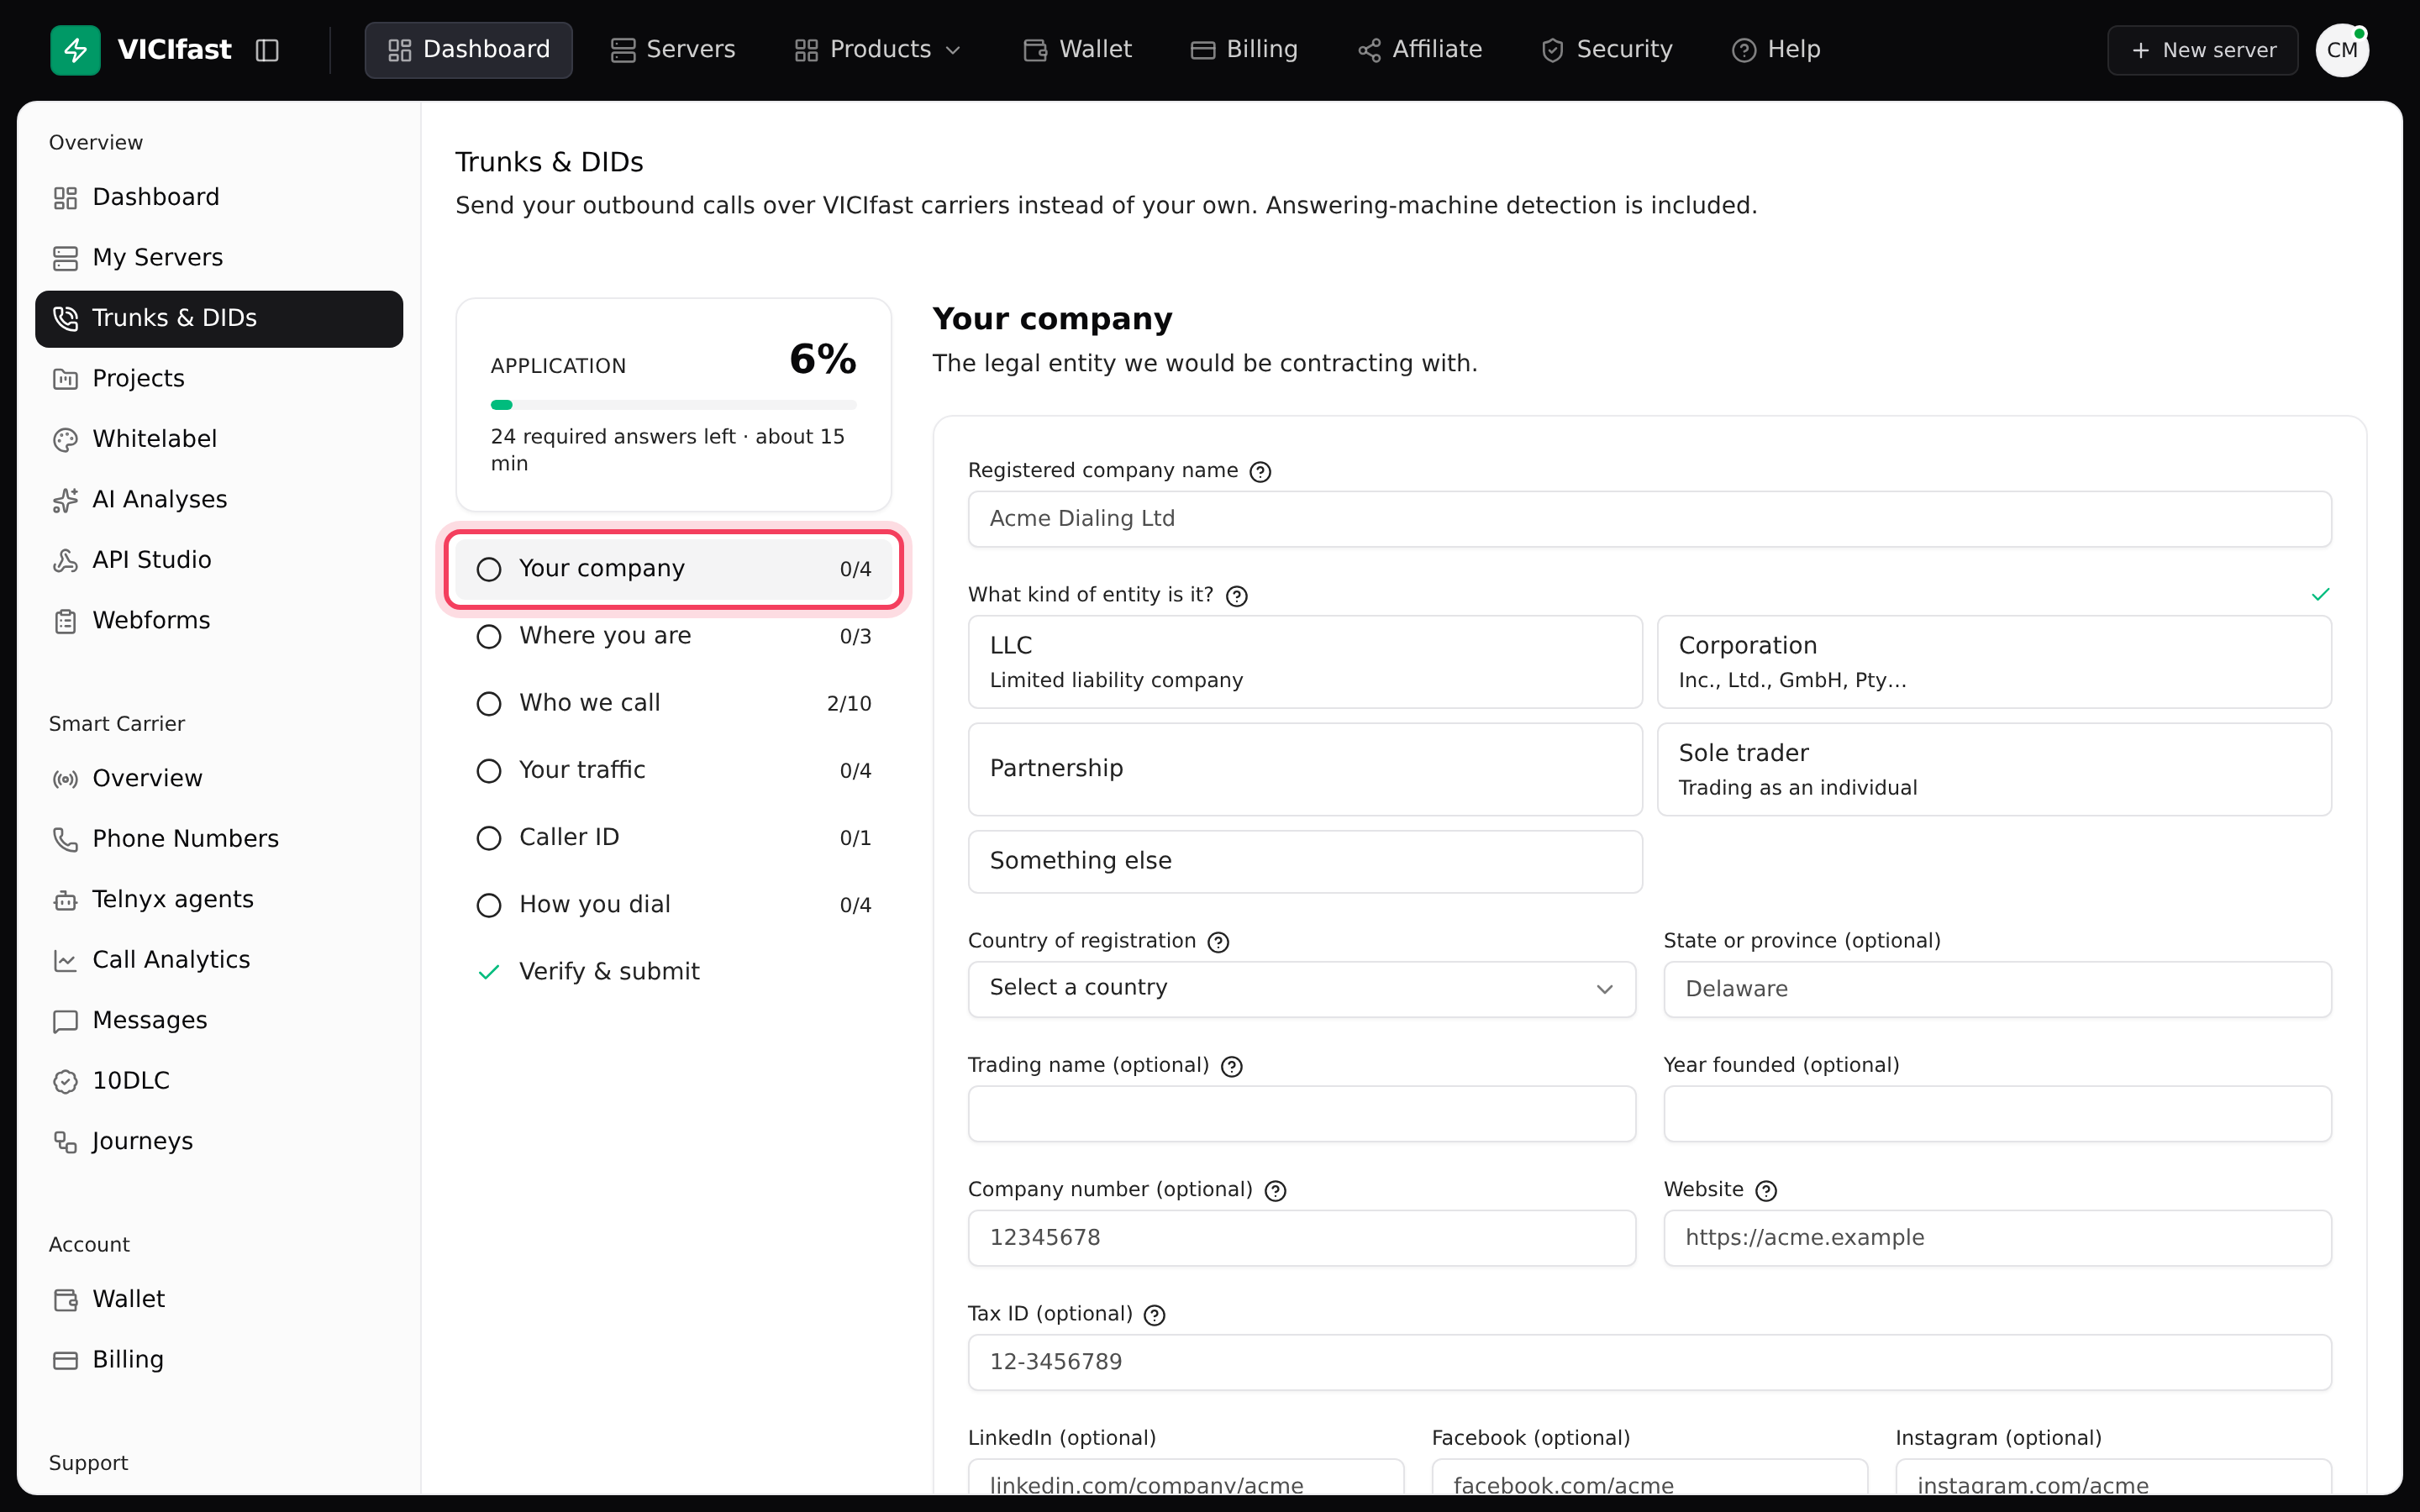
- In the left sidebar, click Trunks & DIDs.
- Answer each step in turn: Your company, Where you are, Who we call, Your traffic, Caller ID and How you dial. If you are a licensed telecoms provider calling the US, Canada or Puerto Rico, one more step appears: Your telecoms registrations.
- Click Continue to move on. Answers are kept as you go (you'll see Saved), and the card on the left shows how many required answers are left.
Step 2: Verify and submit
The last step, Verify & submit, has four short parts. They unlock once the fee is paid.
- Pay the one-time verification fee. The button shows the amount, for example Pay $9.00 and continue. It pays for the checks, so it is not refunded if you are declined, but you can fix the problem and apply again at no extra charge.
- Click Verify my identity. You take a photo of a government ID and a selfie on a page run by Stripe. We only receive a yes or no.
- Click Read and sign to sign the agreement. It is already filled in from your answers, and a copy comes by email.
- Under Company check, click Run the check. We look your company up in the public register.
- Click Submit application.
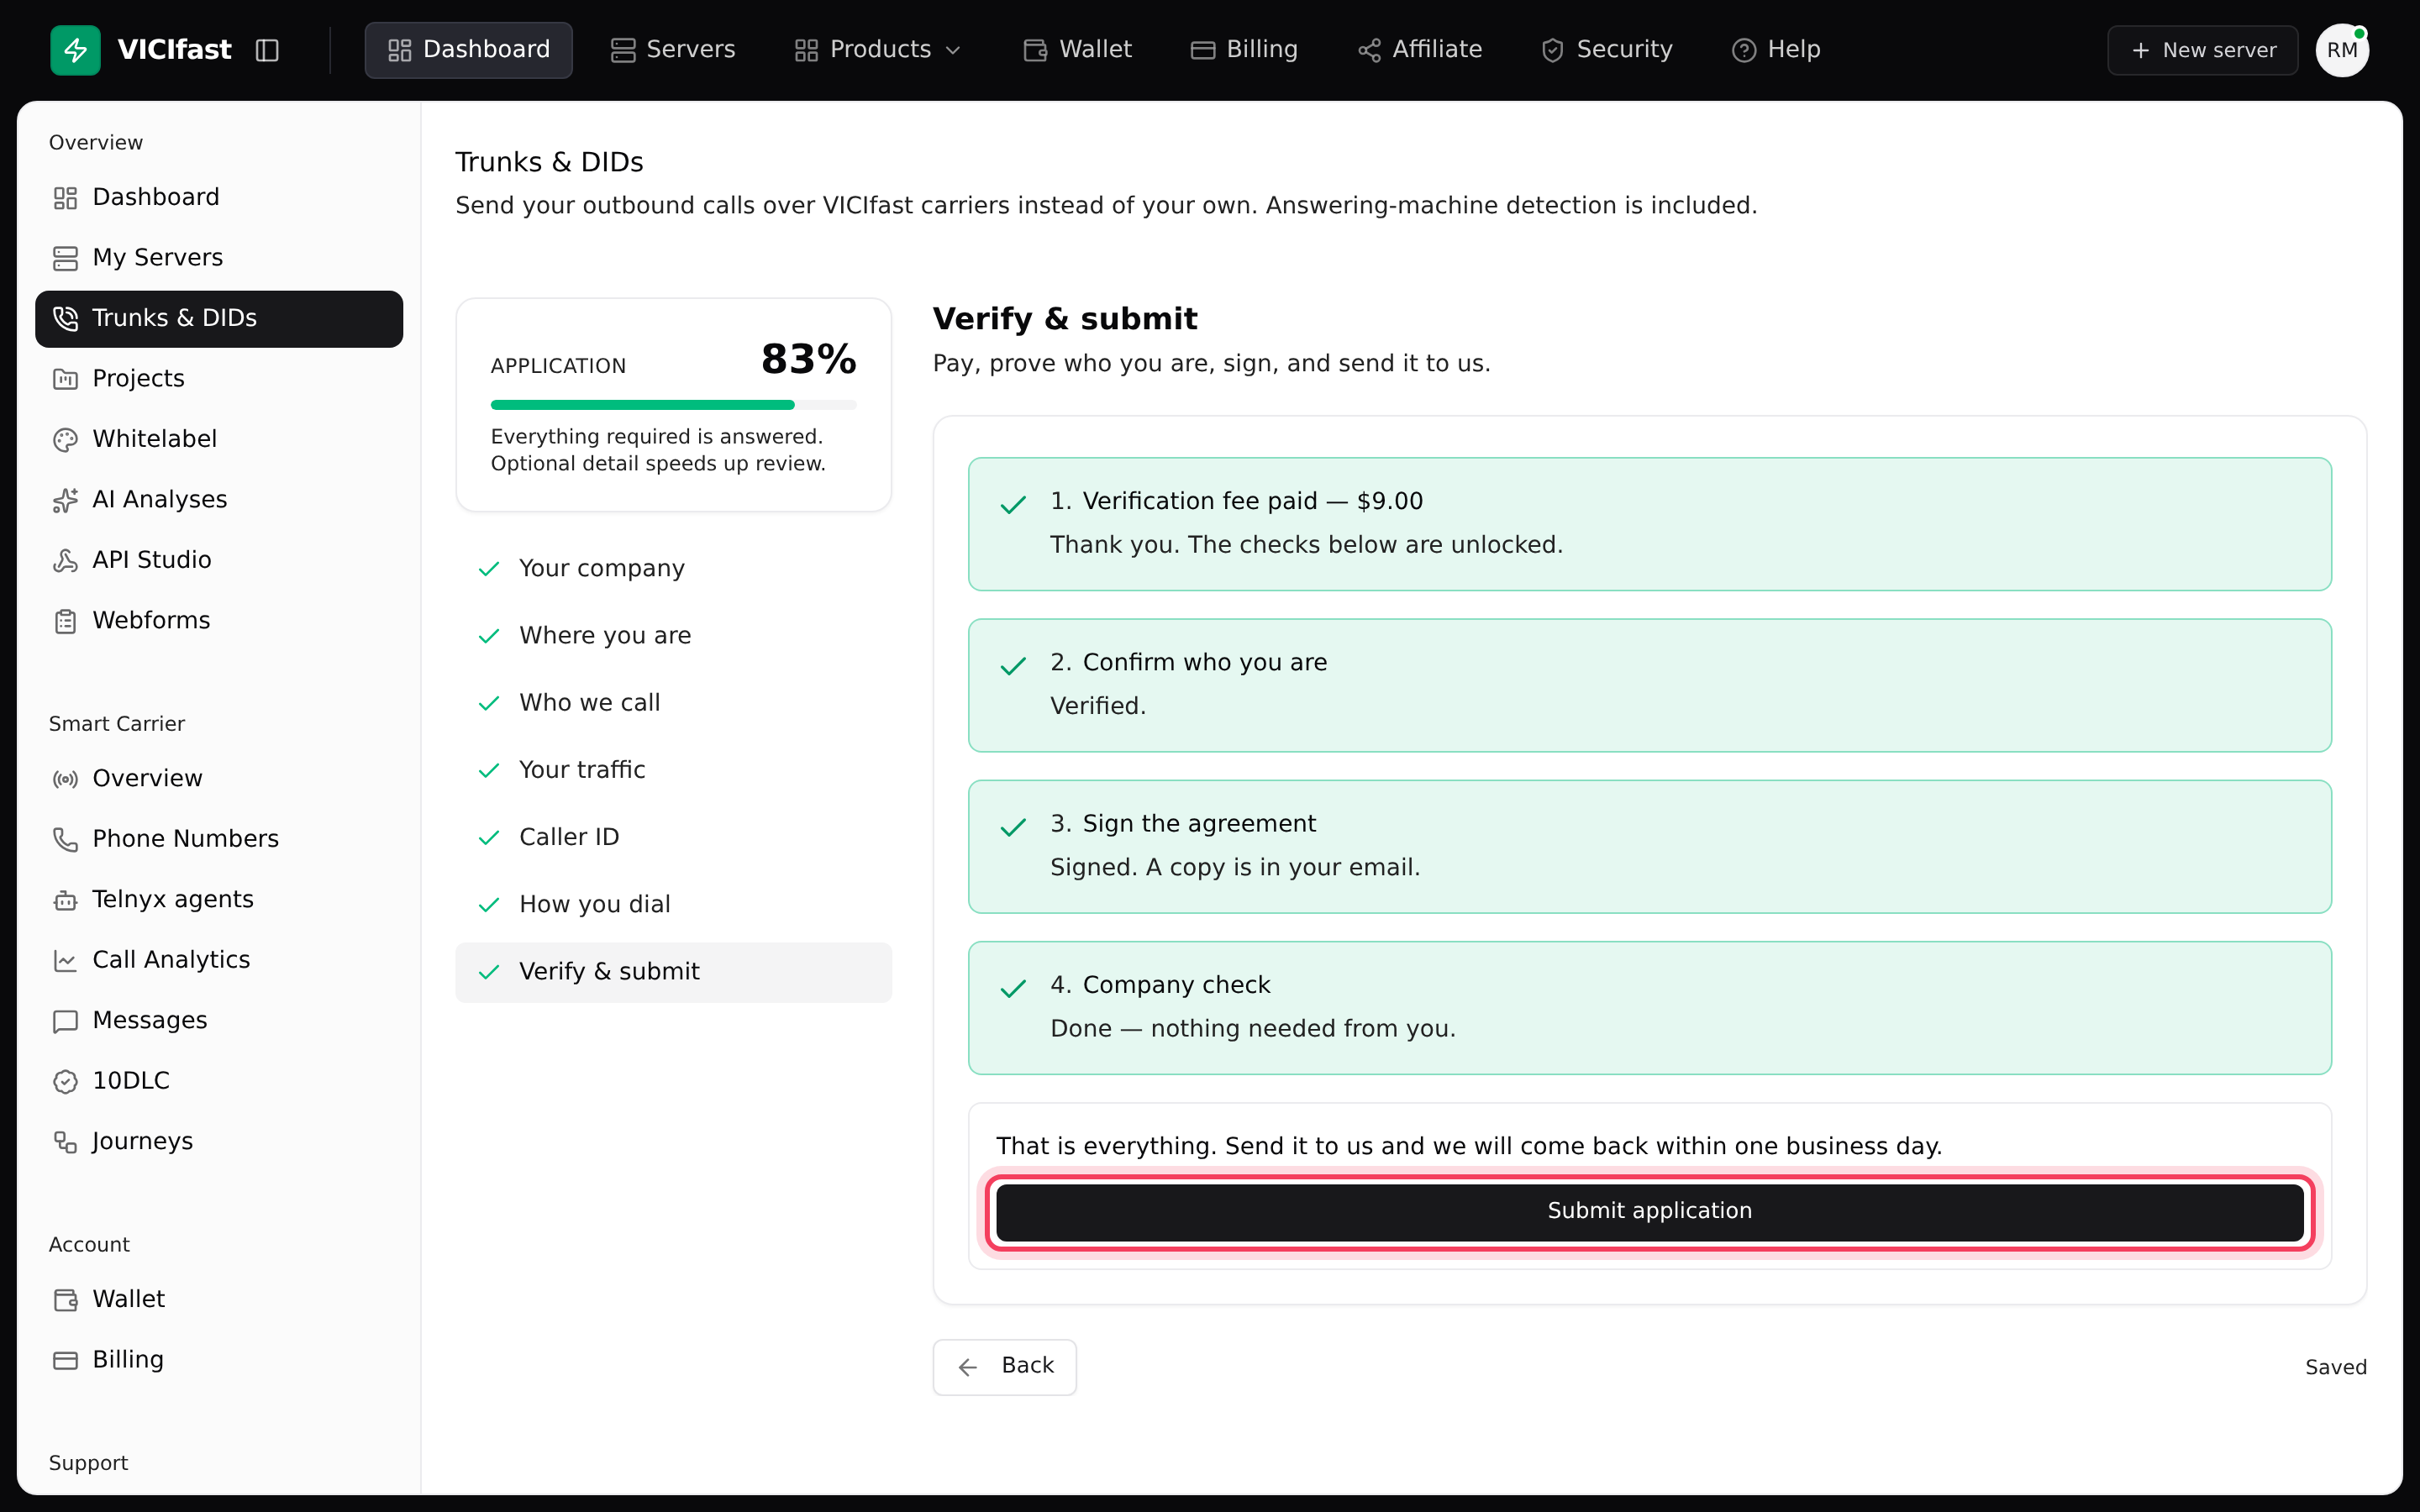
The page now shows Application in review, with the line "We usually decide within one business day." You can still Withdraw it from there. If we decline, the page shows the reason and an Edit and re-apply button, with all your answers kept.
Step 3: Check the line and send calls over it
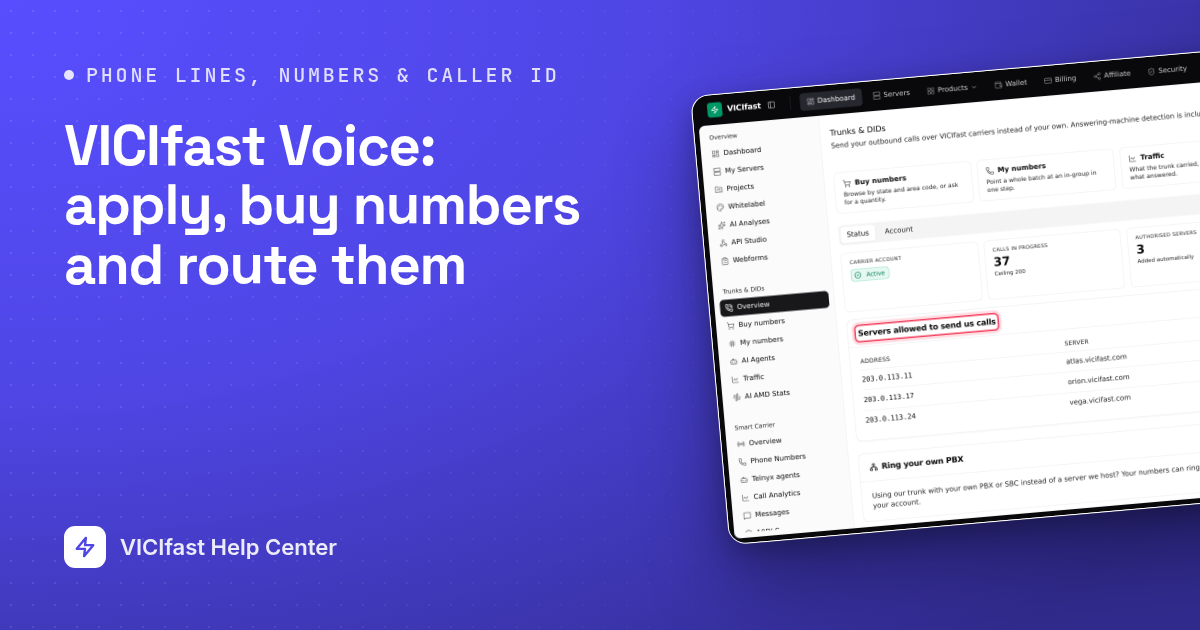
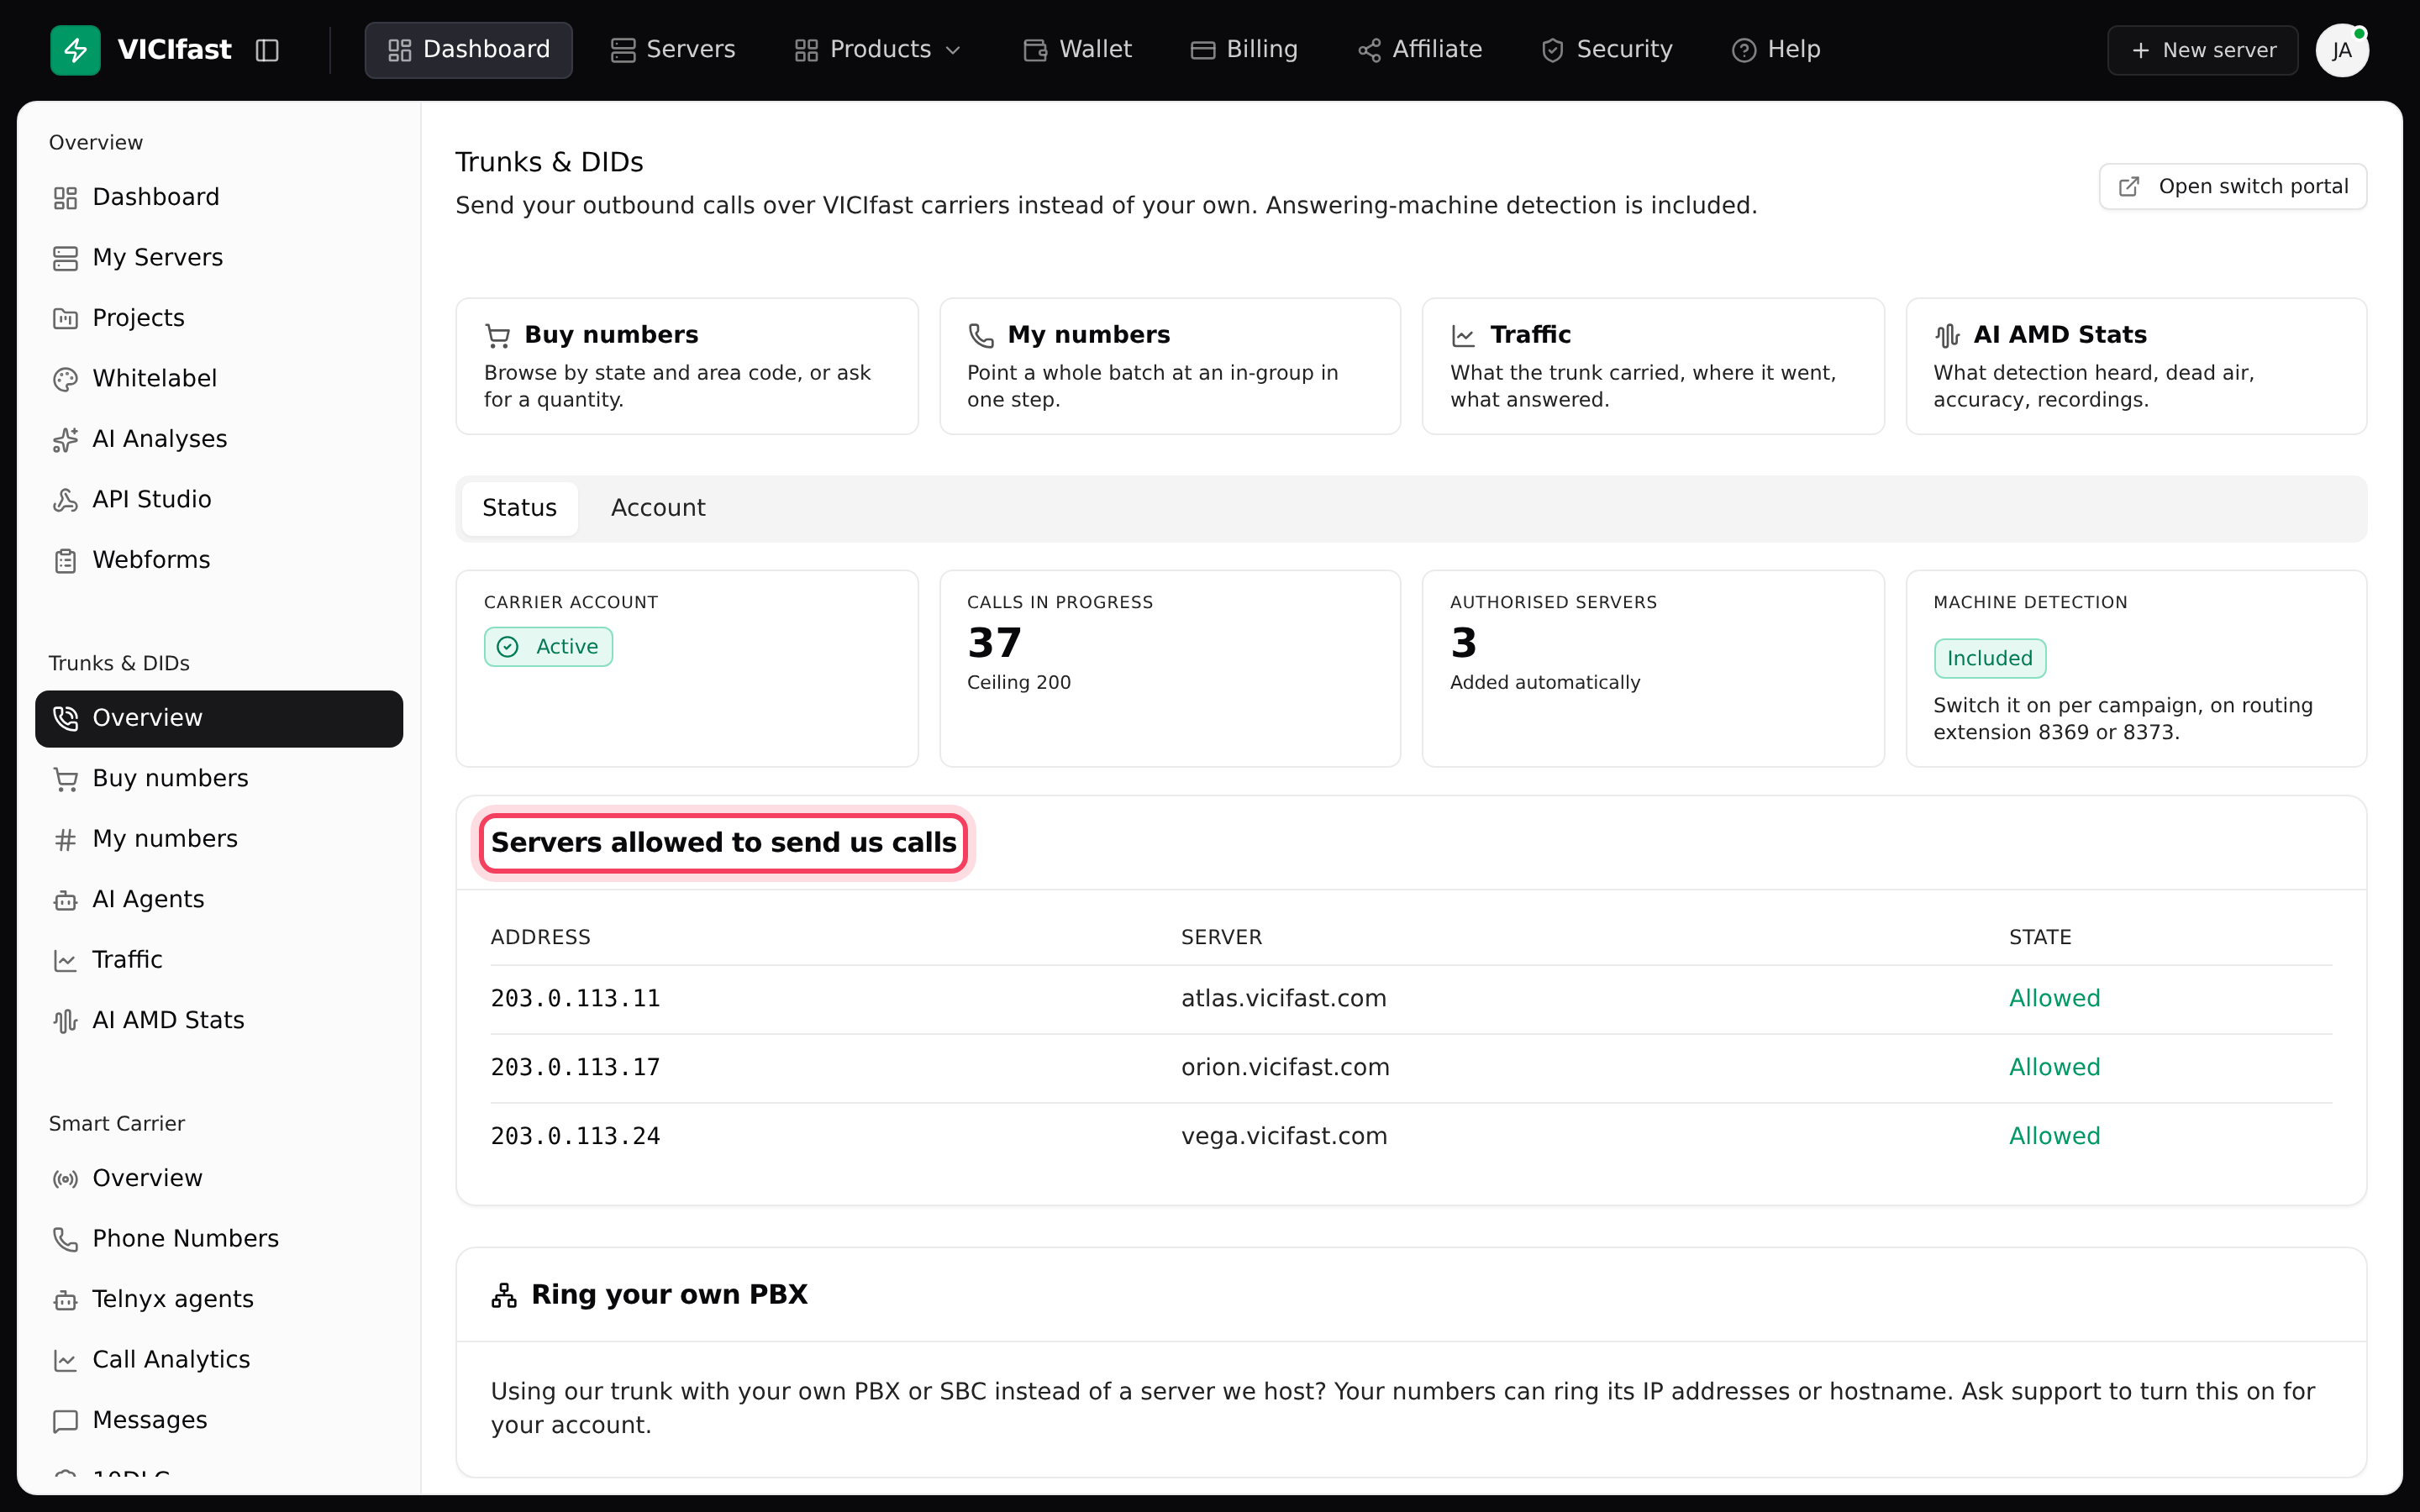
- Click Trunks & DIDs, then Overview. The Status tab shows your carrier account (Active), Calls in progress against your ceiling, and Servers allowed to send us calls. Each of your servers should be listed as Allowed.
- To dial a campaign over the line, open the campaign on your server, go to its Trunk / Routing tab and pick VICIfast SIP under Campaign trunk. Then click Save 1 change.
Step 4: Buy numbers
Click Buy numbers. The strip at the top shows your price for a Local number and a Toll-free number each month, the per-minute price for calls coming in, and your Wallet balance. Numbers are paid from your wallet. There are two ways to buy.
Order numbers (many at once):
- Choose Local or Toll-free.
- For local numbers, under 1. Where, click the states you want, or All 50 + DC.
- Under How many, type a number and choose how to spread them, for example in every area code or in total, split by where you dial. One order can hold up to 5,000 numbers.
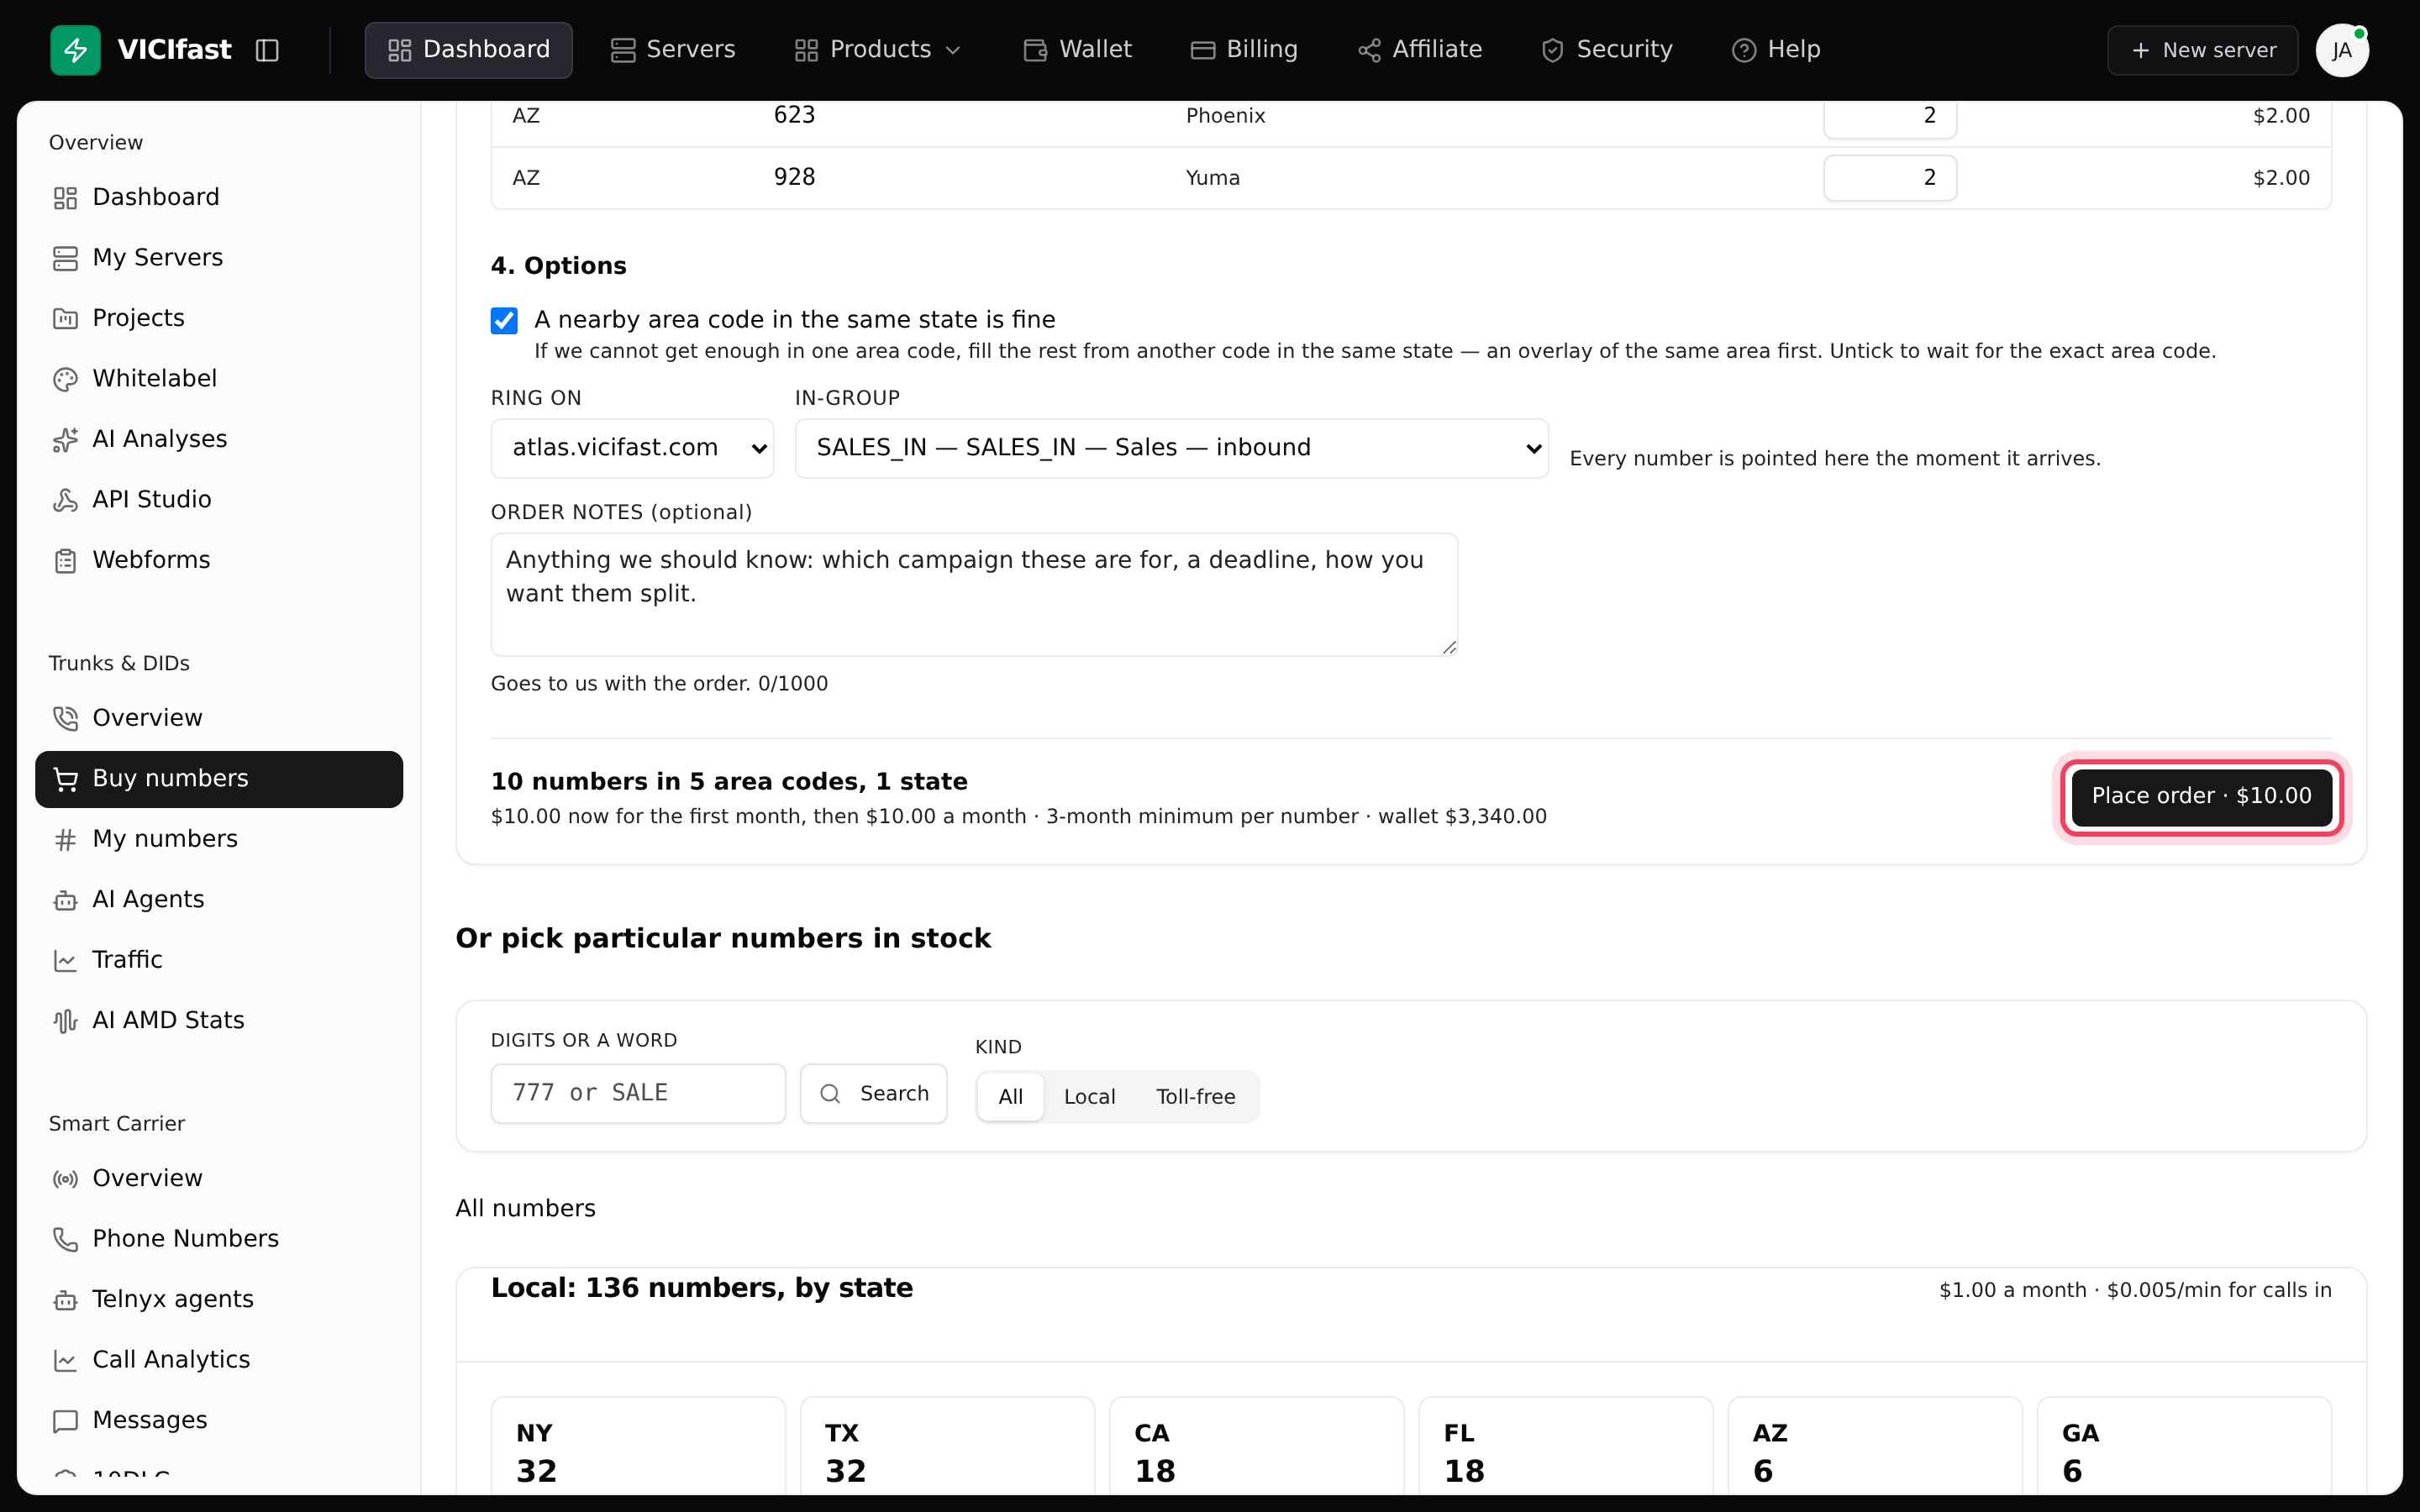
- Check the plan, then under Options set Ring on to a server and pick an In-group (queue), or leave Decide later. Add Order notes if you like.
- Click Place order (the button shows the total). The first month is taken from your wallet. Numbers are delivered as we get them, and you can cancel what has not arrived for a refund.
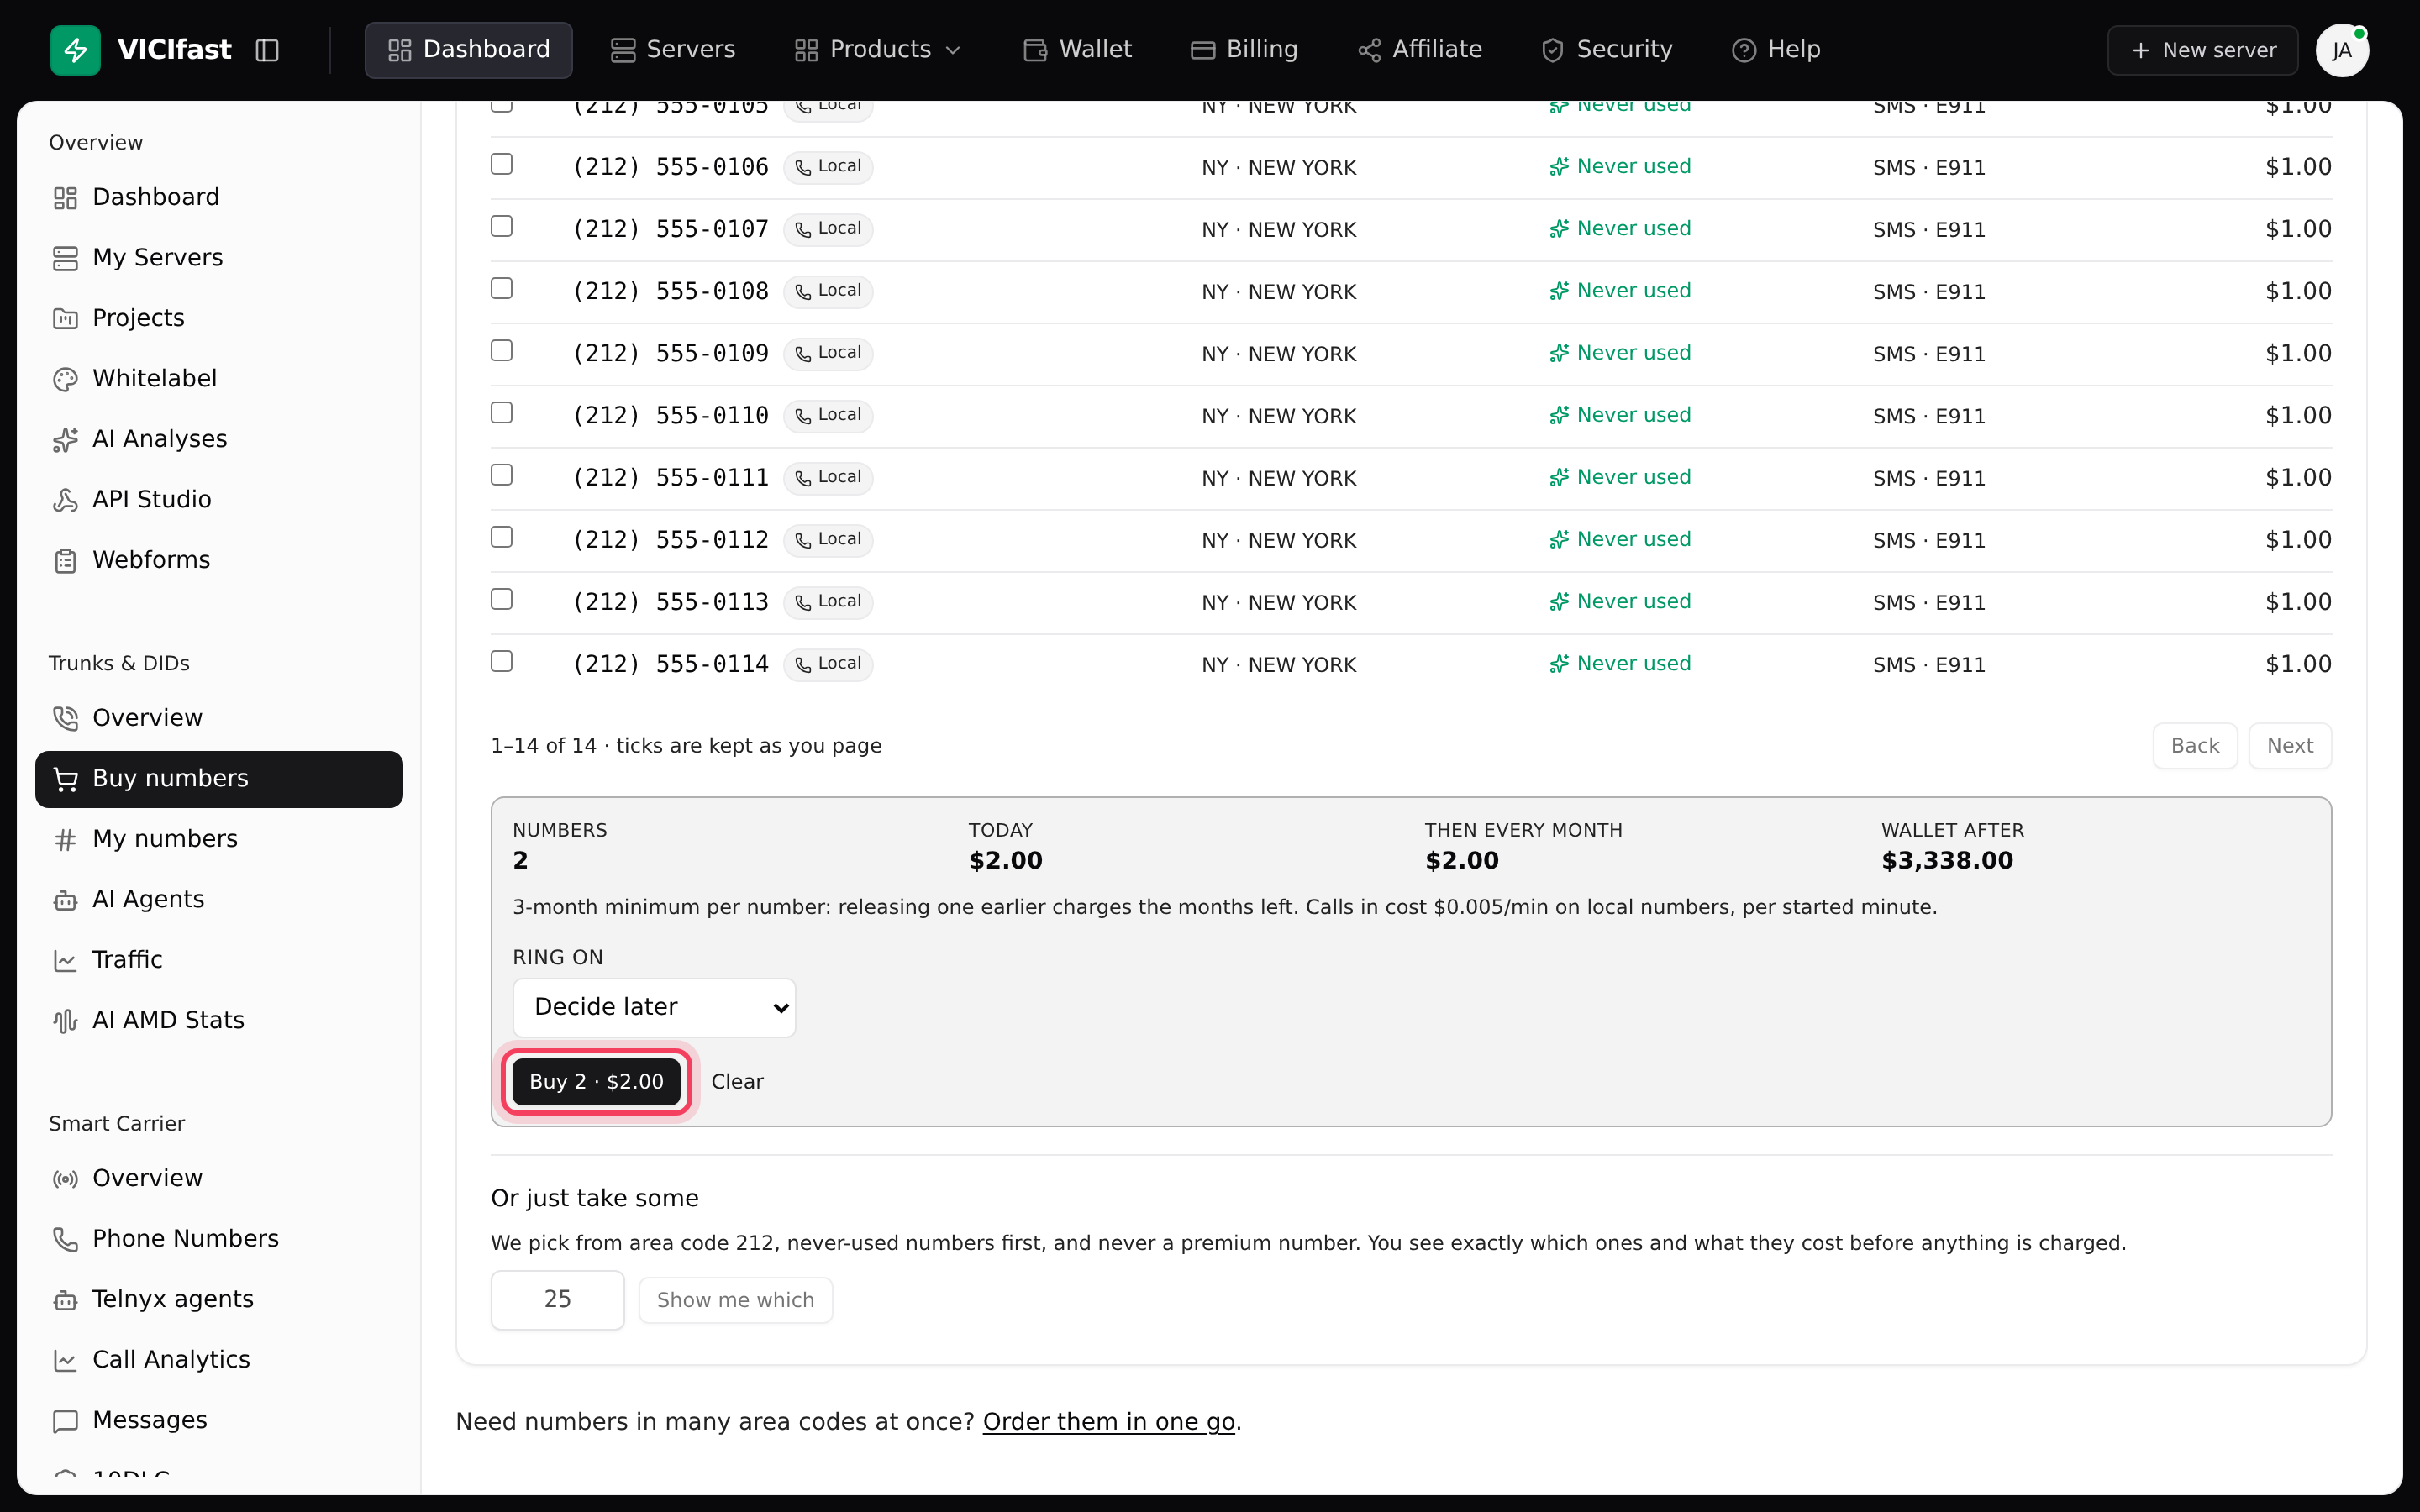
Pick particular numbers: under Or pick particular numbers in stock, click a state, then an area code, or search Digits or a word (for example SALE). Tick the numbers you want, set Ring on, and click Buy (the button shows how many and the cost). The cost and your wallet balance after the purchase are shown before you confirm. Under Or just take some, type how many and click Show me which to let us choose.
Step 5: Choose where your numbers ring
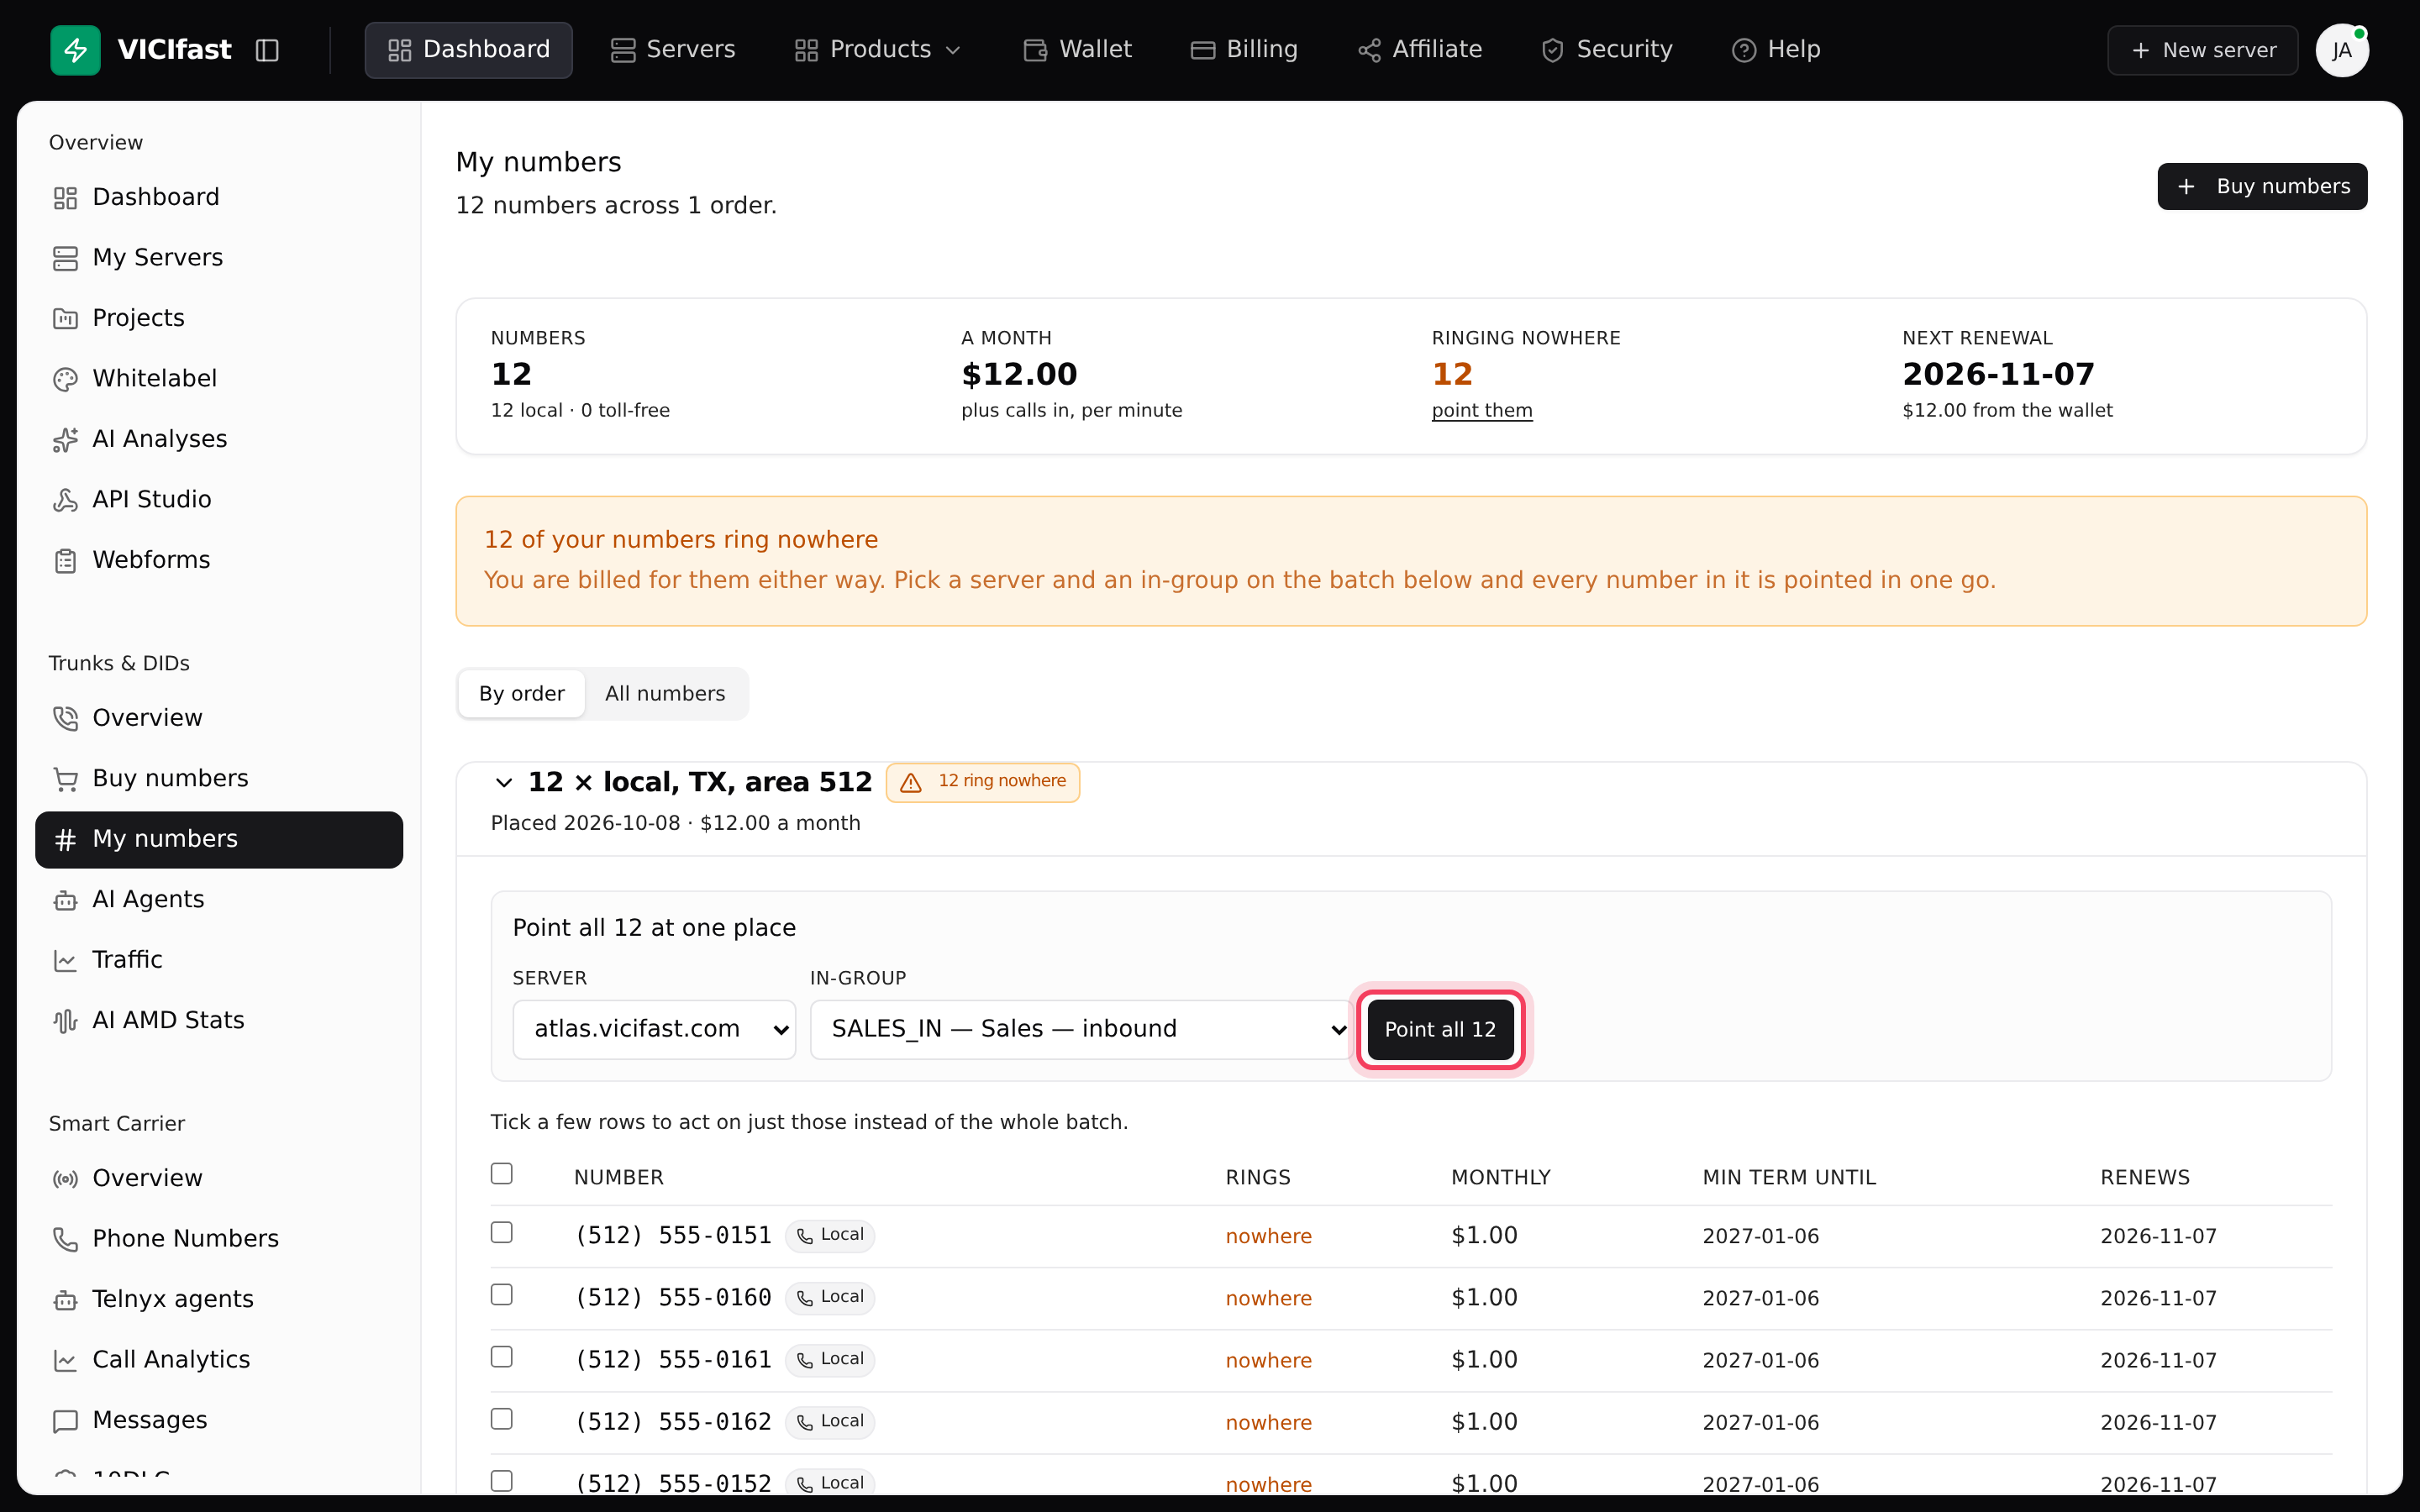
- Click My numbers. Each order is a batch. The Ringing nowhere count shows numbers that are not pointed anywhere yet; you are billed for them either way.
- On a batch, find the box headed Point all 12 at one place (the number is the size of the batch). Pick the Server and the In-group (for example SALES_IN). To do only some numbers, tick their rows first.
- Optional: under Also add them as outbound caller ID in, tick a caller ID group so your agents can call out from these numbers too.
- Click Point all 12. You'll see "Calls will arrive once your server applies the change."
Use All numbers to see every number in one list, and Release all (or Release these for ticked rows) to give numbers back. The release cost is shown before you confirm with Yes, release them.
If something goes wrong
Frequently asked
- Only the account owner sees it. Sign in as the owner, or ask the owner to apply.
- Number purchases have been switched off for your account. The numbers you already own keep working and renewing. Chat with support to buy more.
- Your wallet doesn't cover the purchase. Top up the wallet, then buy again.
- Stock is shared with other customers. Refresh the page and pick from what is left.
- Calls won't arrive until the carrier confirms. It retries by itself within half an hour, and pointing the numbers again also retries it.
- Check the Status tab on Overview: your server must be listed as Allowed. If it is listed and the line still isn't offered, chat with support.