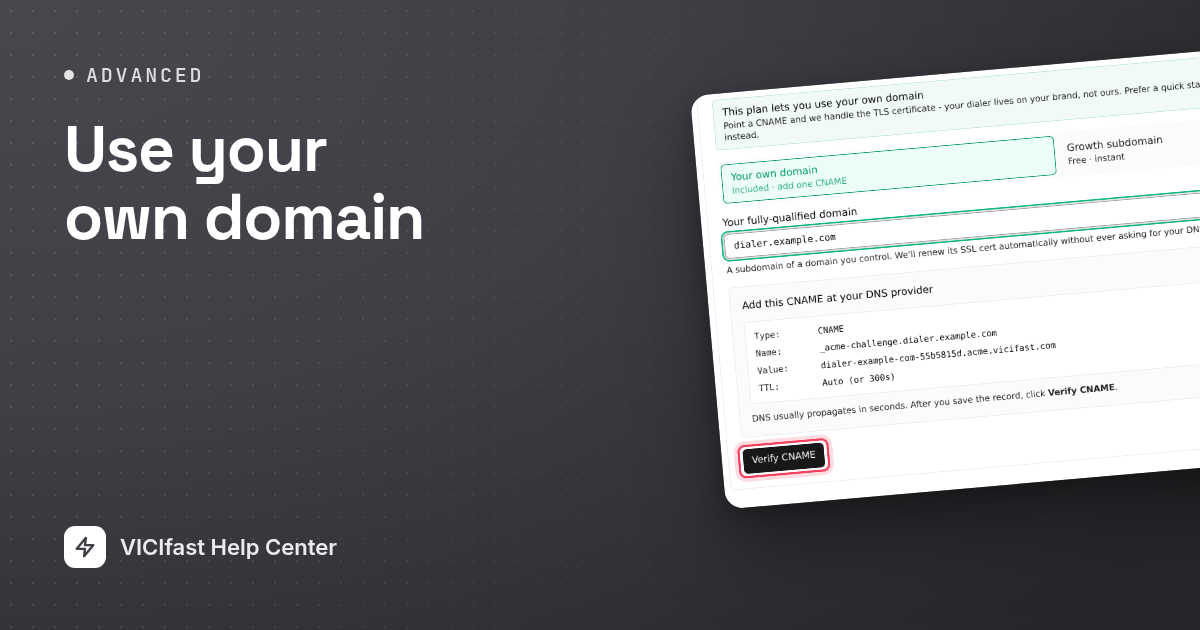
Using your own domain (BYO domain)
Run your dialer on dialer.yourcompany.com instead of a vicifast.com address — at order time or any time after. Two DNS records, automatic SSL, and a branded firewall portal, step by step.
On plans that include it, your dialer can live on your own domain — something like dialer.yourcompany.com — instead of a vicifast.com address. You add two DNS records at your DNS provider, and we issue and renew the SSL certificate automatically. Your agents can even reach the firewall self-serve portal on firewall.yourcompany.com. You can pick your own domain at order time, or move an existing server onto it any time later — both paths are in this guide, click by click. About ten minutes of work, most of it waiting for DNS.
Before you start
- You need a domain you own and access to its DNS settings (Cloudflare, GoDaddy, Namecheap, Route 53 — anywhere you can add records).
- Your own domain is included on Growth, Pro, and Ultimate (shared CPU), on Pulse, Surge, Velocity, Turbo, and Hyper (dedicated CPU), and on BYOI. It is not included on Launch or Scale — if you don’t see the option at order time, that’s why.
- Decide the exact address up front, for example dialer.yourcompany.com. A subdomain of a domain you control is what the form expects.
Step 1 — Start the order
- Open the pricing page.
- Find a plan that includes your own domain (see the list above) and click Get started.
- You land on the configure screen. Scroll to Step 2 — Domain.
Step 2 — Choose "Your own domain"
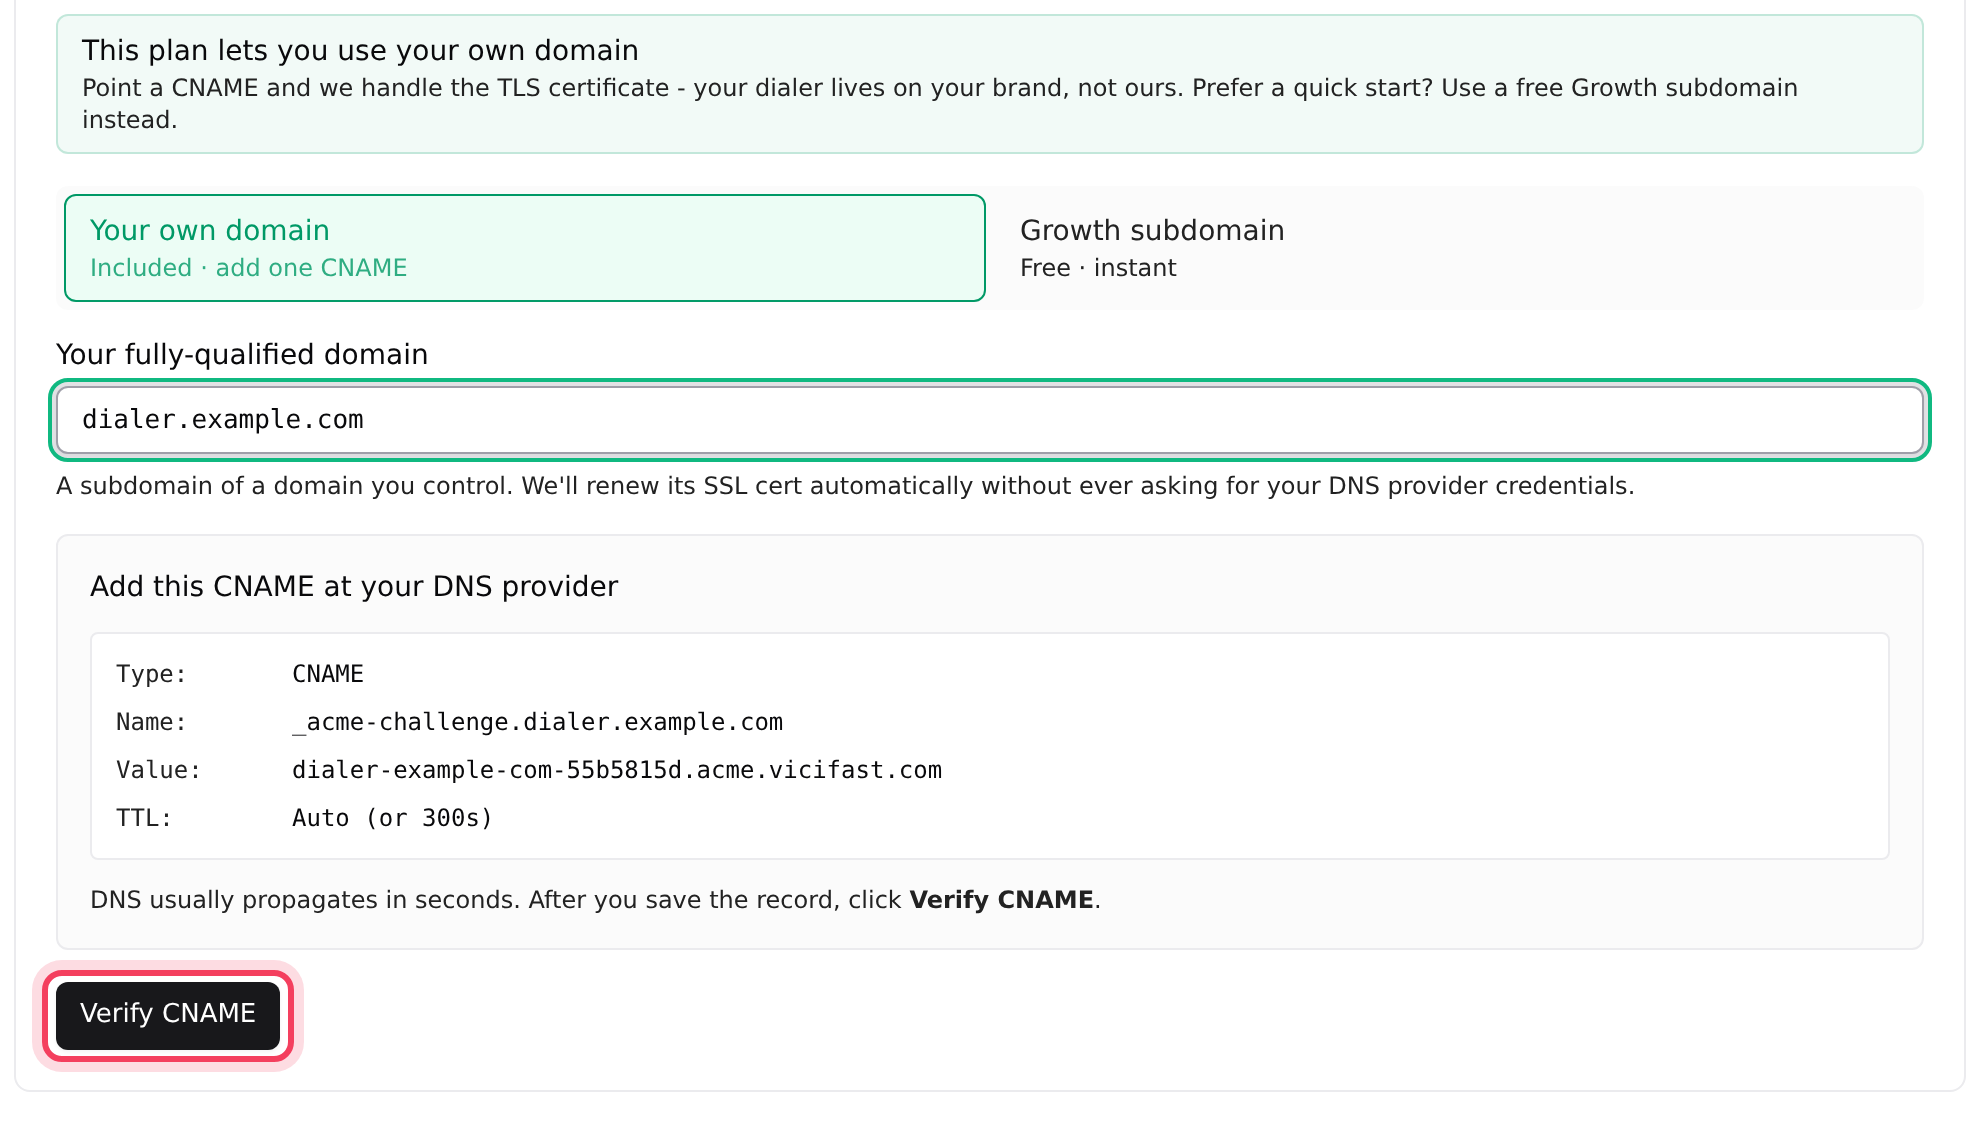
- Under the "This plan lets you use your own domain" note you get two pills: Your own domain (Included · add one CNAME) and a free plan subdomain (Free · instant). Click Your own domain — it is usually pre-selected.
- In Your fully-qualified domain, type the address you decided on, for example dialer.yourcompany.com.

The moment you type the address, the page shows you the one DNS record it needs. That record is what lets us issue — and forever renew — the SSL certificate for your address without ever asking for your DNS provider password.
Step 3 — Add the CNAME and verify
- Open your DNS provider in a new tab and add a CNAME record exactly as shown: Name is _acme-challenge. followed by your address, Value is the long …acme.vicifast.com value on screen, TTL Auto (or 300s).
- Save the record, come back, and click Verify CNAME.
- Green means done — the card flips to "Using your own domain: your-address" and you can continue. Red means the message tells you exactly what to fix: the record is missing, it points at the wrong target, or the first word of your address is already taken by another customer (pick a different first word, like pbx. instead of dialer.).

DNS usually propagates in seconds, but some providers take a few minutes. If verification fails right after you saved, wait a minute and click Verify CNAME again.
Step 4 — Check out
Finish the remaining steps (billing cycle, add-ons) and check out. One honest limit: your-own-domain orders are one server per order — the quantity stepper locks and says "BYO domains are 1 per order." Need two servers on your domain? Place a second order with a different first word, for example dialer2.yourcompany.com.
Step 5 — Point the domain at your server (the A record)
After payment, your server starts building. Open it from Servers in the left sidebar and you will see an amber banner, "Point your DNS at this server":
- At your DNS provider, add an A record: Name is your full address, Value is the IPv4 shown in the banner (there is a Copy button), TTL 300.
- Save. Once the record propagates — usually under a minute — the install continues automatically.
The certificate is not a problem here: it is issued through the CNAME from step 3, so it works even before the A record exists. If the install seems stuck, double-check that your DNS provider is not proxying the record through a CDN that hides the real IP — the banner itself warns about this.
Step 6 — Put the firewall portal on your domain
Your agents use the firewall self-serve portal to whitelist their own IP (see the Manage Firewall guide). By default that link is on firewall.vicifast.com. On a your-own-domain server you can move it to firewall.yourcompany.com:
- Click Servers in the left sidebar, then click your server’s name.
- In the tools strip near the top, click Manage Firewall.
- Directly under the portal link, find the "Branded firewall portal — firewall.yourcompany.com" card, marked Action needed.
- At your DNS provider, add every record the card lists — a CNAME for the firewall. address plus a TXT validation record. Each value has its own copy button.
- Back in the modal, click Re-check.
- Once Cloudflare validates the records (usually a few minutes), the card turns green, shows Live, and the portal link at the top of the modal switches to your domain automatically. Send that link to your agents from then on.
The address is derived by dropping the first word of your dialer address: dialer.acme.com becomes firewall.acme.com. All your servers on the same domain share the one branded portal host — only the short suffix at the end of each link differs. The link only switches while the agent self-serve portal is turned on (Manage Firewall → Settings).
Already have a server? Move it to your own domain
You no longer have to decide at order time. Any running server can be renamed onto your own domain later — same two DNS records, same automatic certificate:
- Click Servers in the left sidebar, then click your server’s name.
- In the tools strip near the top, click Configurations, then Hostname.
- In New hostname, type the address you want, for example dialer.yourcompany.com, then click Check hostname.
- The panel shows the two records to add at your DNS provider: an A record pointing your address at the server’s IP, and the _acme-challenge CNAME into our acme.vicifast.com zone. Each value has its own copy button. Add both, with a low TTL (300s).
- Click Rename server, then Yes, rename it to confirm.
The rename takes about a minute: we issue the certificate for the new name first, then switch the box over — calls in progress are not interrupted. The old address stops working, so update bookmarks, agent links, and anything calling your API. Same rule as at order time: don’t proxy the records through a CDN (no orange cloud) — it hides the real IP and breaks SIP. If your plan doesn’t include your own domain, the panel tells you so; renaming to a different vicifast.com subdomain still works on every plan, and needs no DNS records at all — we handle those.
Good to know
- Keep the _acme-challenge CNAME for as long as the server exists. Certificate renewals depend on it — delete it and the SSL certificate will eventually expire and browsers will warn your agents.
- Both DNS records live at your provider, not ours. We never touch your DNS, and you can remove the records yourself once the server is terminated.
- Started on a vicifast.com subdomain? You can switch to your own domain any time — see "Already have a server? Move it to your own domain" above. No new order, no migration.
- The first word of your address becomes your portal link, and it must be unique across all VICIfast customers. If the verifier says it is reserved or taken, pick another first word — the rest of the address can stay the same.
- Ordered on a bare apex with a multi-part suffix (like acme.co.uk)? The branded firewall host would derive as firewall.co.uk, which you cannot validate — the portal link simply stays on firewall.vicifast.com. Order on a subdomain (dialer.acme.co.uk) and it works.
- The Verify CNAME button is rate-limited (about 30 checks per minute). If DNS has not propagated yet, give it a minute instead of hammering the button.
You might also like
Call recordings — find, play, download
Where your call recordings live, three ways to find the exact call you need, how to play and download the audio, and how long recordings are kept.
Read article →Live Monitor widget: listen, whisper, barge
Listen to live agent calls from your browser — no desk phone, nothing to install. Monitor silently, whisper to the agent only, or barge in as a third party.
Read article →Backups, scheduled snapshots, and one-click restore
Three layers of data safety for your dialer: the managed daily backup (7-day rolling), a mirror to your own S3, and on-demand downloads — plus how restores actually work.
Read article →