Set up inbound calls: queues, numbers and menus
Build the path an incoming call takes: the phone number, an optional "press 1" menu, and the queue your agents answer from.
Inbound calls · 6 min read
When a customer calls one of your numbers, three things decide what happens. The number itself (called a DID), an optional call menu ("press 1 for sales"), and a queue (an in-group in VICIdial) where the call waits for an agent. This guide builds all three on your server, using the demo's Sales line as the example.
What you need
- A phone number that reaches your server. It can come from VICIfast Voice or from your own carrier. See VICIfast Voice: apply, buy numbers and route them.
- At least one agent login. See Add agents and user groups.
- A campaign your agents log in to that can take inbound calls. See Create a campaign.
- To delete queues, numbers or menus you must be the account owner or an Admin. Anyone else who can open the server can create and change them.
Step 1: Open the Inbounds tab
- In the sidebar, click My Servers, then click your server.
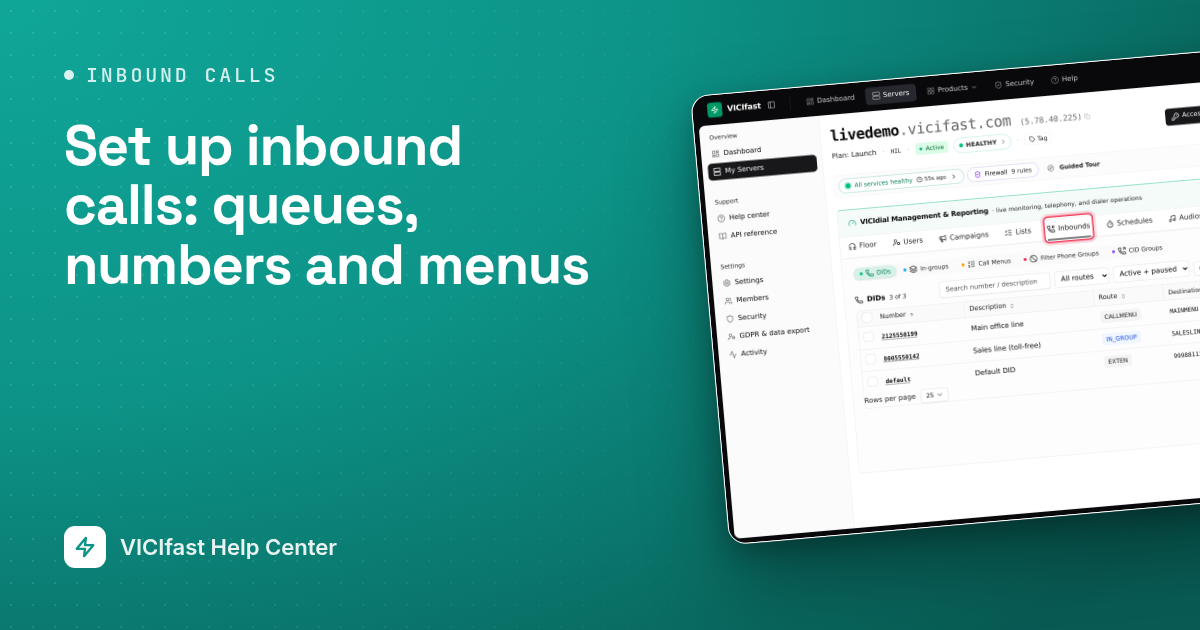
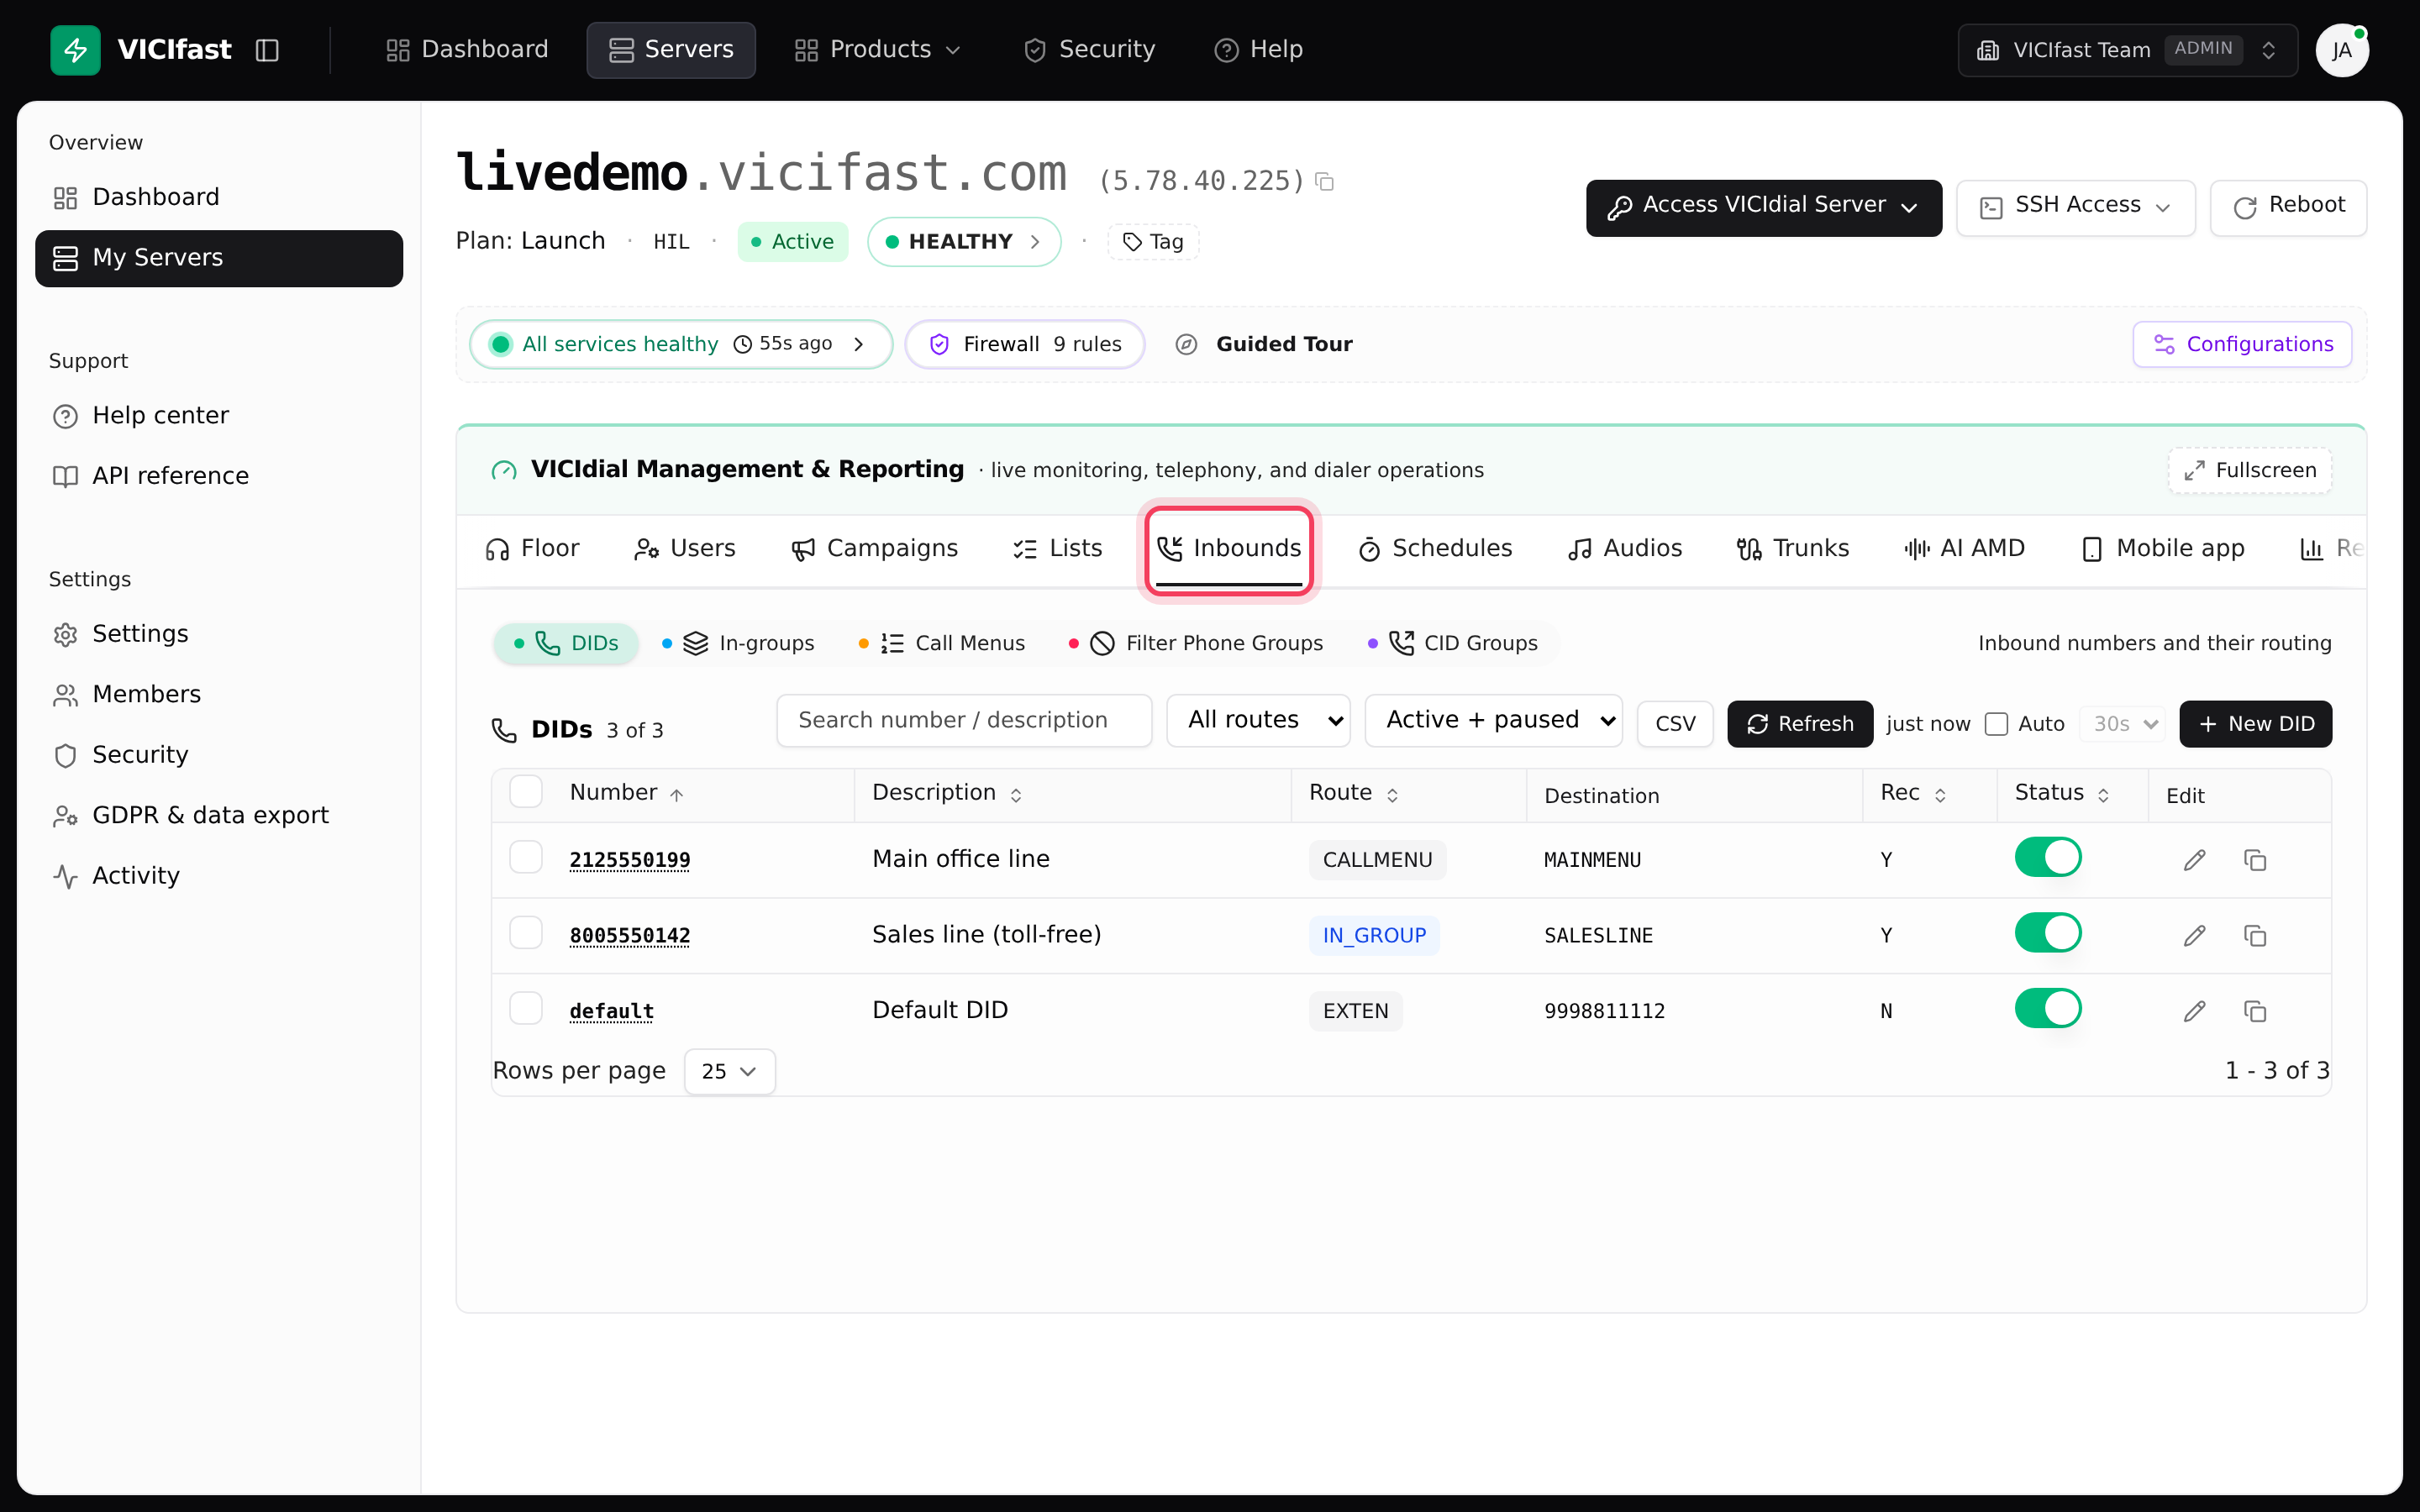
- Click the Inbounds tab.
- Five buttons run along the top: DIDs (your numbers), In-groups (queues), Call Menus, Filter Phone Groups (block-lists) and CID Groups (caller ID pools for outbound calls). DIDs is open first.
Step 2: Create the queue (in-group)
- Click In-groups, then click New in-group.
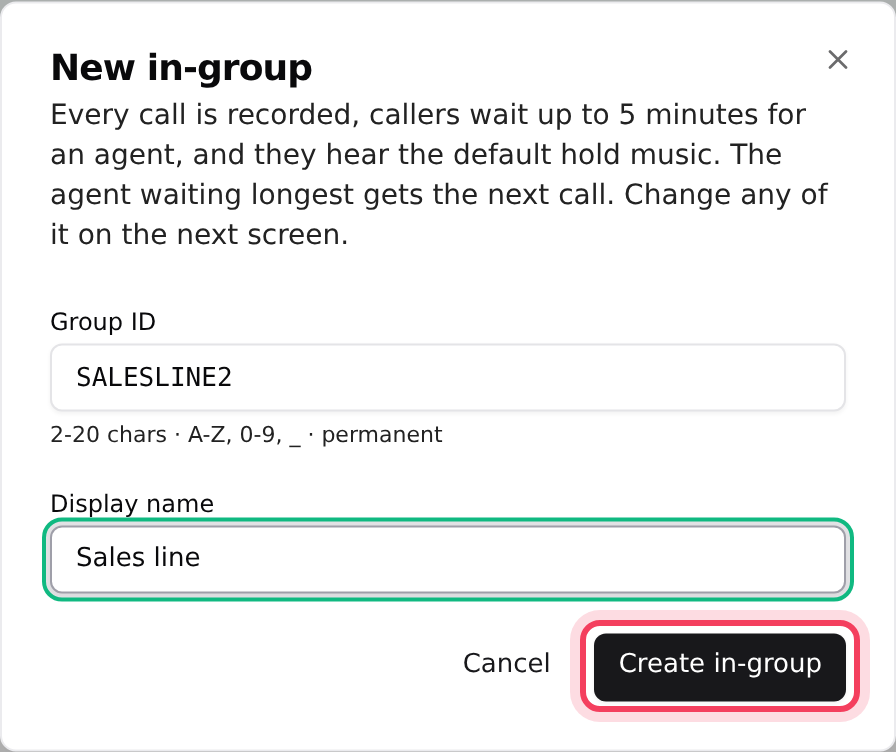
- In Group ID, type a short code such as SALESLINE. Use 2 to 20 characters: capital letters, numbers and underscore. You cannot change it later.
- In Display name, type the name agents and reports will show, such as Sales line.
- Click Create in-group. A new queue records every call, lets callers wait up to 5 minutes, plays the default hold music, and gives the next call to the agent who has waited longest. You can change all of this next.
The queue's settings panel opens. Its left side lists Stats, Reports, Basics, Caller hears, Nobody answers, After hours, Agent screen, Agents and Advanced. When you change a setting, a Save button with the number of changes appears at the top. Nothing is saved until you click it, and Discard throws the changes away.
Step 3: Put agents in the queue
- In the queue's panel, click Agents.
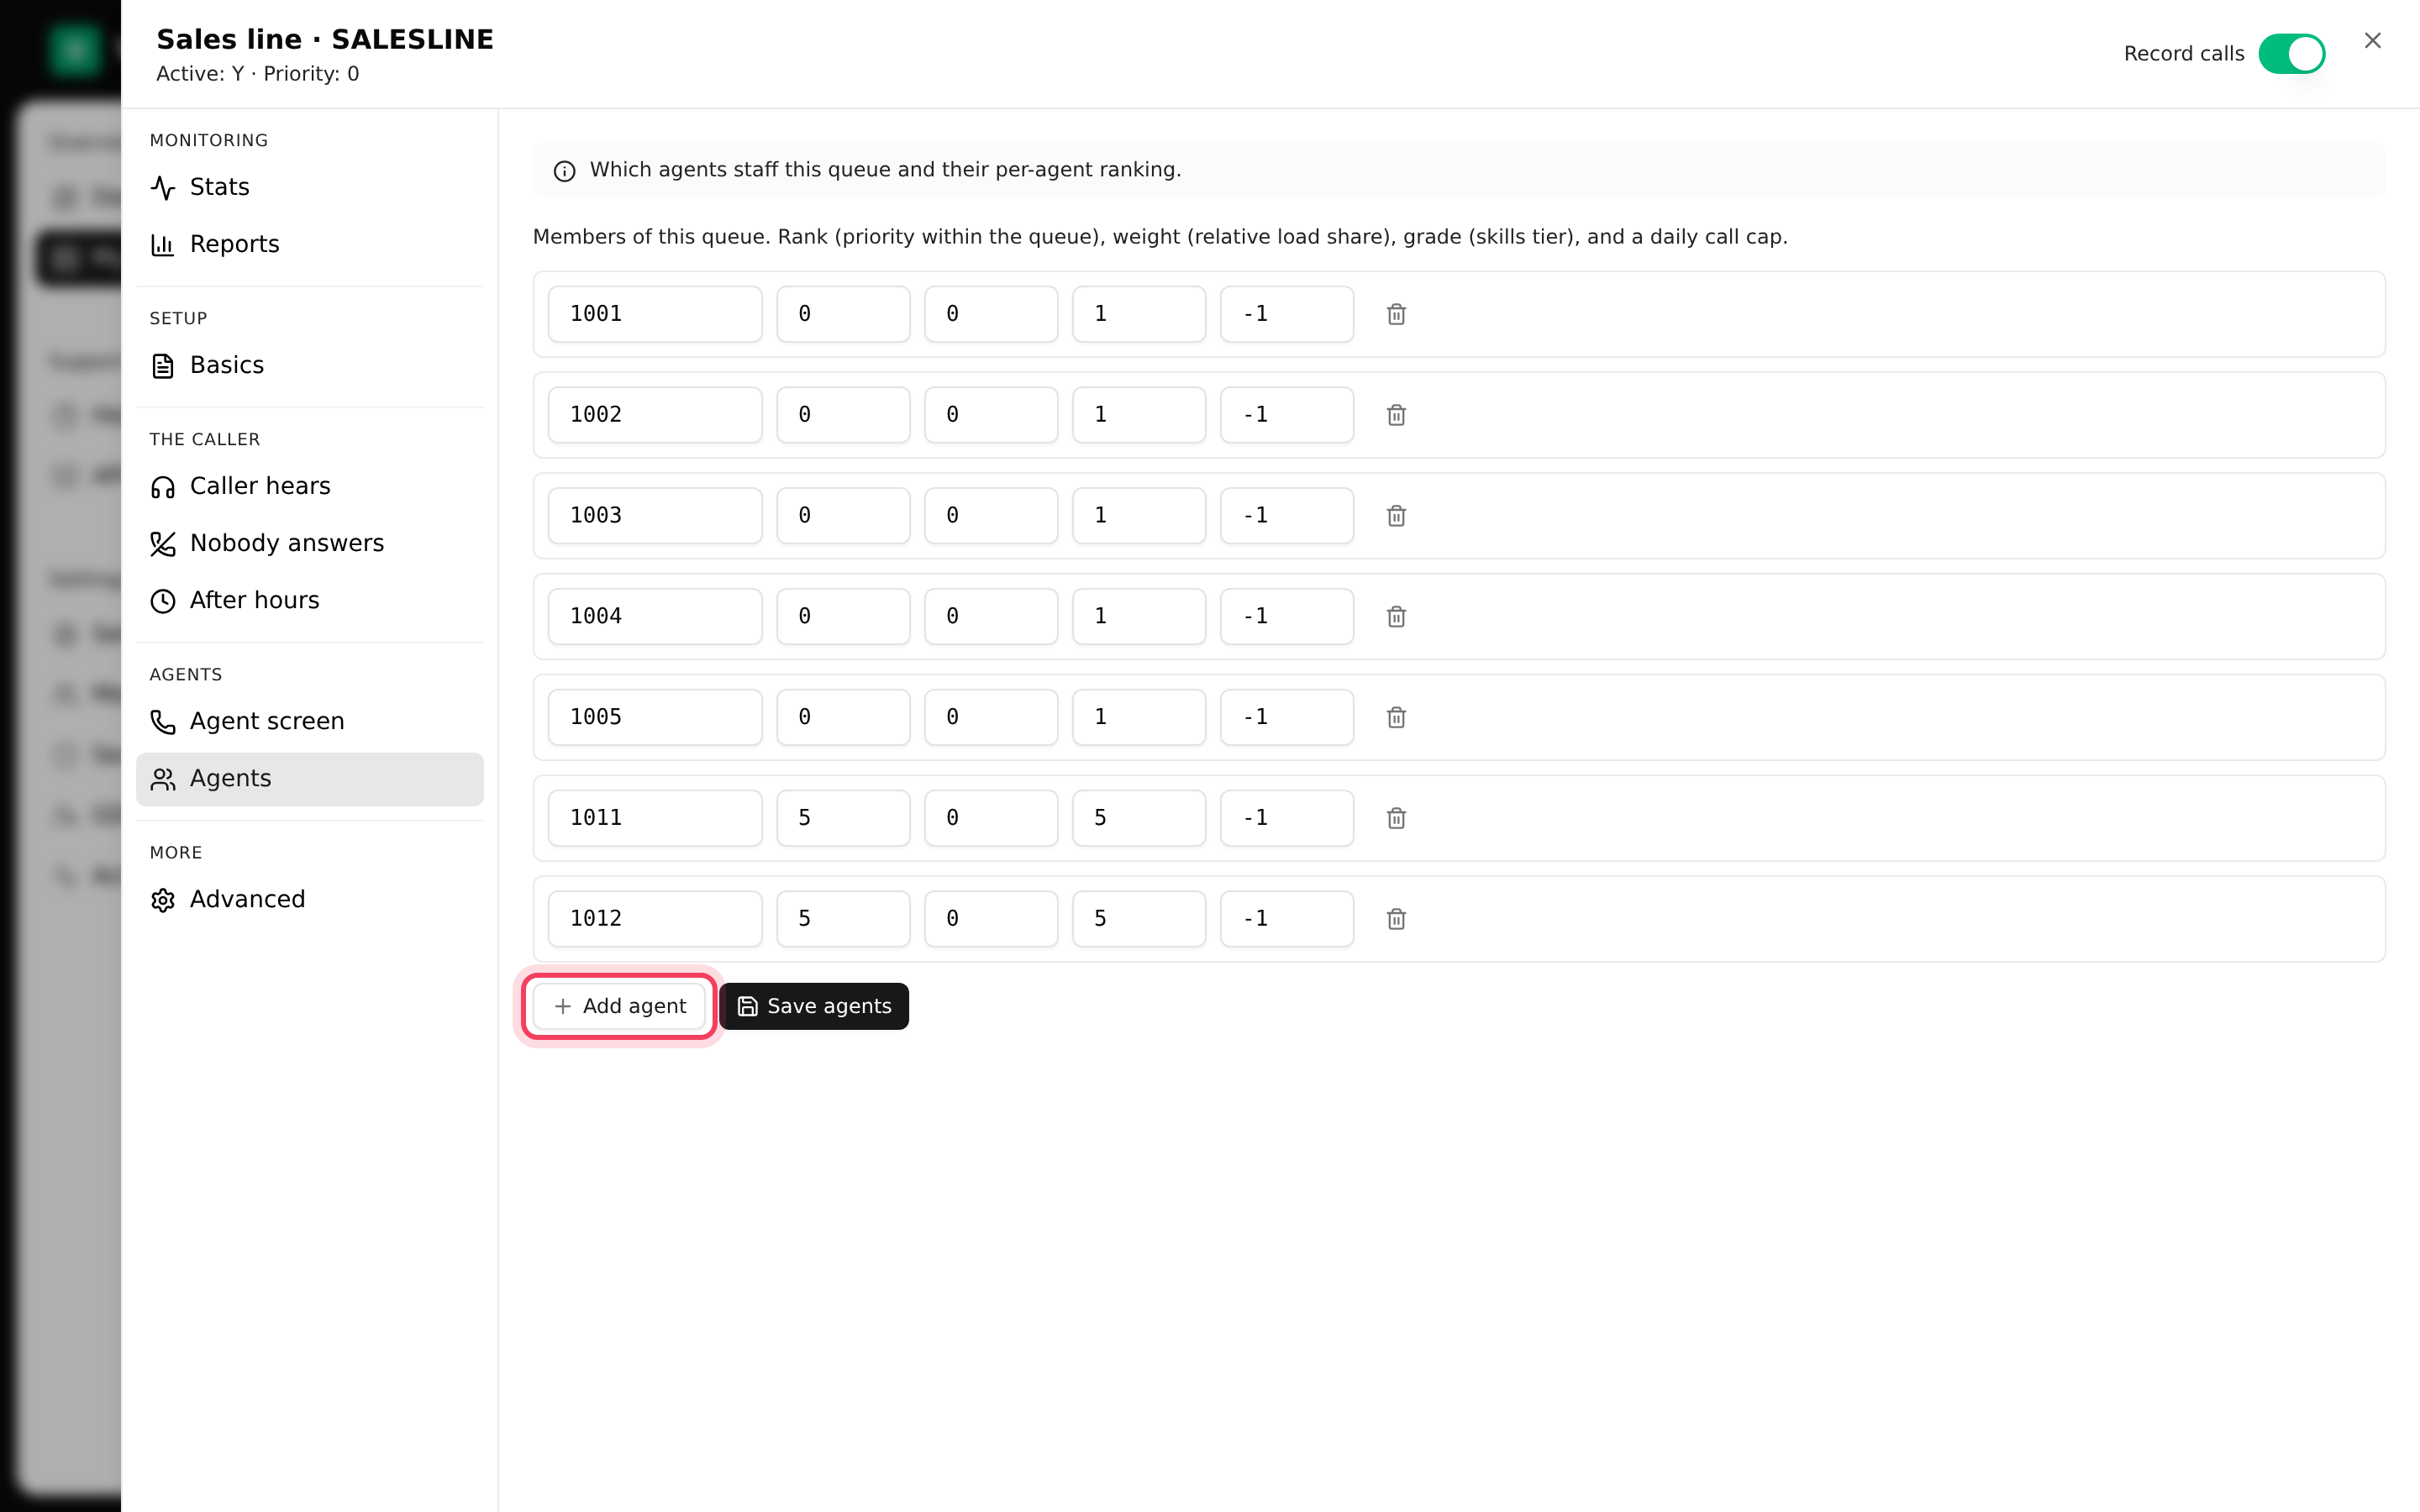
- Click Add agent and type the agent's user ID, for example 1001.
- The other boxes are rank, weight, grade and a daily call limit (-1 means no limit). Leave them as they are for a first setup.
- Repeat for each agent, then click Save agents.
Step 4: Choose what callers hear and when to stop waiting
- Click Caller hears to pick a Welcome message, the Hold music, and an optional prompt that repeats while callers wait. Your own recordings are the ones uploaded on the server's Audios tab; each has a play button so you can listen first.
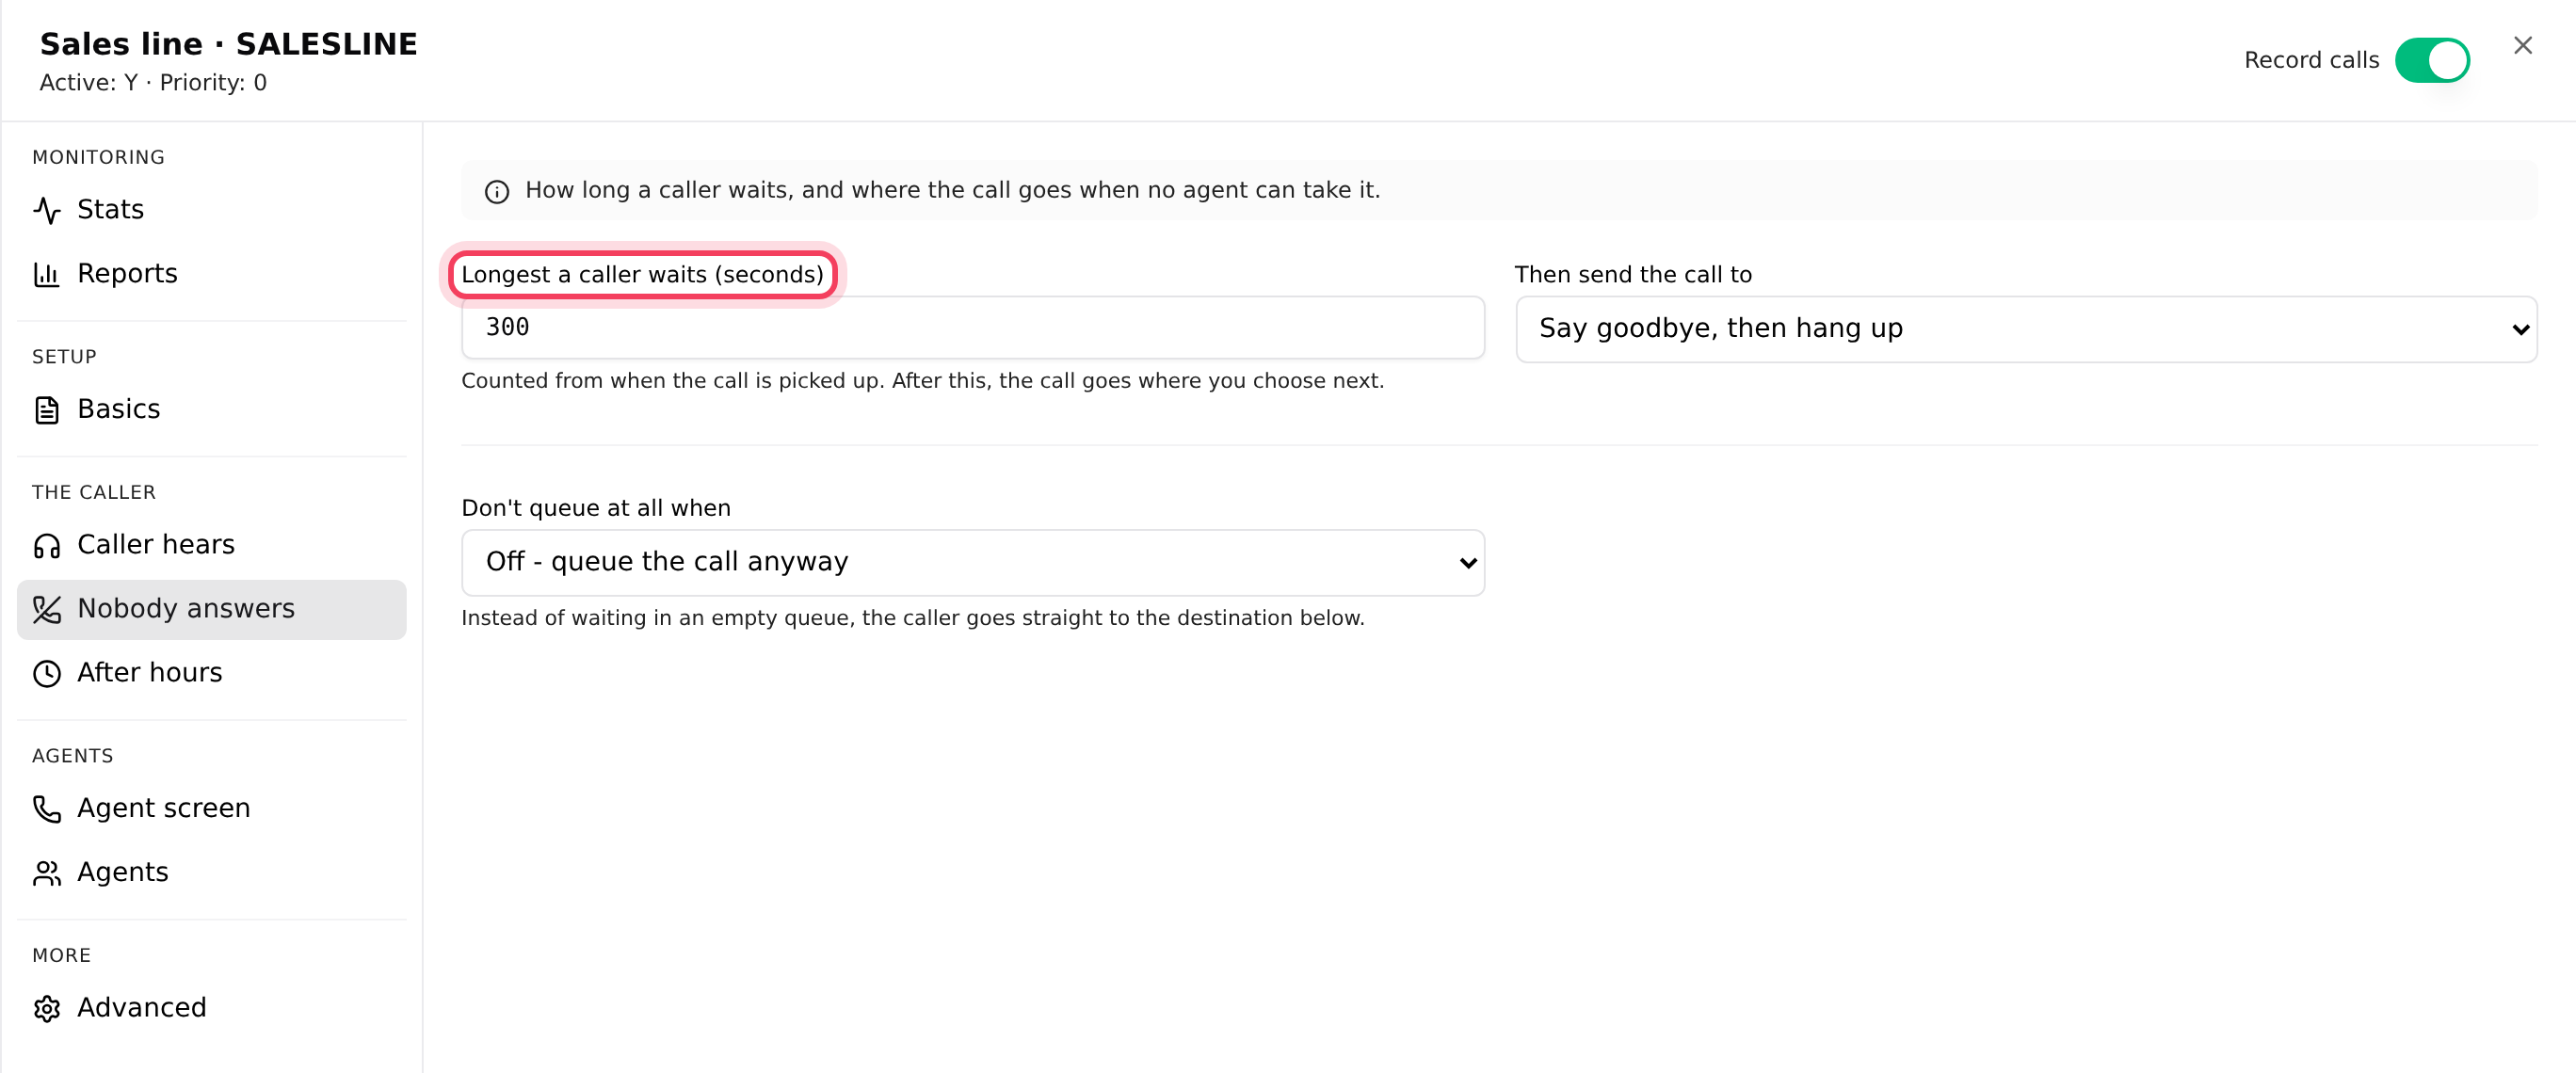
- Click Nobody answers. Set Longest a caller waits (seconds) and Then send the call to, for example Voicemail or Another in-group.
- Click After hours. Pick your Open hours (one of the call times on the Schedules tab) and where calls go outside them in Outside those hours, send calls to.
- Click Save at the top of the panel.
Step 5: Let your campaign take the queue's calls
Agents get queue calls while they are logged in to a campaign that is allowed to take them.
- Click the Campaigns tab and click your campaign, for example SUPPORT.
- Click Dialing. The campaign must take inbound calls: either its dial method is Inbound + manual - takes inbound calls, agents dial between them, or Also take inbound calls is set to Yes - blended. If you change it, click the Save button at the top of the panel.
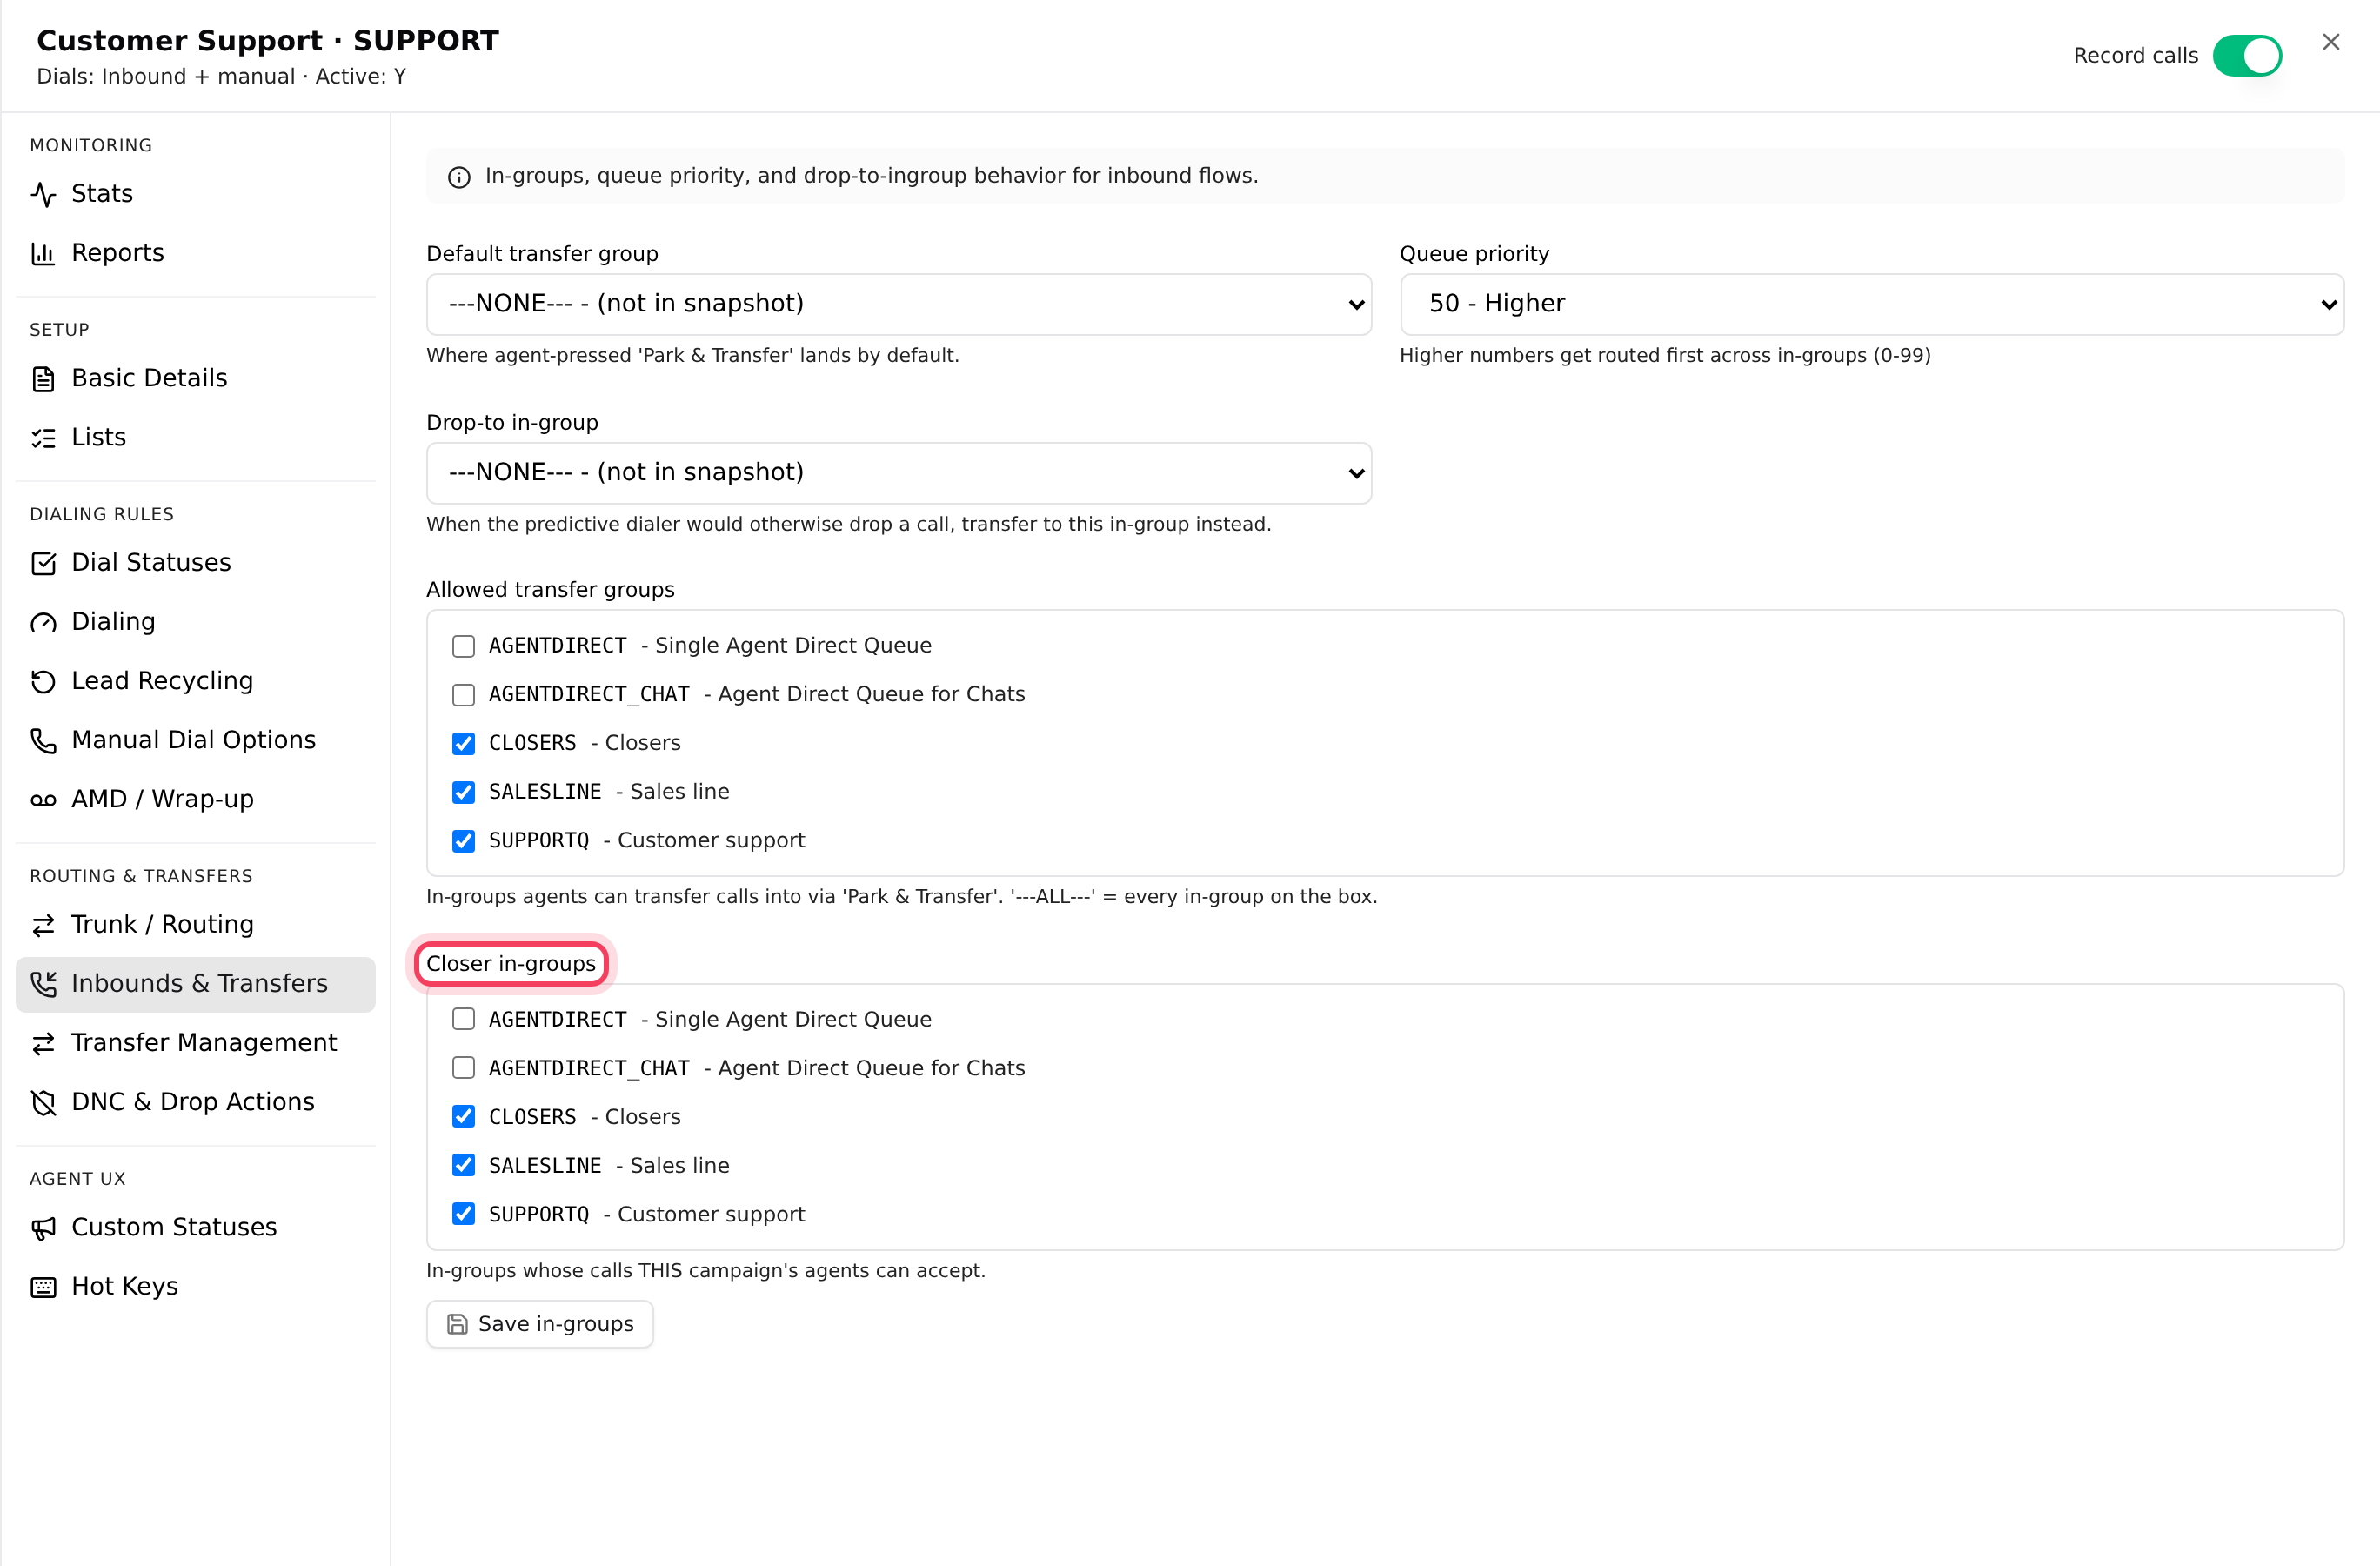
- Click Inbounds & Transfers. In Closer in-groups, pick SALESLINE, then click Save in-groups.
- When agents log in to that campaign, they tick the queues they want to take calls from.
Step 6: Add your number (DID)
- Go back to the Inbounds tab, click DIDs, then click New DID.
- In Phone number or carrier ID, type the number exactly as your phone line sends it, for example 8005550142. It takes 4 to 50 characters: digits, *, #, + or letters.
- In Description, type something you will recognise, such as Sales line.
- In Route to, keep In-group (queue) and pick SALESLINE in In-group. Leave Call handle method as it is; it looks the caller up in your lists.
- In Record calls, choose Yes - the whole call, Yes - until it enters a queue or No.
- Click Create DID.
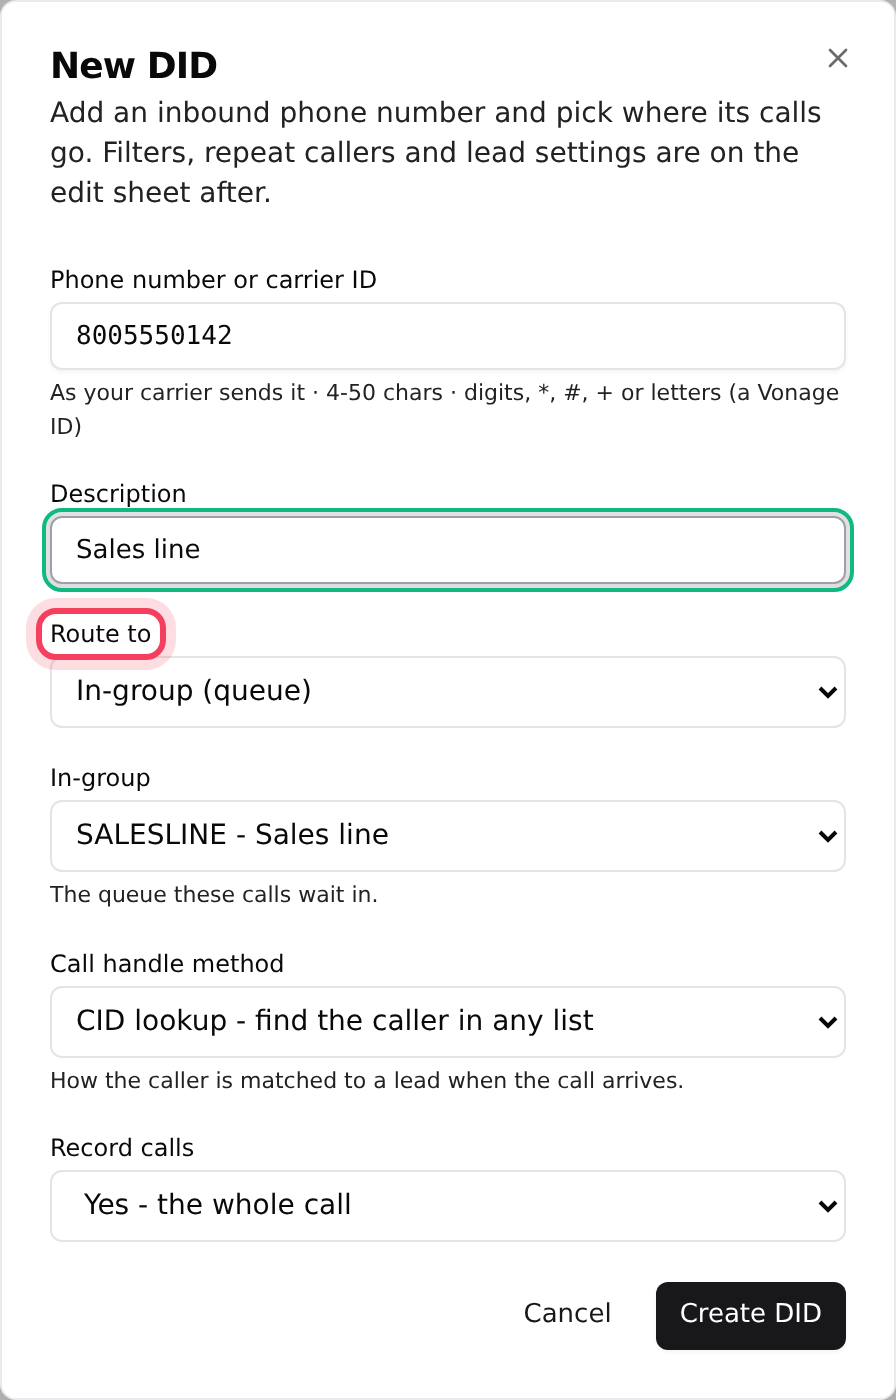
Route to can also send a number to a Call menu (IVR), an Outside number (through a trunk), a Specific agent or Voicemail, among others.
Step 7: Add a call menu (optional)
A call menu plays a greeting and sends the caller on by the key they press: 1 for sales, 2 for support.
- Click Call Menus, then New menu. Type a Menu ID (such as MAINMENU) and a Display name, then click Create menu.
- On Basic Details, pick the Greeting prompt and set Timeout (seconds), how long the menu waits for a key. You can also pick a Timeout prompt and an Invalid prompt. Click Save at the top.
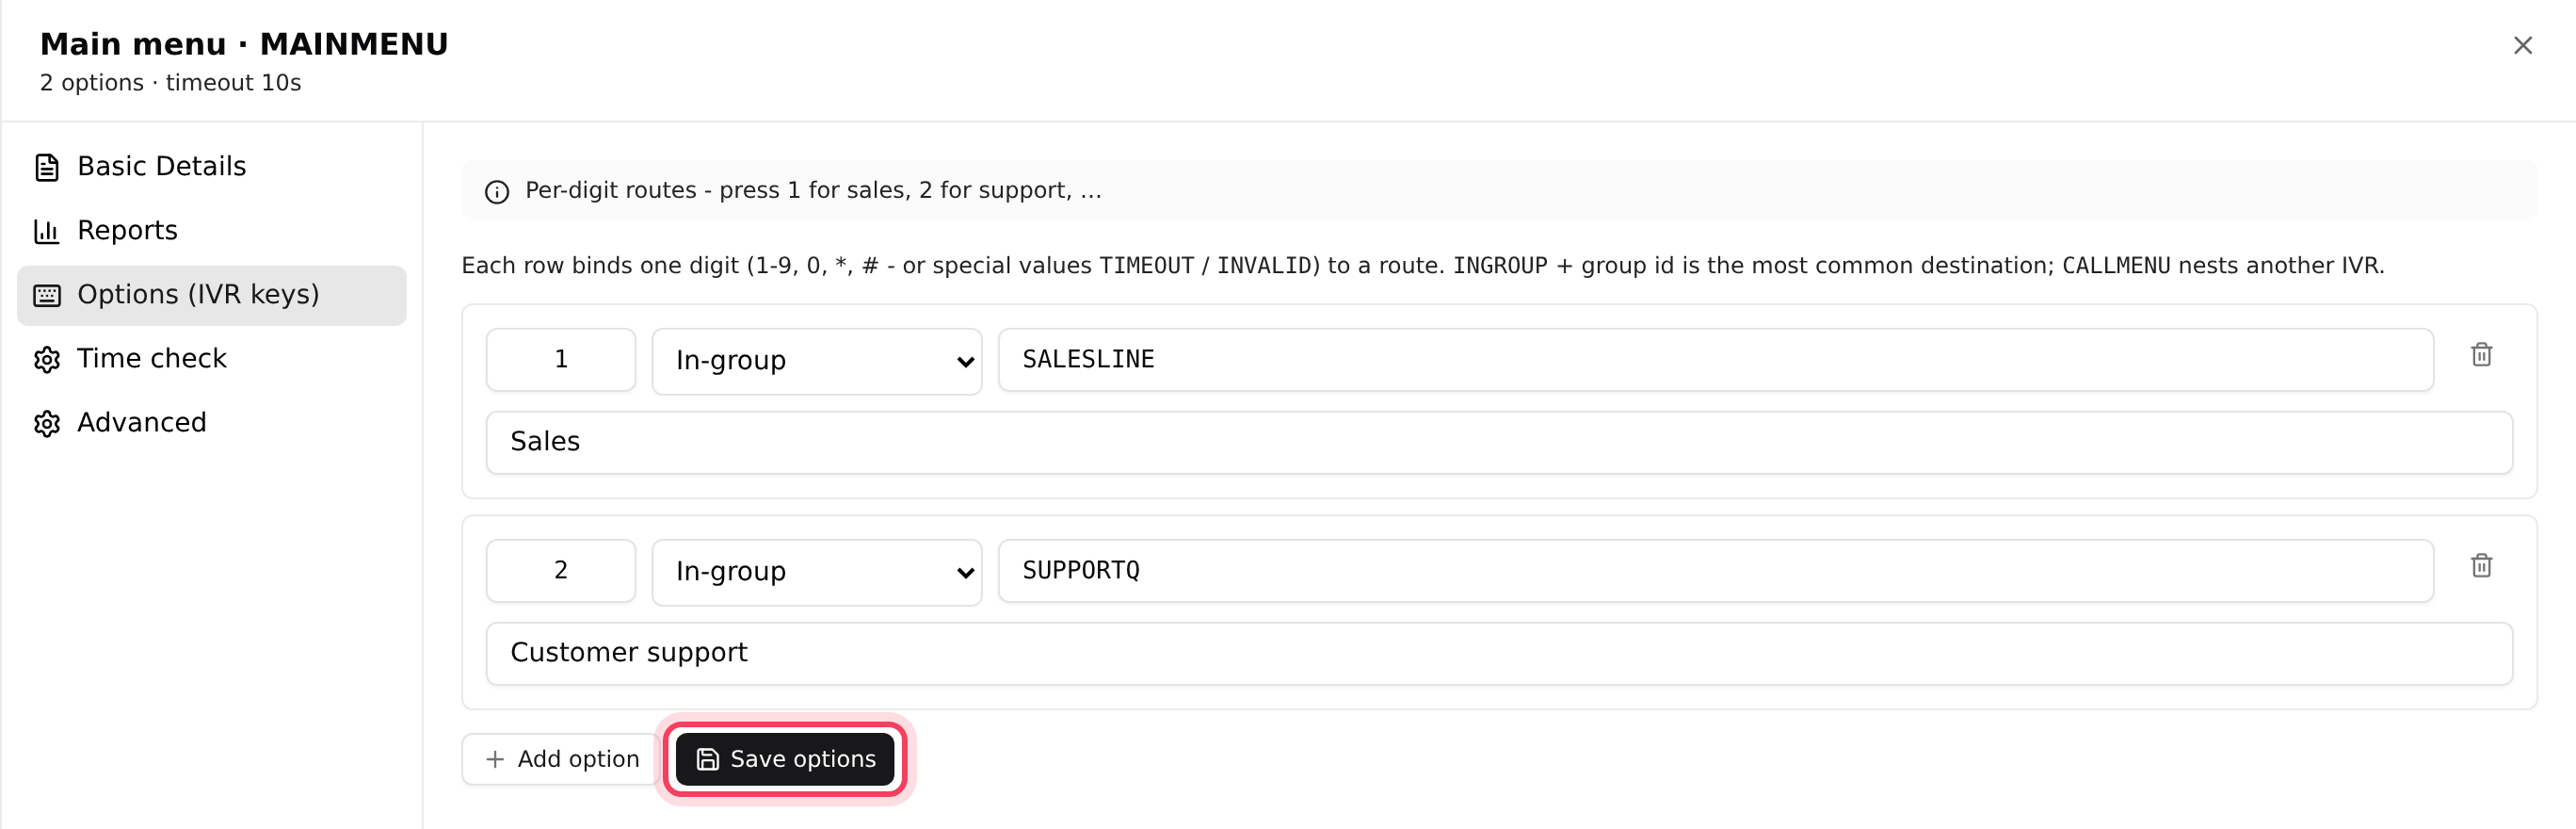
- Click Options (IVR keys), then Add option. Type the key (1), choose In-group, and type the queue ID (SALESLINE) in Route value. Add a second option: 2, In-group, SUPPORTQ.
- Click Save options. This tab has its own save button.
- Open your number on the DIDs list, click Routing, set Route to to Call menu (IVR), pick your menu and click Save.
If something goes wrong
Frequently asked
- Check three things. The agent is listed on the queue's Agents tab. The agent's campaign lists the queue under Closer in-groups (Inbounds & Transfers). The agent ticked the queue when logging in and is not paused. Until then, callers follow the queue's Nobody answers settings.
- Open the number and look at Stats. If Calls today stays at 0, the number on the DIDs list does not match how your phone line sends it, often a missing or extra country code. If it is a VICIfast Voice number, check in My numbers that it points at this server.
- Greetings come from your server's audio files. Upload the recording on the Audios tab first, then pick it in Greeting prompt.
- You chose In-group (queue) in Route to but did not pick a queue. Pick one in the In-group box, or create the queue first.
- Caller hears, Nobody answers, After hours and Agent screen need an update that every server gets automatically overnight. Basics, Agents and Advanced work now. Try the other tabs again the next day.