Soundboards
Give agents a panel of buttons that play recorded clips into a live call: greetings, disclosures, answers to common objections. Build it once, attach it to campaigns.
Your agents · 3 min read
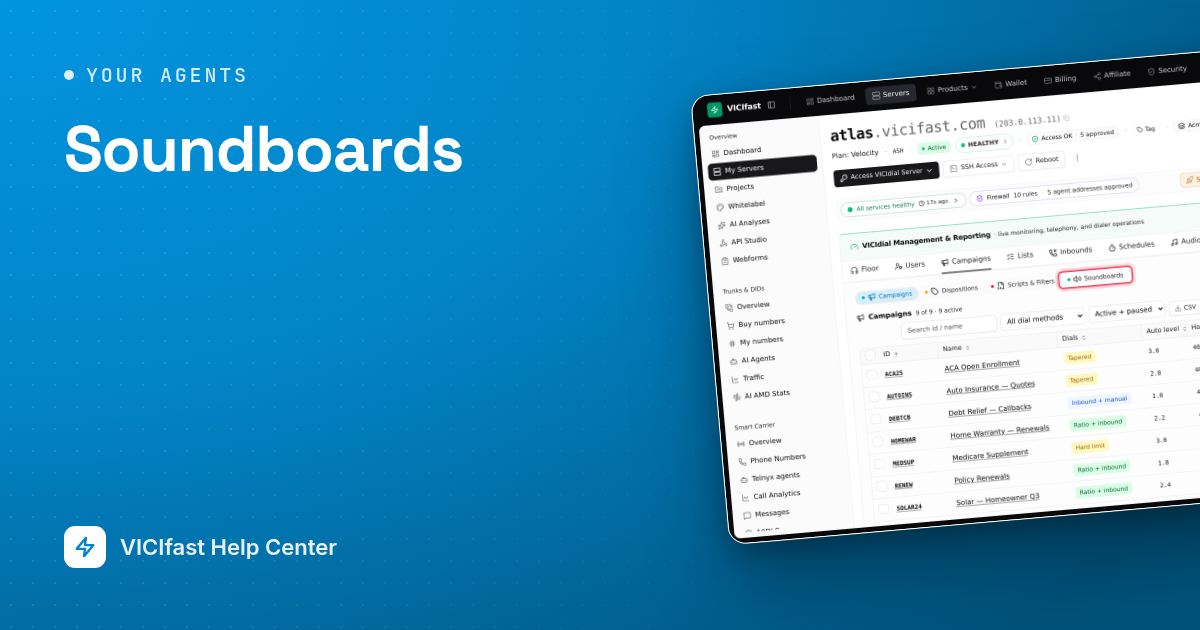
A soundboard is a panel of buttons on the agent screen. Each button plays a recorded clip into the live call, so the customer hears it: a greeting, a legal disclosure, an answer to "it's too expensive". You build the board from clips in your Audio Store, then attach it to campaigns. It takes about ten minutes.
What you need
- A plan that includes soundboards. The plan comparison on vicifast.com/pricing has a Soundboard row.
- The account owner login, or a team member with the Admin role. Others can open a board to look at it, but not change it.
- Your clips as audio files, or the words you want spoken (the dashboard can turn text into speech).
Step 1: Check you have soundboards
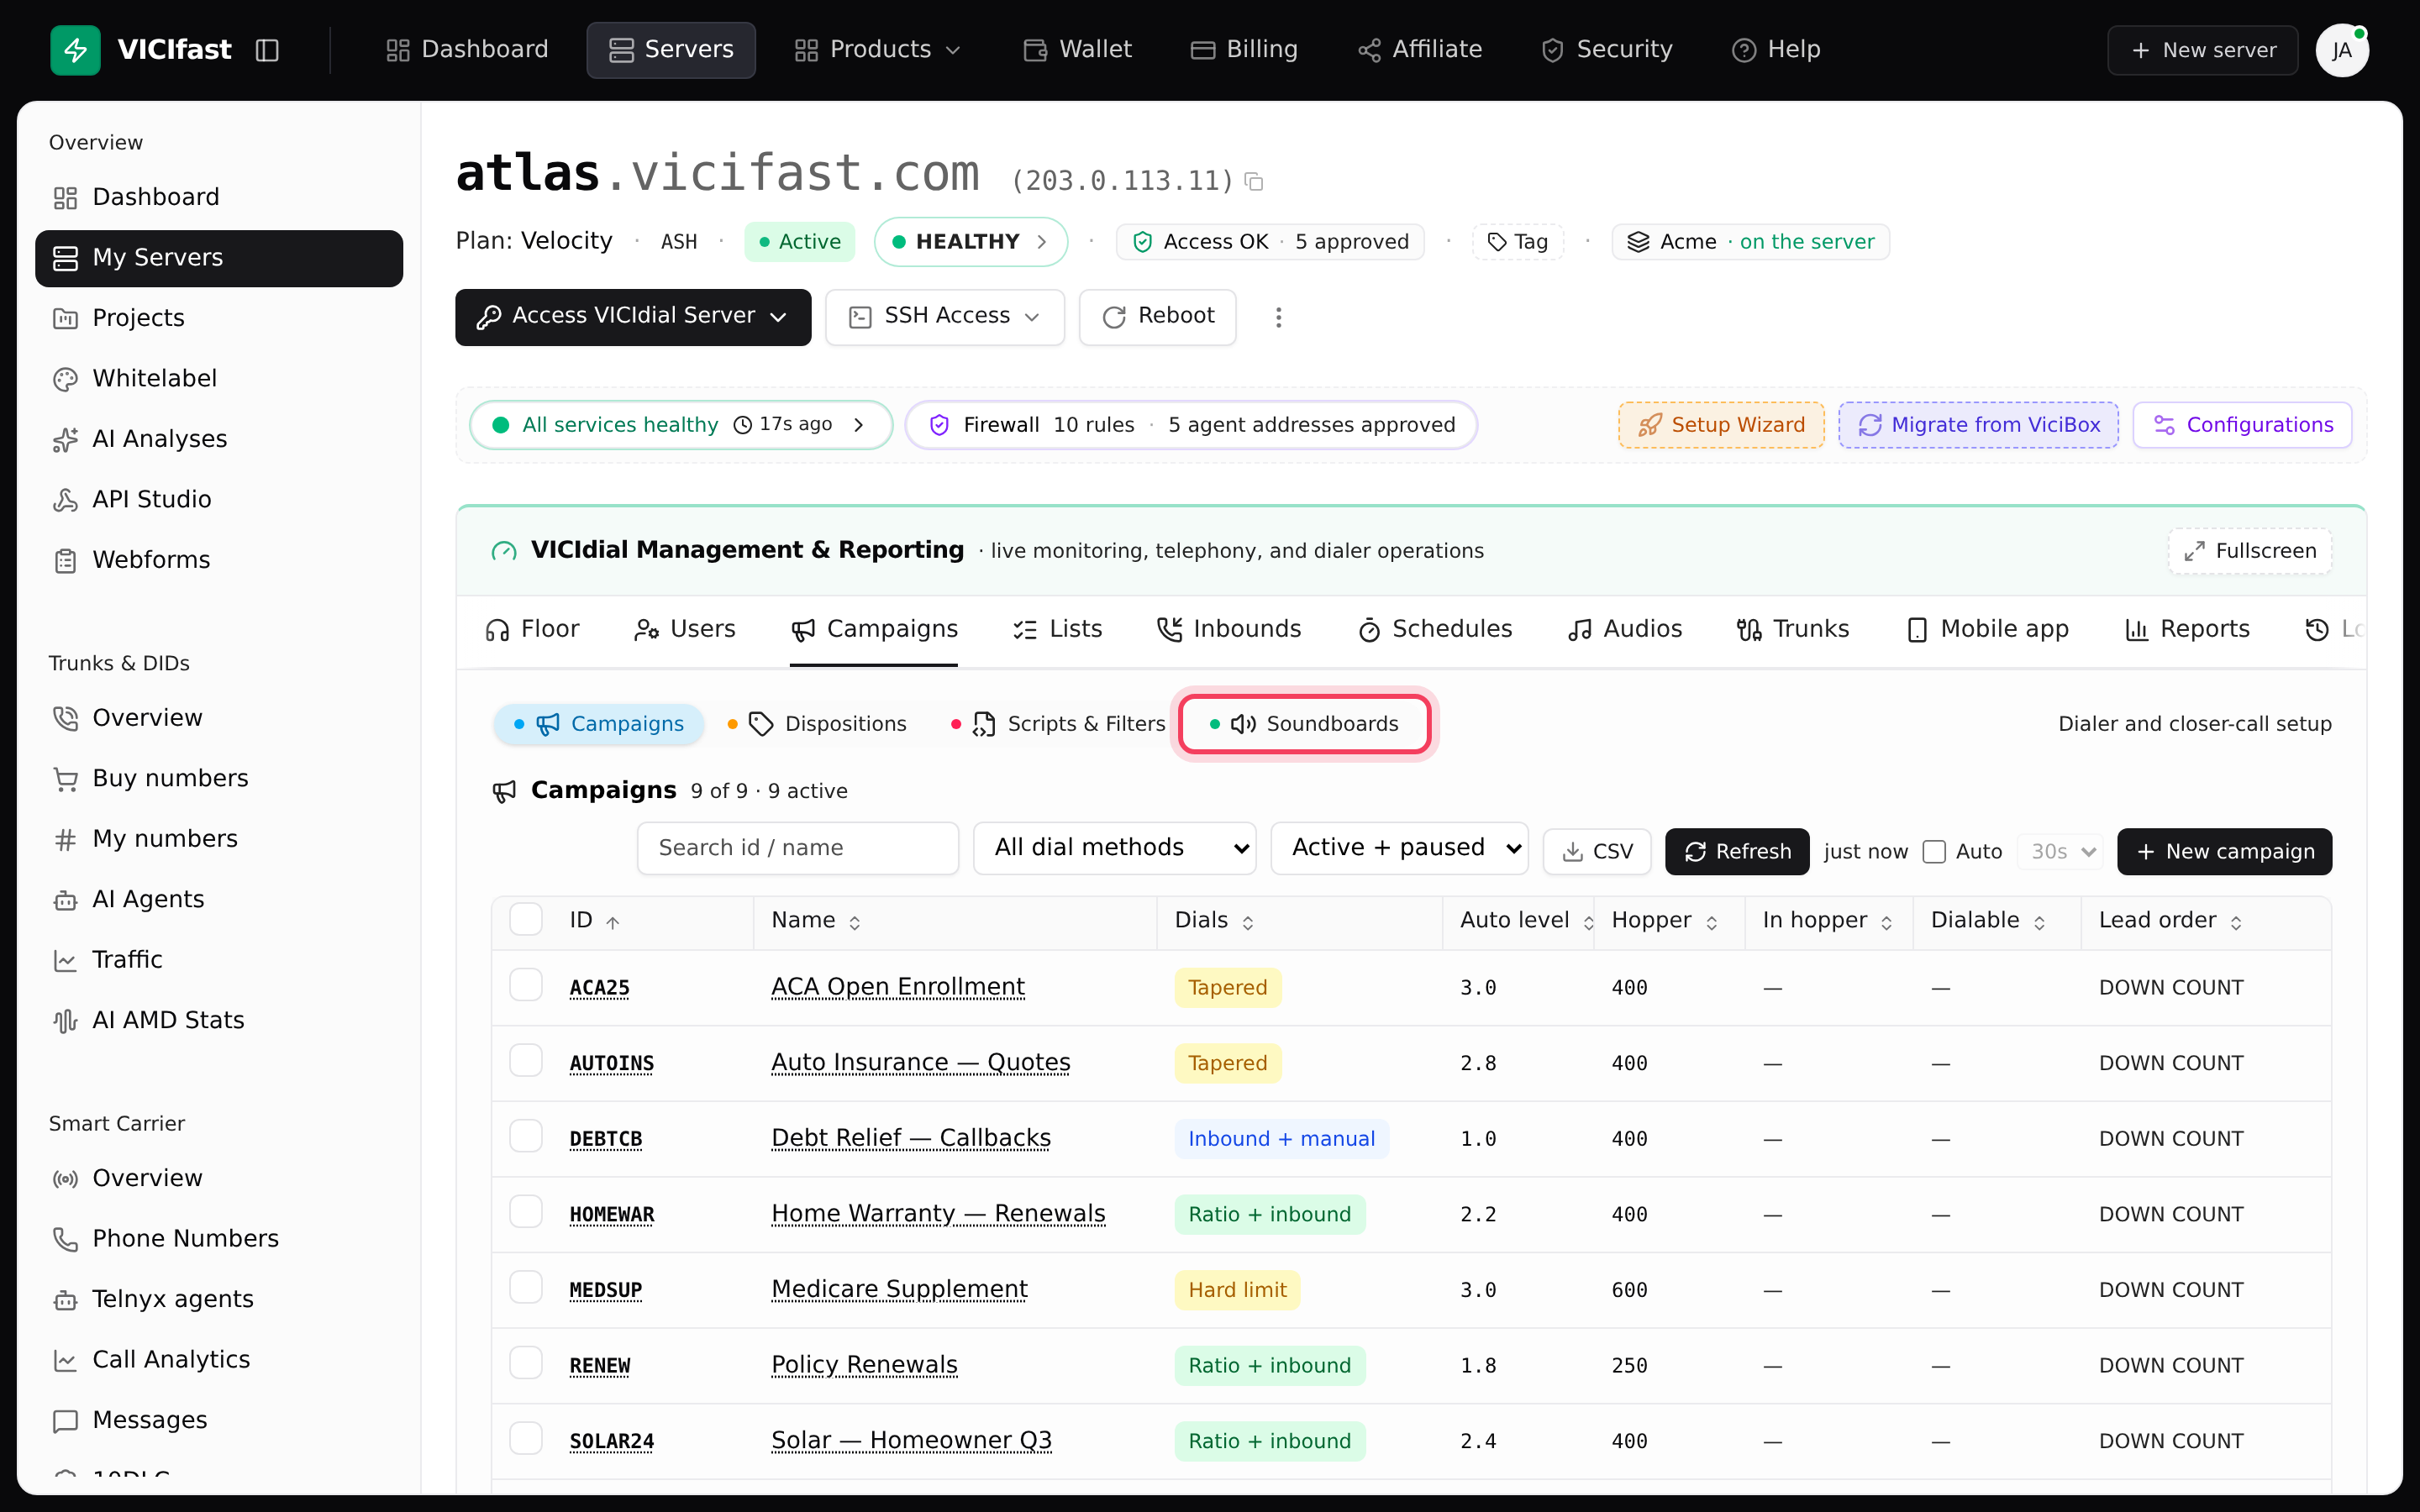
- In the sidebar, click My Servers, then click your server.
- Click the Campaigns tab.
- Look at the buttons along the top: Campaigns, Dispositions, Scripts & Filters, Soundboards.
No Soundboards button means your plan doesn't include it. See Change your plan or add-ons.
Step 2: Upload your clips
The board can only use clips that are already in your Audio Store.
- Click the Audios tab.
- Click Upload new audio and pick a file, or click Generate with TTS to type a line and have it spoken.
- Wait for the Valid column to say good. A clip marked bad can't be played on a call.
Keep clips short and to one point each. Agents use them mid-conversation, so five short clips work better than one long one. See Audio files and text-to-speech.
Step 3: Create the board
- Back on the Campaigns tab, click Soundboards, then New soundboard.
- Type a Name, for example "Rebuttals", and click Create.
- The Soundboard builder opens full screen.
Step 4: Add the buttons
- Click Add button. A button card appears.
- Pick a clip in the card's audio list. Use its play button to listen first. A Display name fills in from the file name; change it to what agents should see, for example "Opening greeting".
- Add the rest the same way. Each new button starts on its own row. Drag a card next to another to share a row.
- Want several answers under one button? Click the card's 0 nested button, then Add nested button.
- On the left, set Layout (Default or Columns, with Max columns per section) and what Button labels show: Filename, Display name, Hide button numbers. Notes (admin only) are never shown to agents.
- Click Preview to see the agent's view, then click Save.
Step 5: Attach it to campaigns
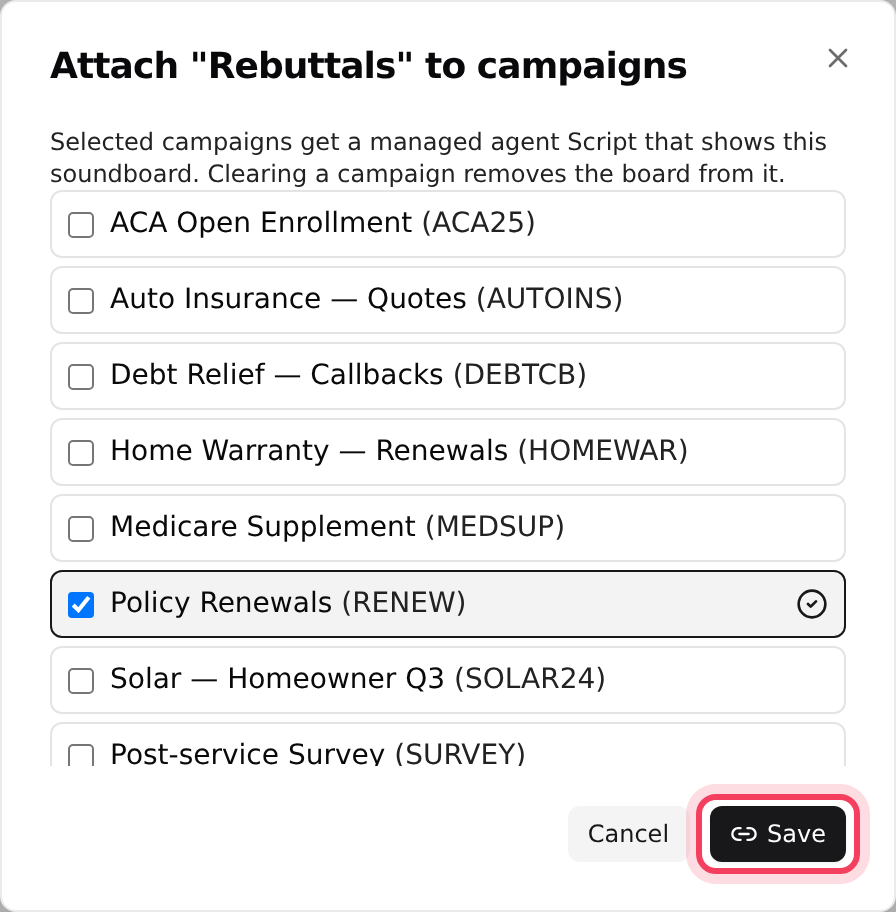
- On the Soundboards list, click Campaigns on the board's card.
- Tick each campaign whose agents should get the board.
- Click Save.
The dashboard makes a script called "Soundboard: " plus your board's name and sets it as those campaigns' in-call script. You don't have to touch VICIdial's scripts. To change buttons later, click Edit on the card.
What your agents see
Agents signed in to an attached campaign see the board on the SCRIPT tab of the agent screen. One click on a button plays the clip into the call. Agents can play clips, but they can't change the board.
If something goes wrong
Frequently asked
- Those buttons point at a clip that is no longer in the Audio Store. Open the board, pick a clip that exists, and save again.
- Two buttons in one row can't share a file when one of them has nested buttons. Move one to its own row, or pick different files.
- A button has no clip. Pick one, or remove the button.
- Attaching a soundboard replaced it. Pick your script again under In-call script on the campaign's Trunk / Routing settings. A campaign shows either the soundboard or your script.
- Only the account owner and Admins can change boards. Ask one of them.
- Up to 500. In practice keep it to the clips agents really use; a wall of buttons slows them down.
› Save said some buttons were "skipped - audio missing".
› Save says two buttons in a row use the same audio file.
› Save says "Pick an audio file for this button".
› My campaign's call script disappeared.
› I only see View, not Edit.
› How many buttons can a board have?
Related articles
Tags: agents, audio, soundboard, campaigns