Web forms agents fill in during a call
Build a form your agents fill in while they talk to a customer. It fills itself from the lead, sends the answers to your buyer and shows the agent the reply.
Your agents · 4 min read
If you pass leads to a buyer while the customer is on the line, a webform saves your agents from typing everything twice. The form fills itself from the lead, the agent completes the rest, and one click sends it to your buyer. The buyer's answer, for example "Accepted" and a customer number, shows straight away so the agent can read it out.
What you need
- The account owner login. Webforms is only in the owner's sidebar.
- A running server with leads. The form fills itself from that server's leads.
- From your buyer: the web address to send leads to, the field names they expect, and any account key.
Step 1: Create the form
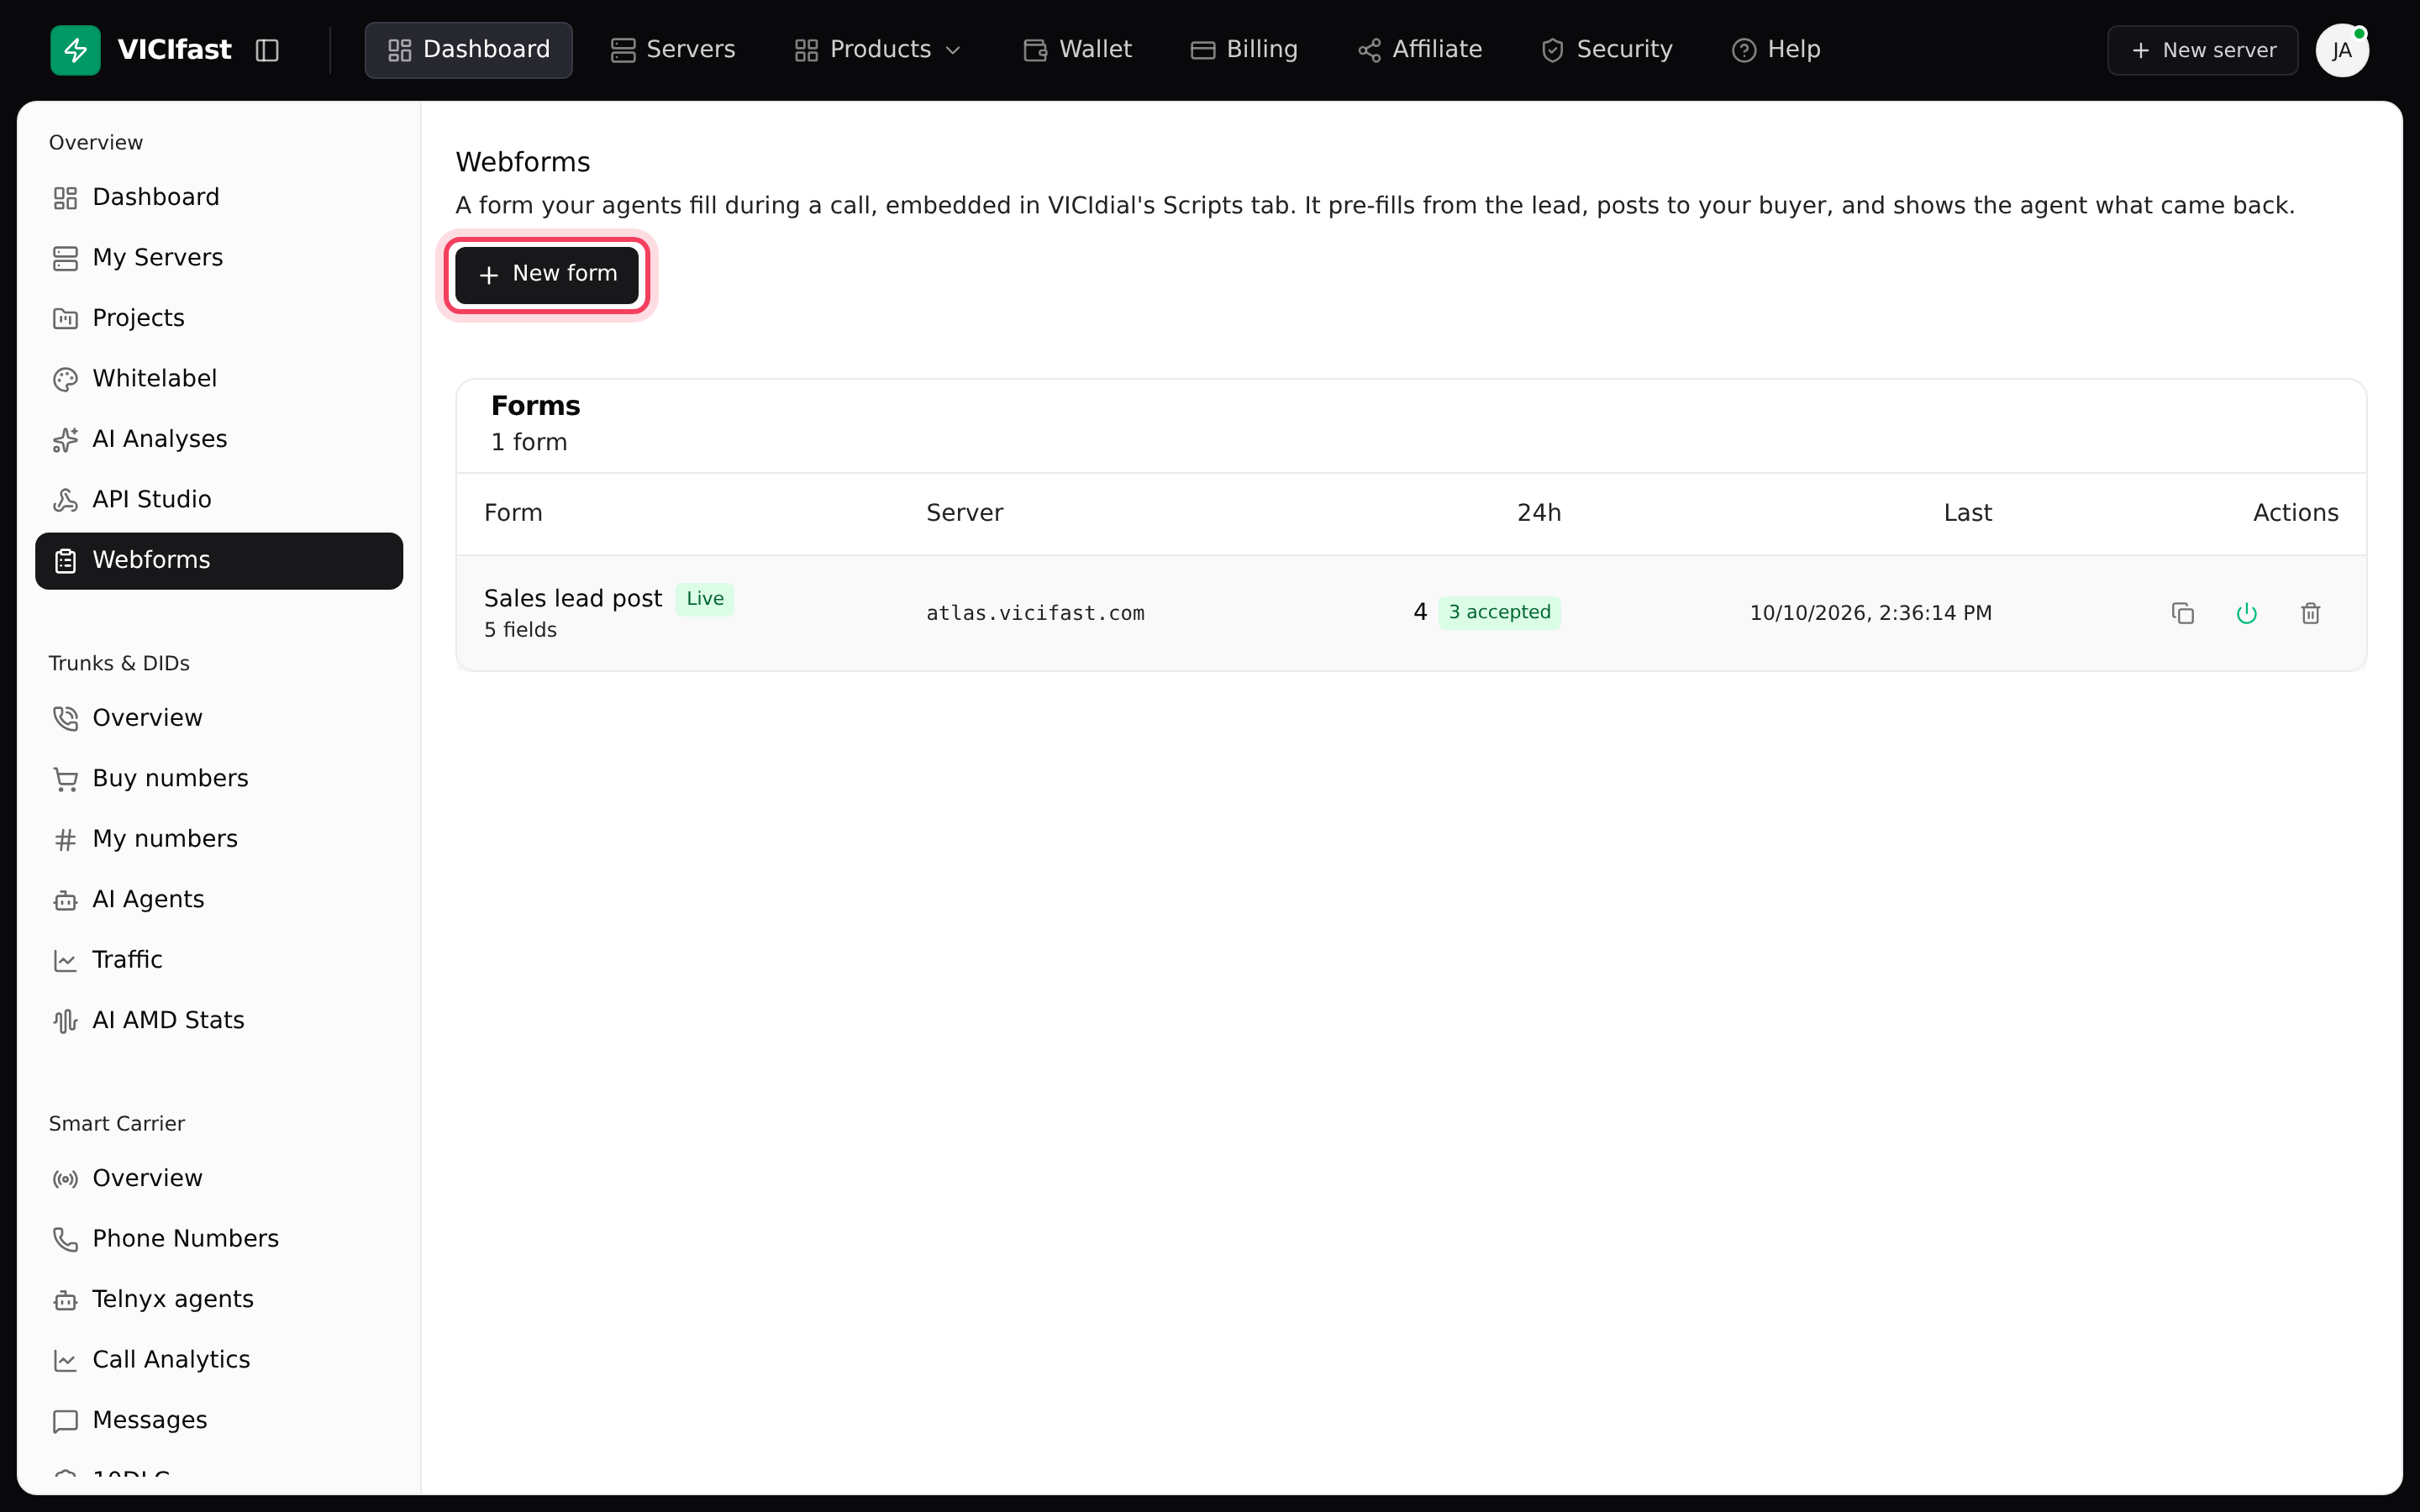
- In the sidebar, click Webforms, then click New form.
- Under Where it lives, type a Name (for example "Sales lead post") and pick the Server it fills leads from.
Step 2: Add the fields the agent sees
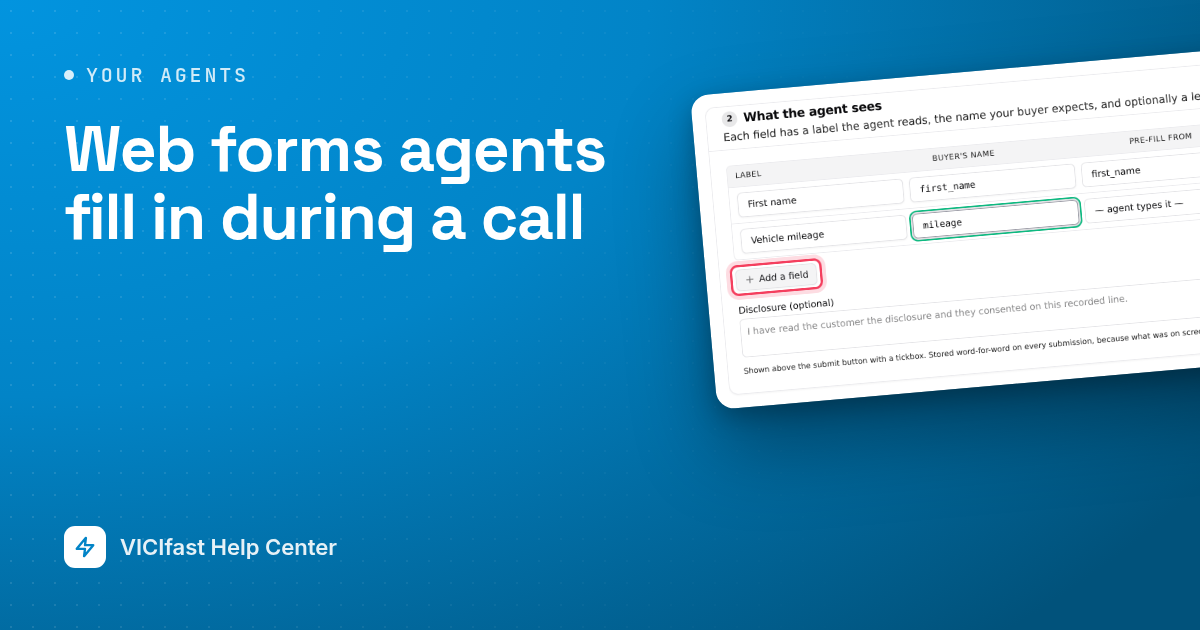
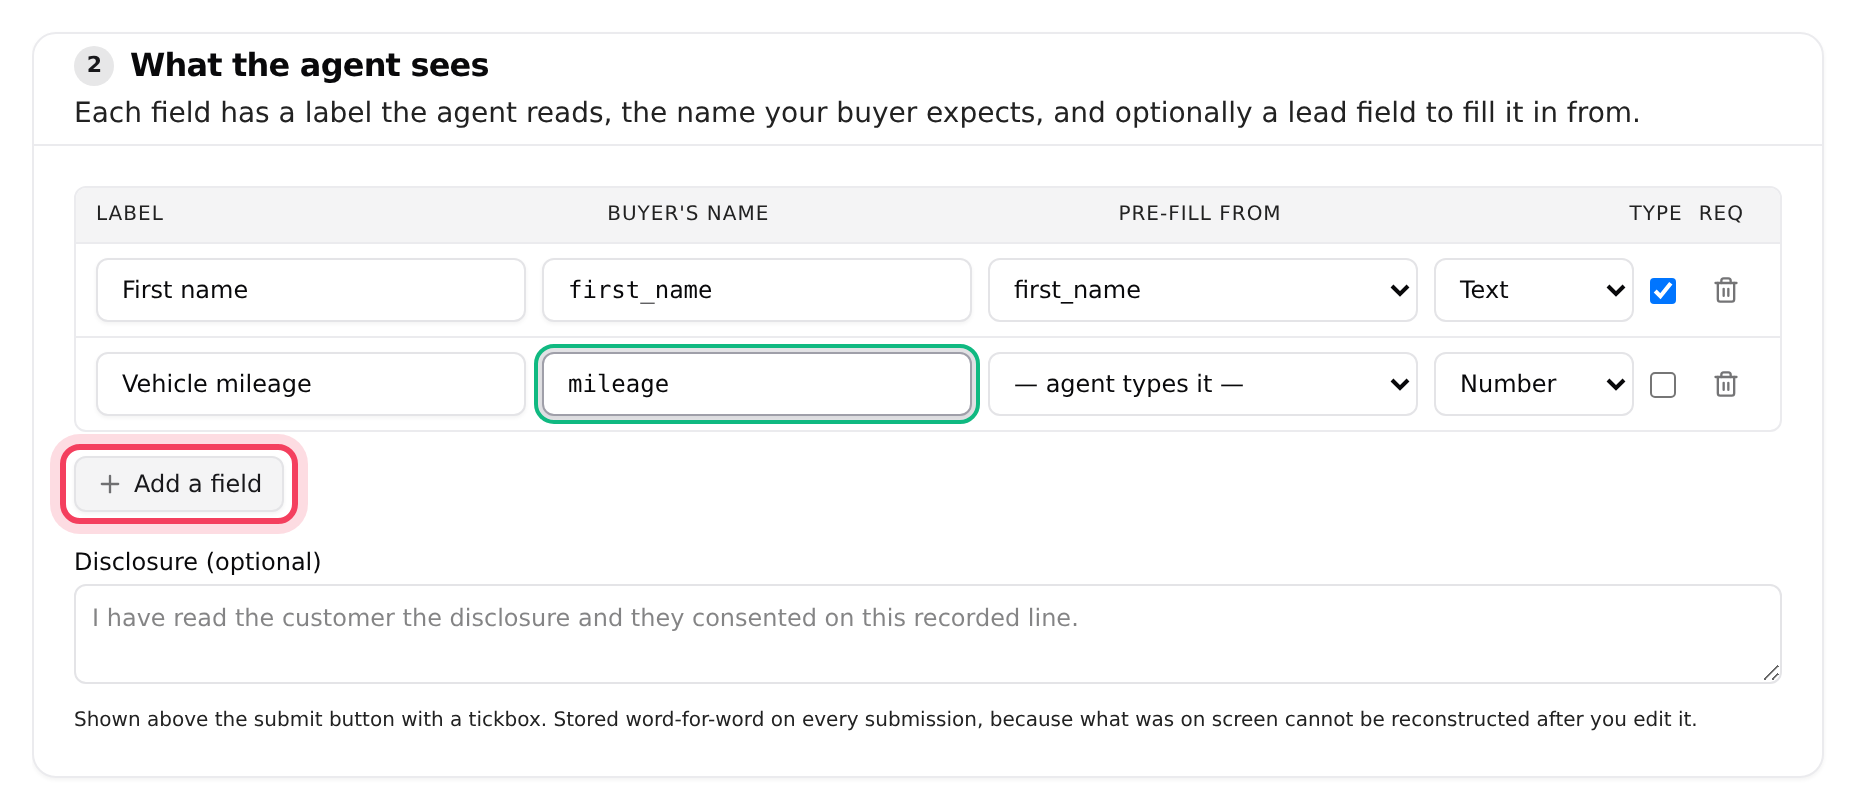
- Under What the agent sees, click Add a field for each thing your buyer asks for.
- Label: what the agent reads, for example "Vehicle mileage".
- Buyer's name: the field name your buyer expects. Two fields can't send to the same name.
- Pre-fill from: pick a lead field to fill it in automatically, or leave — agent types it —.
- Type: Text, Long text, Number, Date, Dropdown, Pick one, Tickbox or Hidden. Tick Req if the agent must fill it in.
- Optional: type a Disclosure. The agent must tick a box under it before they can submit, and the exact wording is saved with every submission.
Step 3: Tell it where to send the lead
- Under Where it posts, paste your buyer's URL and choose How (GET or POST). For POST, choose As: JSON or Form fields. Your buyer's instructions say which.
- Add any Fixed values your buyer gave you, such as an account ID. Agents never see these. List the ones that are secret in Which of those are secret, so they are hidden in the logs.
- Under Reading their answer, leave the boxes empty to start. By default a reply with "success" counts as accepted and one with "fail" as rejected. Check them against a real reply from your buyer.
- Optional: under Save back to the lead, click Save a field back to copy what the agent typed onto the lead, for callbacks and quality checks.
- Under Check it, click Preview the request to see exactly what would be sent. Nothing is sent.
- Click Create form.
Step 4: Put the form on the agent screen
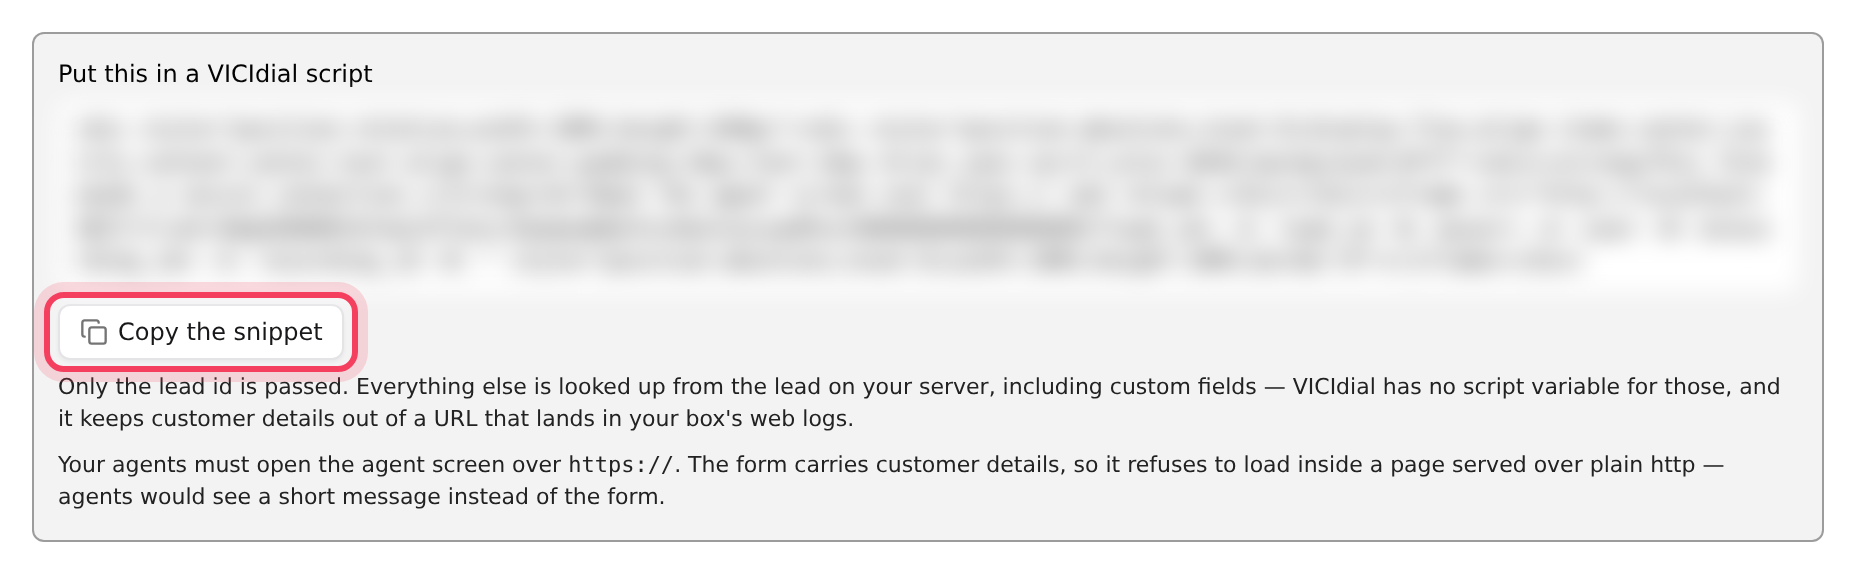
After you create the form, a box at the top says Put this in a VICIdial script.
- Click Copy the snippet.
- Go to your server, click the Campaigns tab, then Scripts & Filters.
- Under Agent scripts, click New script (or edit the campaign's current script). Paste the snippet into Script body, keep Active ticked and click Create.
- Open the campaign's settings, click Trunk / Routing, pick your script in In-call script, and save.
Agents now see the form on the SCRIPT tab of every call in that campaign. For calls from a queue, pick the script under Agent screen in the queue's settings instead.
Step 5: What your agents see
On the SCRIPT tab, the form shows the lead's details already filled in. Required fields have a star. The agent completes the rest, ticks the disclosure if there is one, and clicks Submit. The reply stays on screen, for example Accepted. Customer number 12345. or Not accepted. Nothing further is needed from the customer. If the lead was sent before, the form says This lead has already been submitted.
Step 6: Check what was sent
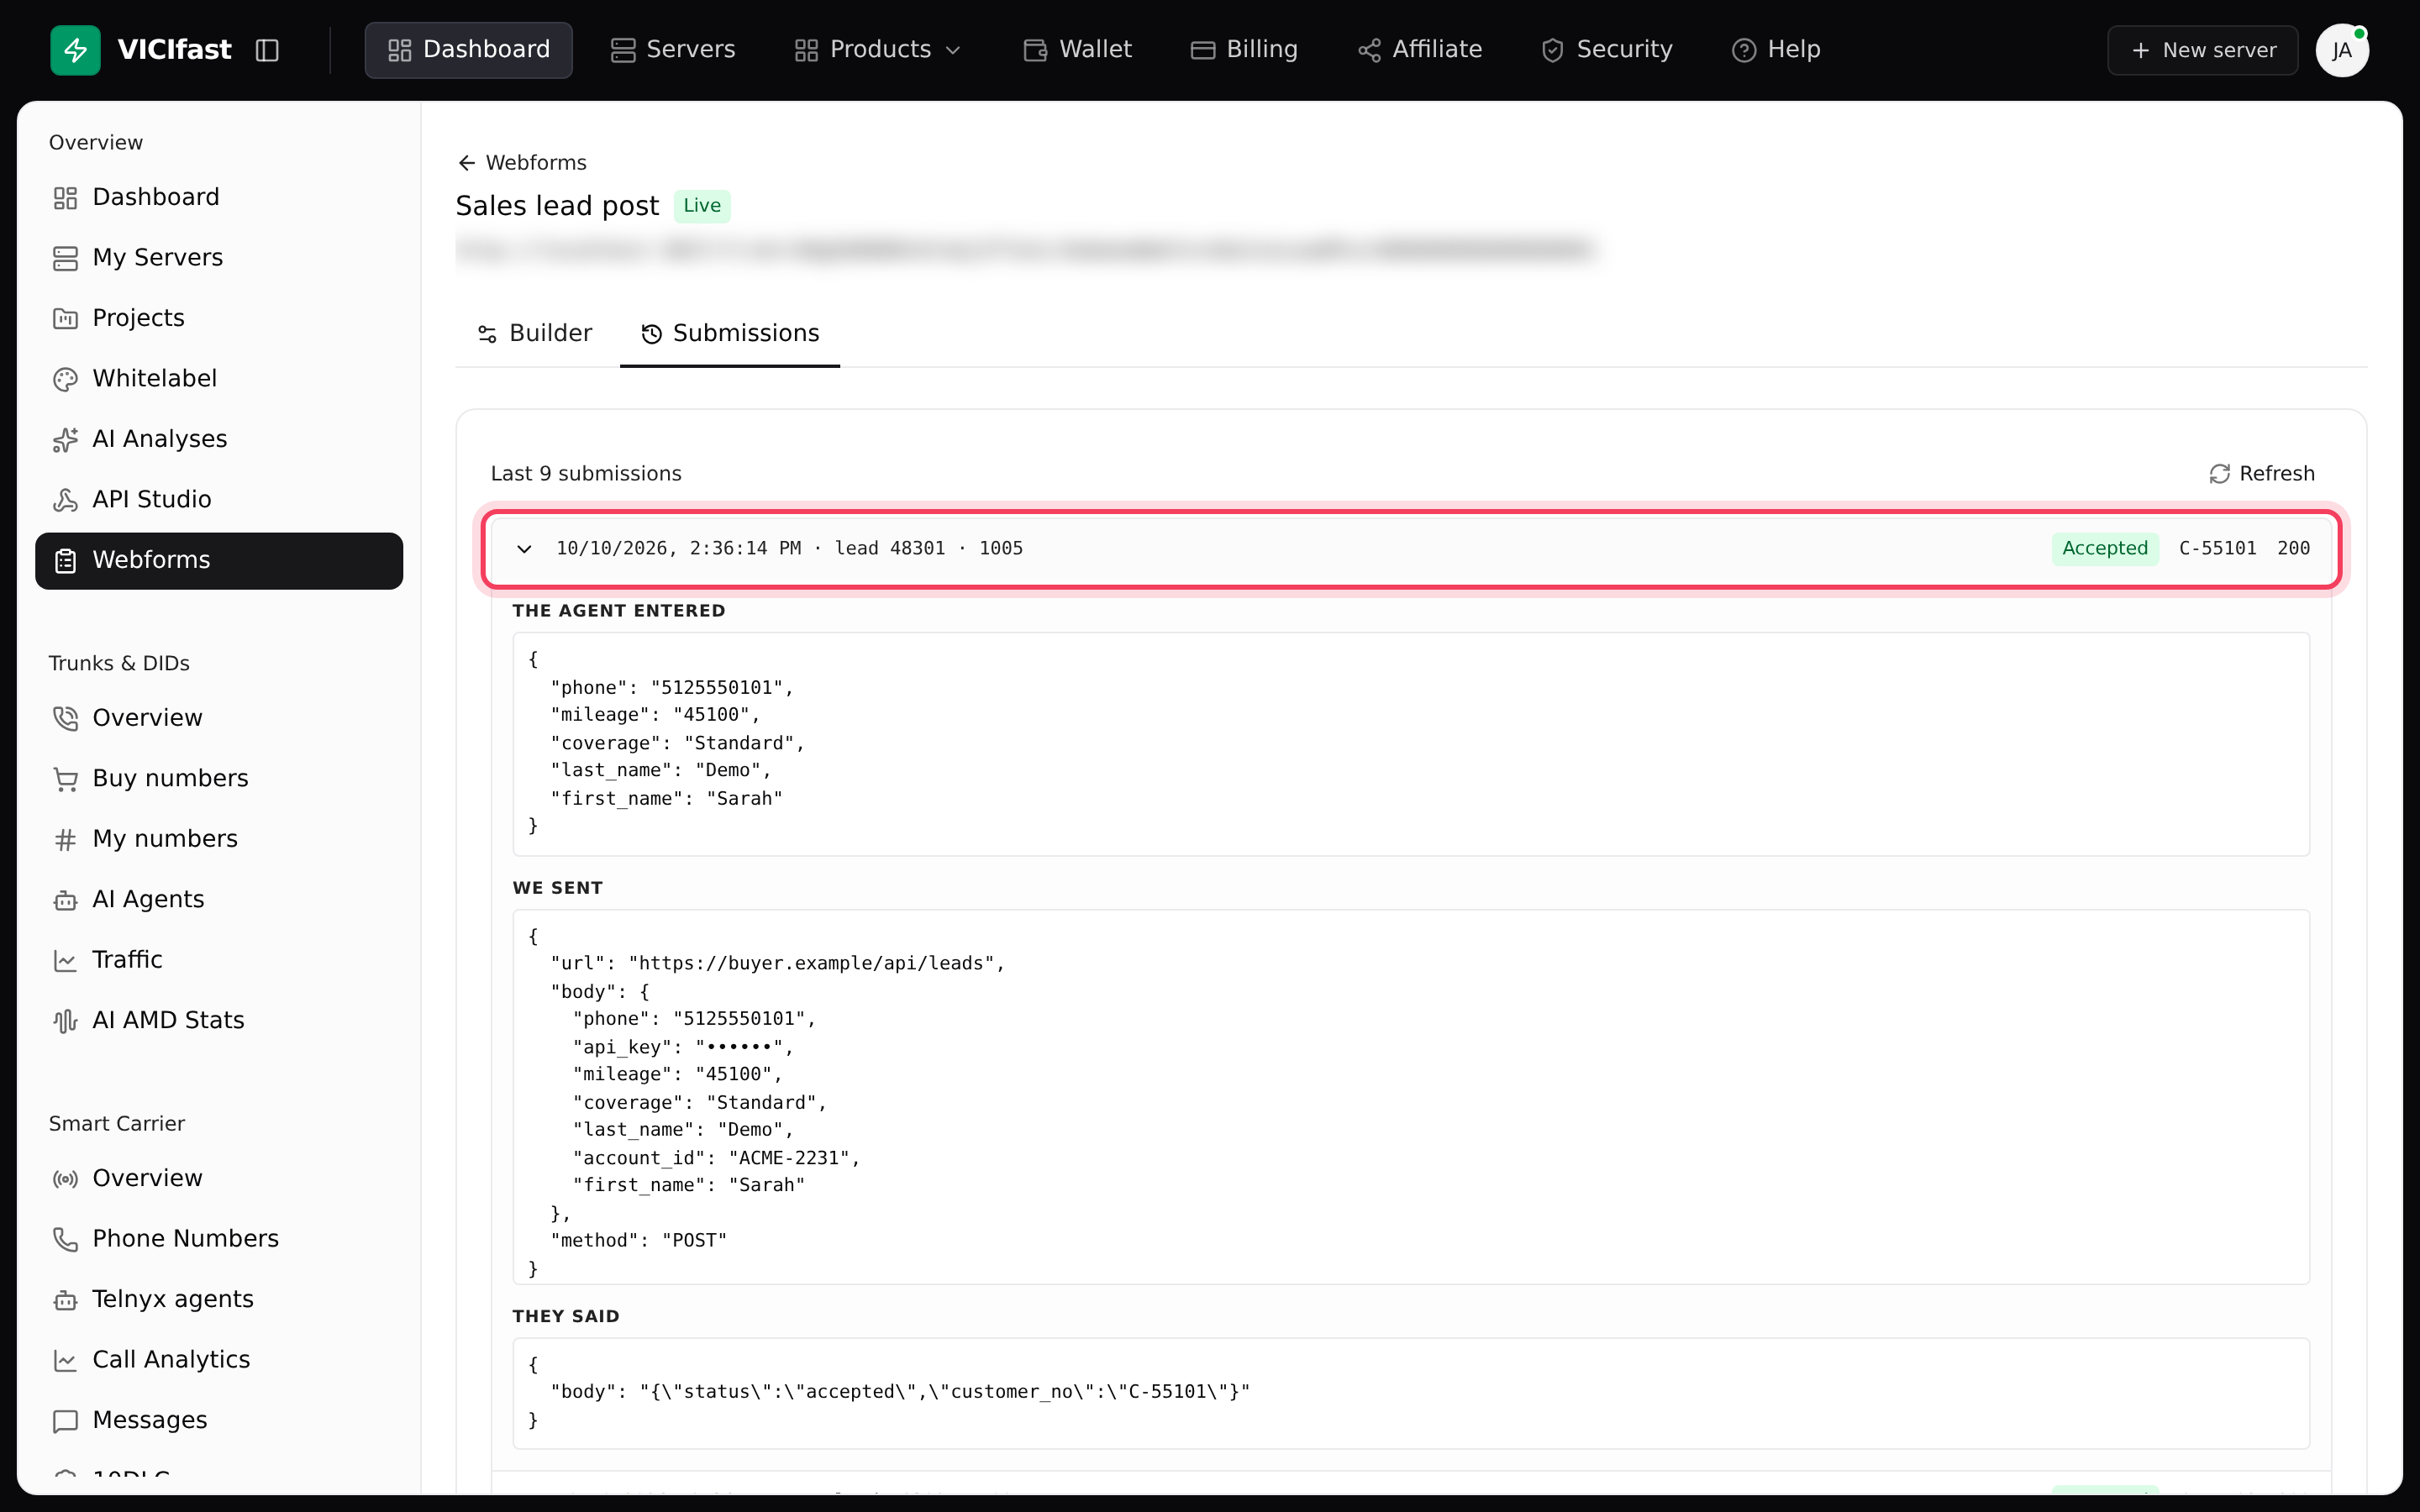
- On Webforms, click the form's name, then Submissions.
- Each row shows when it was sent, the lead, the agent and the result: Accepted, Not accepted, Awaiting reply or Unreadable reply.
- Click a row to see The agent entered, We sent and They said.
If something goes wrong
Frequently asked
- They opened the agent screen with http:// instead of https://. Ask them to use the https:// address and reload.
- Check the script is Active in Scripts & Filters and picked as the campaign's In-call script. A missing or inactive script shows an empty panel.
- Open the form, add the URL under Where it posts, and save.
- Your buyer answered in words the form doesn't recognise. Open a submission, look at They said, and set Accepted when it matches and Rejected when it matches to match those words.
- The form can only send to addresses on the public internet. Ask your buyer for their public posting address.
- Paused forms can be switched back on with the power button. Deleting a form stops every script that points at it, so remove it from your scripts too.