Find, edit or add a lead
Look up one lead, see every call made to it in Lead Trace, fix its details or result, add a lead by hand, or add numbers to do-not-call.
Campaigns & leads · 3 min read
Use this when you need to look up one person: fix a wrong name or number, change their result, see every call made to them, add a single lead by hand, or stop calling a number.
What you need
- You are the account owner, or a team member allowed on the Lists tab. Changing a lead needs permission to make changes there.
- Add to DNC is shown to the account owner only.
Step 1: Find the lead
- Open your server from My Servers and click the Lists tab.
- Click the Leads pill.
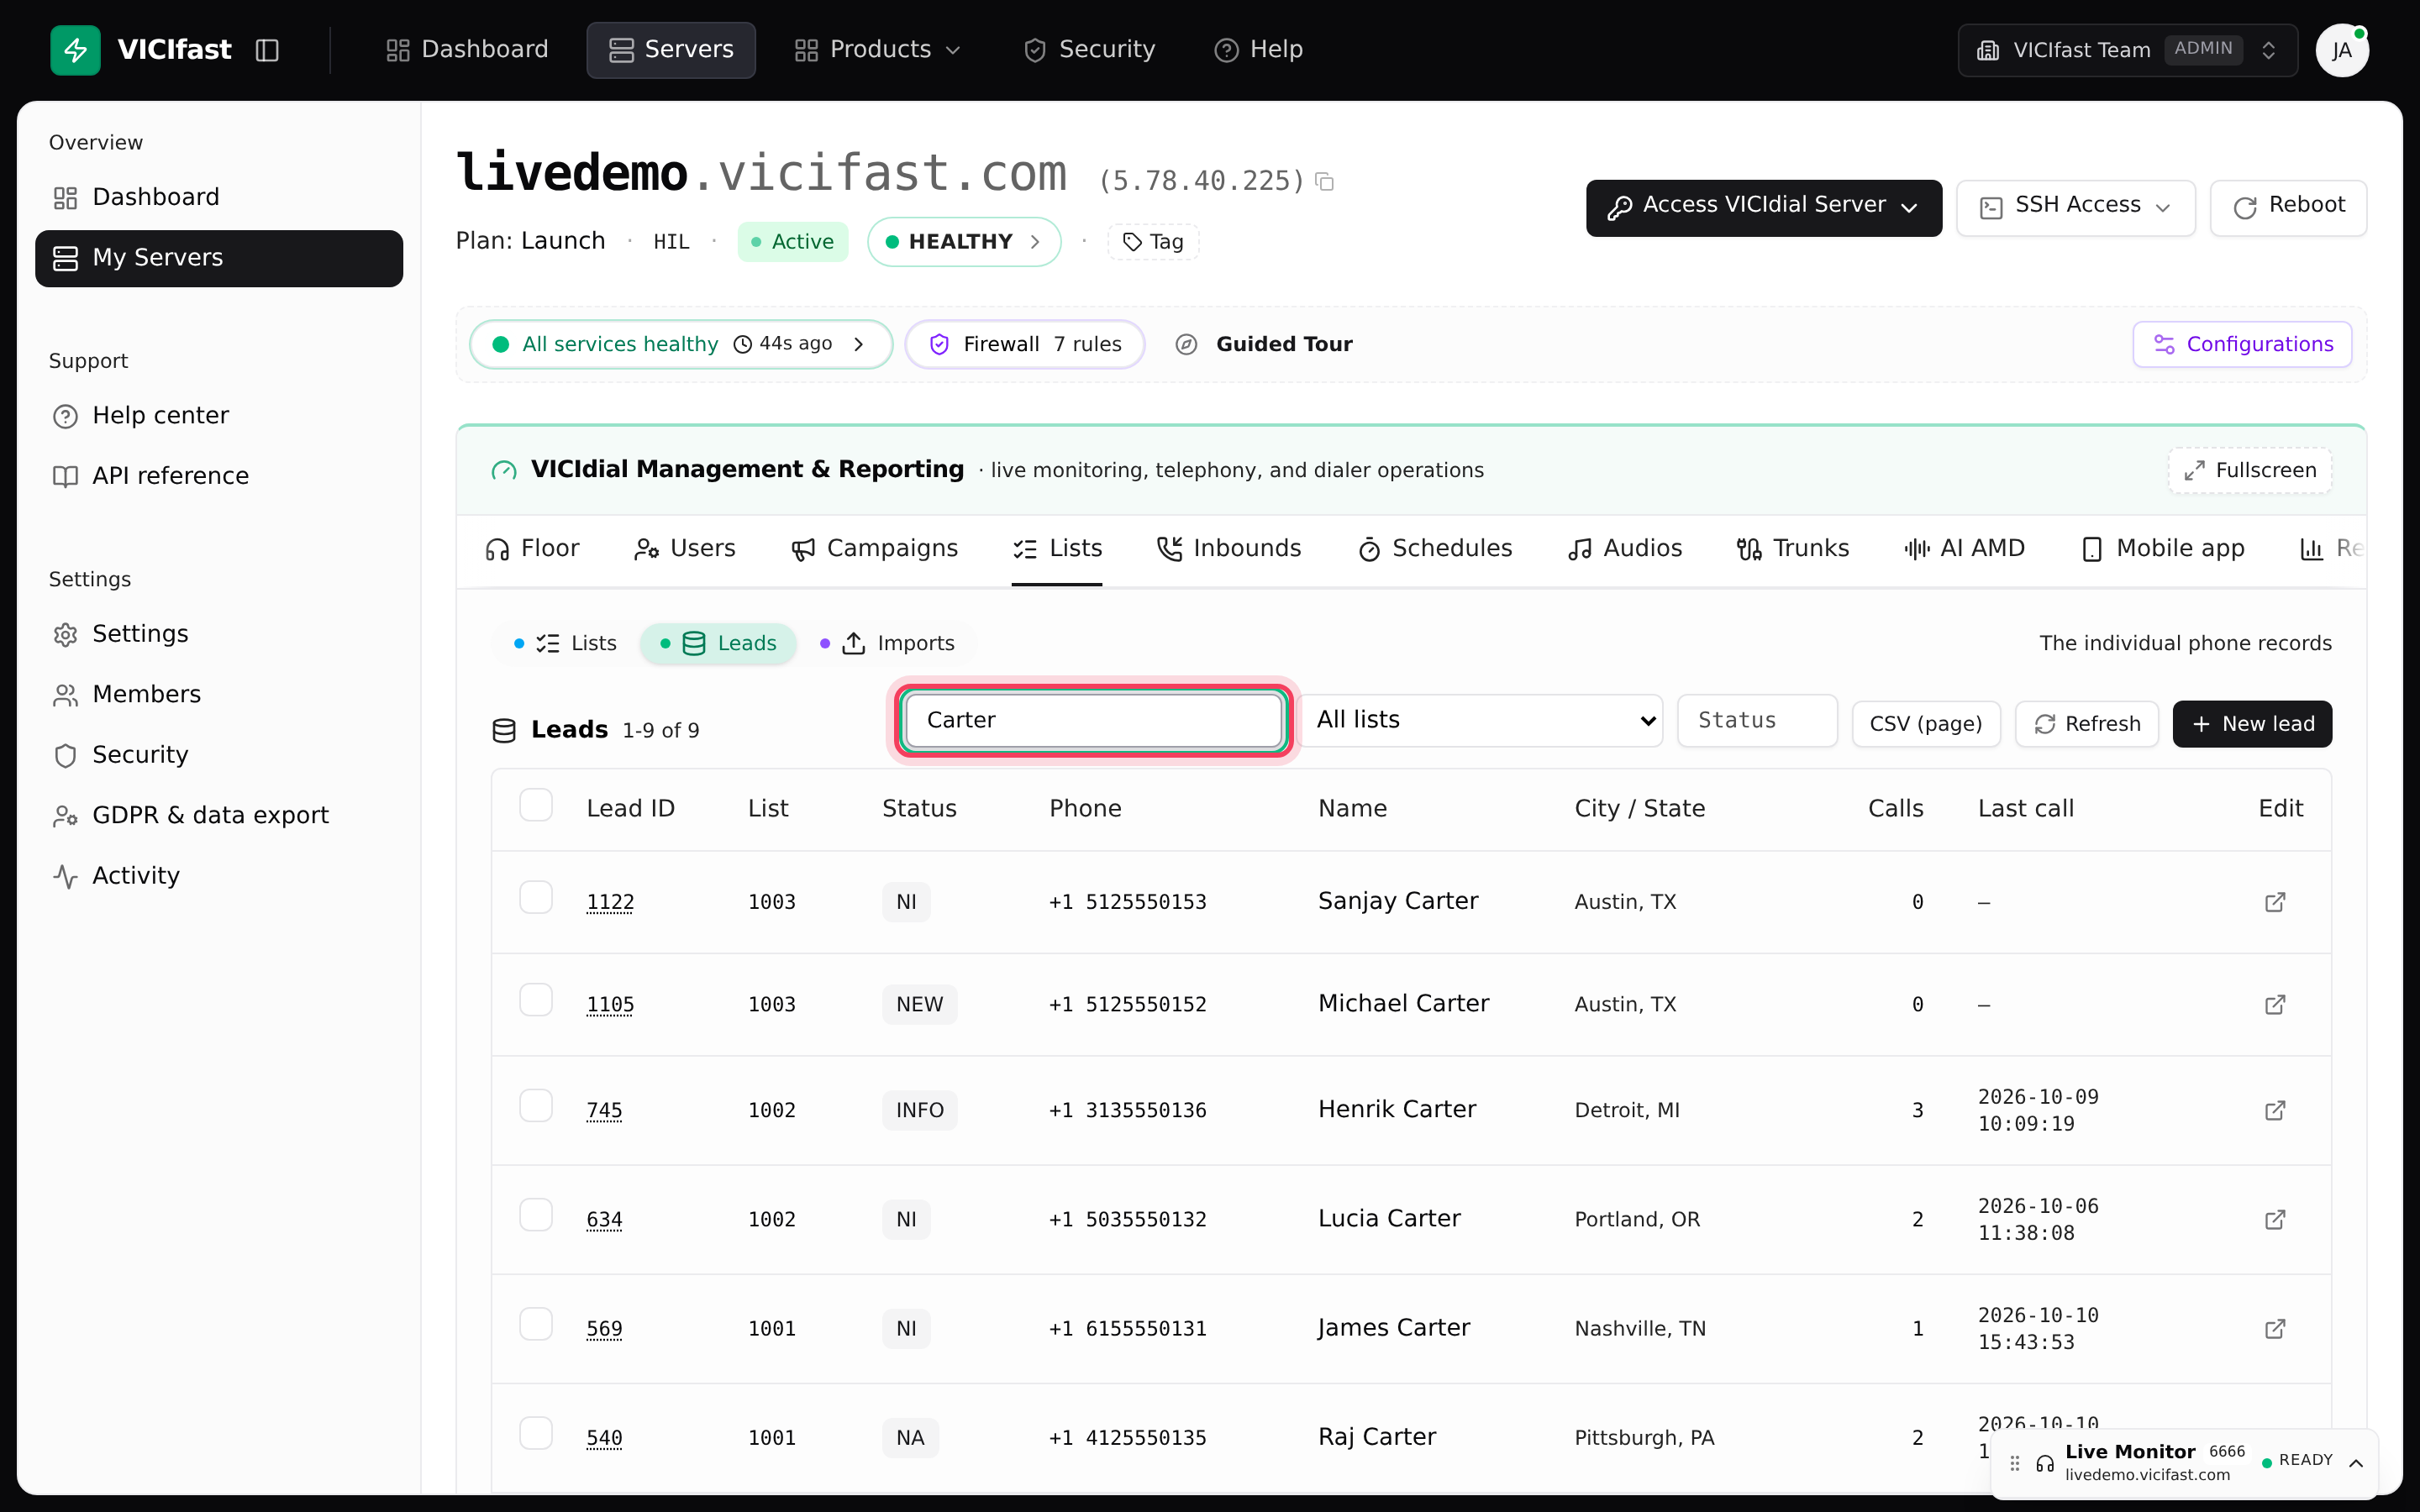
- Type in the box that says Search phone / name / lead id. It finds part of a phone number, a first or last name, an email address, or an exact lead ID.
- To narrow it down, pick a list in the All lists menu or type a result code (for example CALLBK) in the Status box.
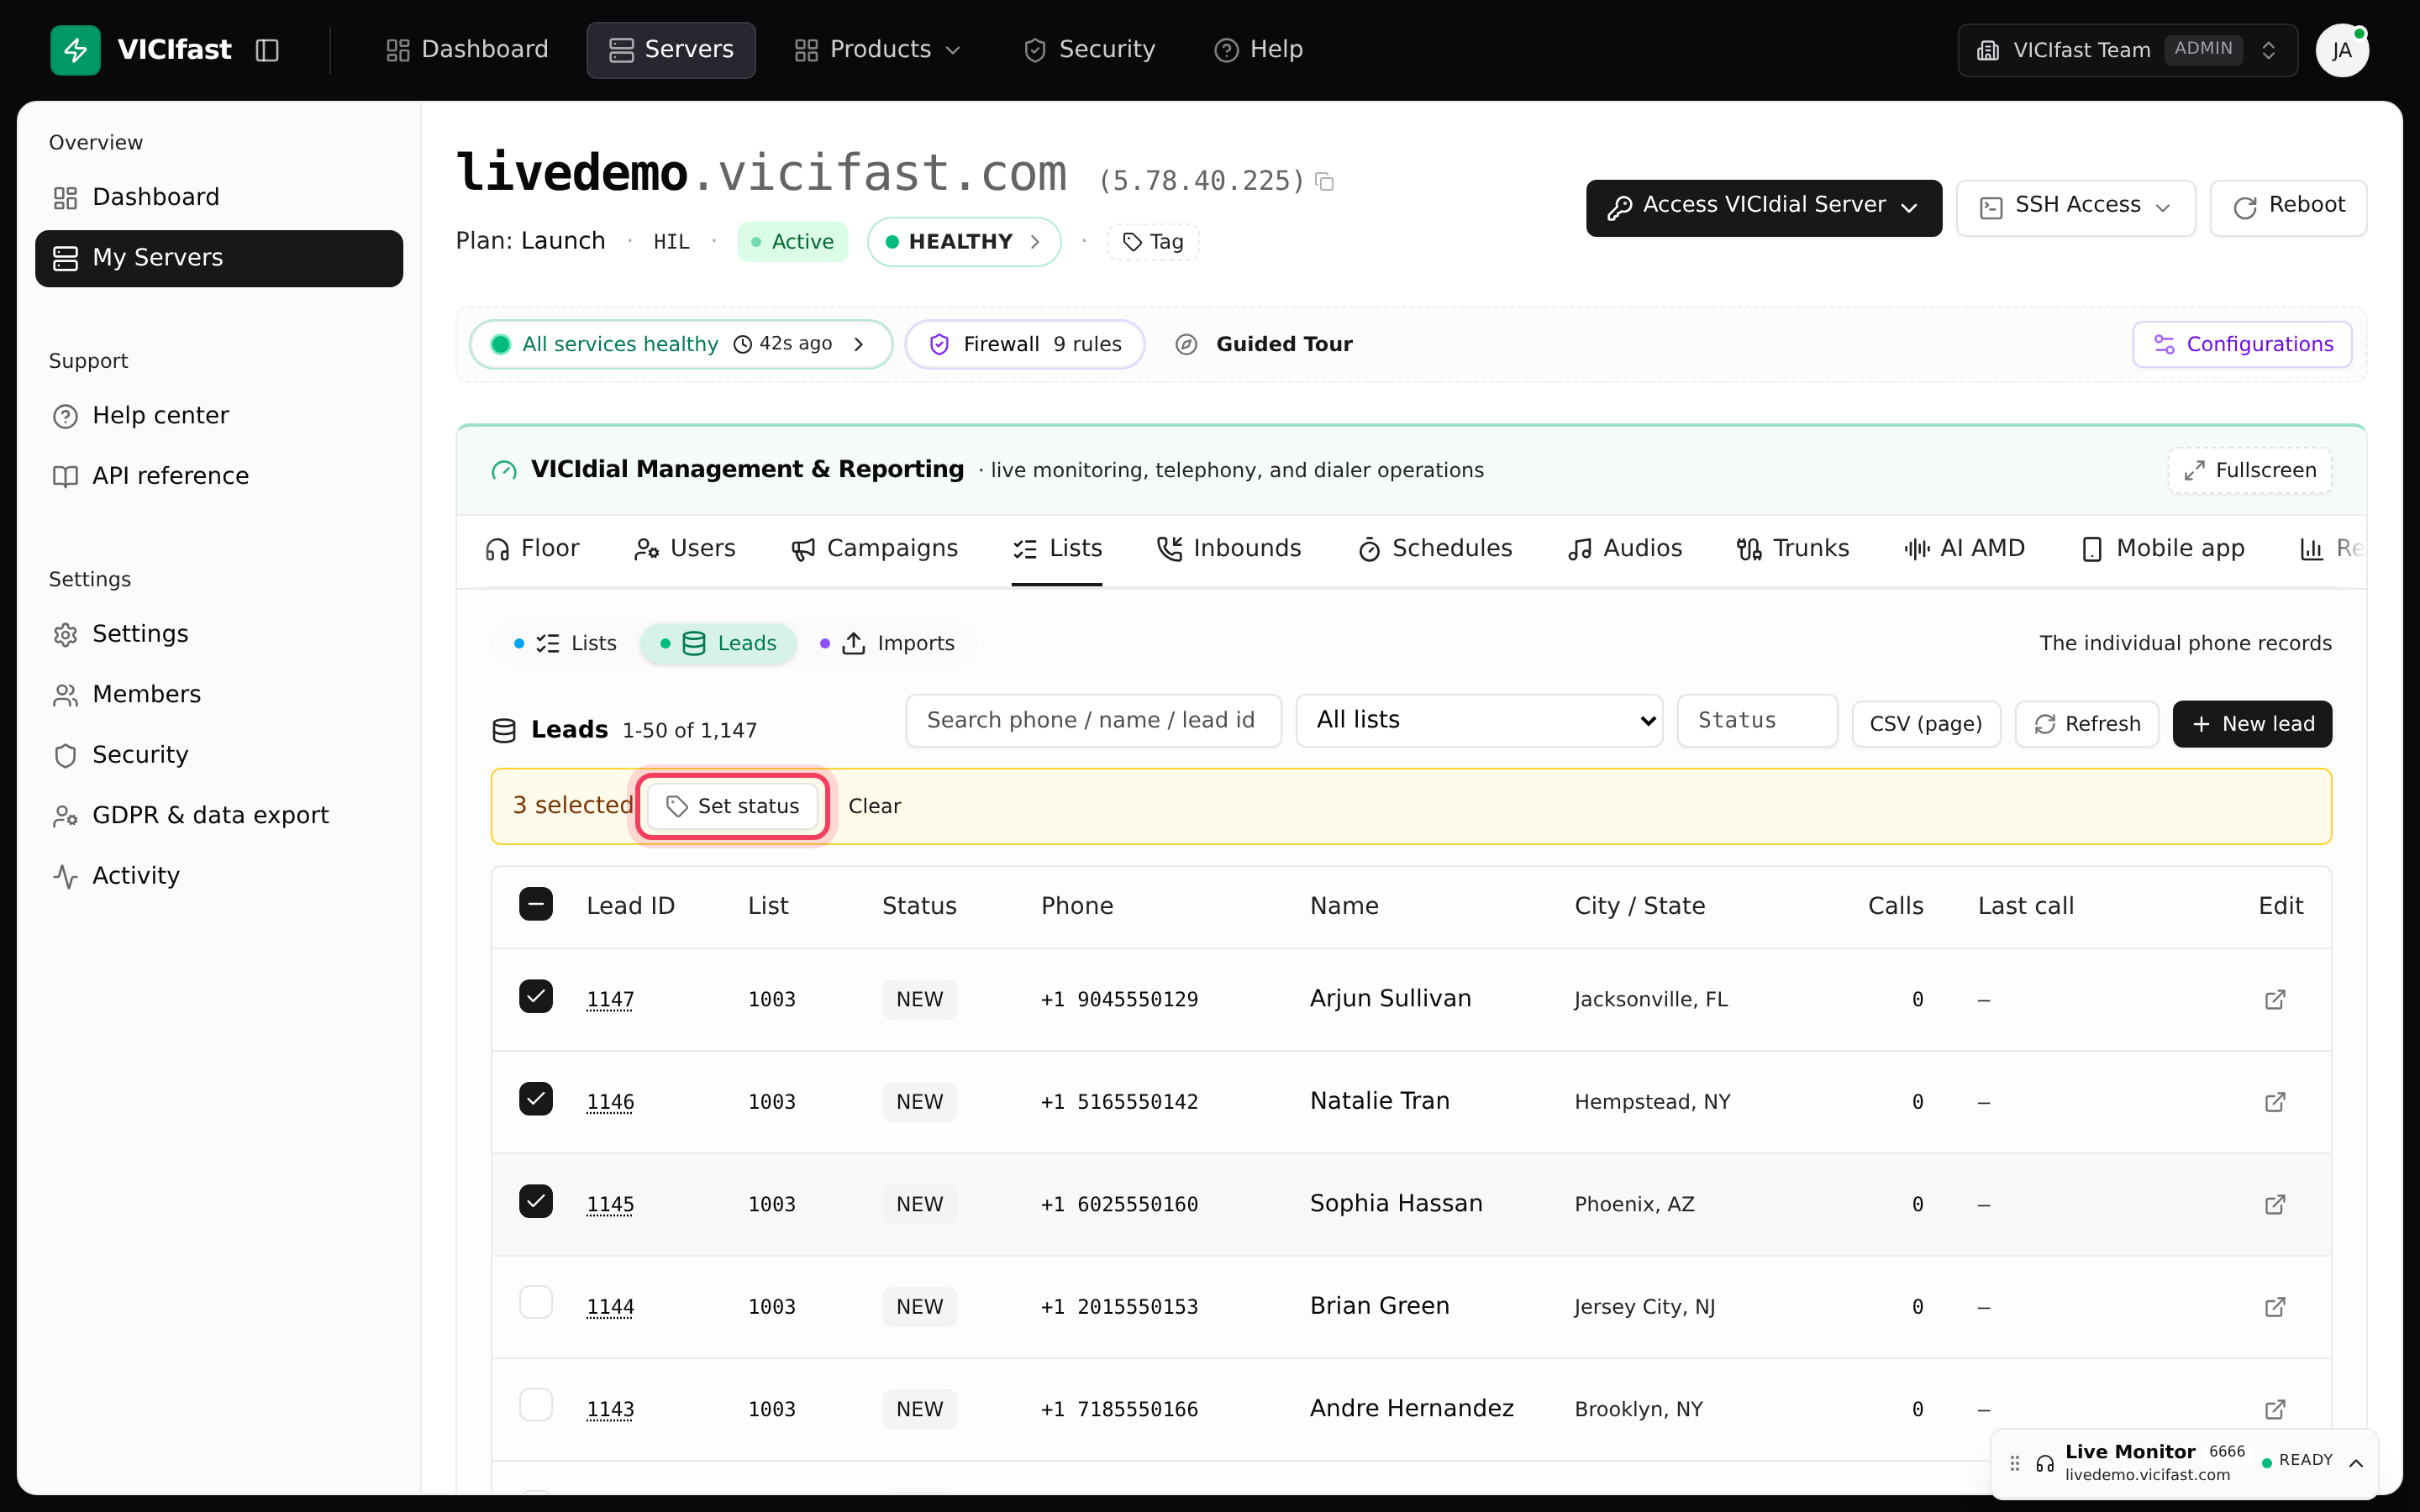
Each row shows the Lead ID, List, Status, Phone, Name, City / State, how many Calls were made and the Last call. Newest leads come first, 50 to a page.
Step 2: Open Lead Trace
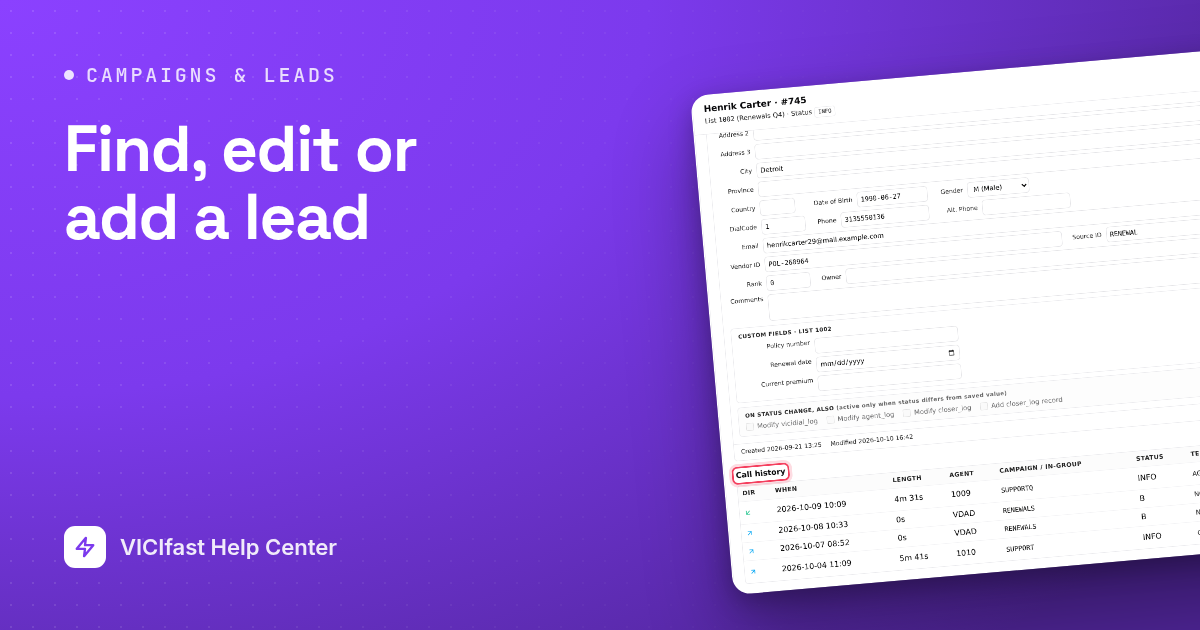
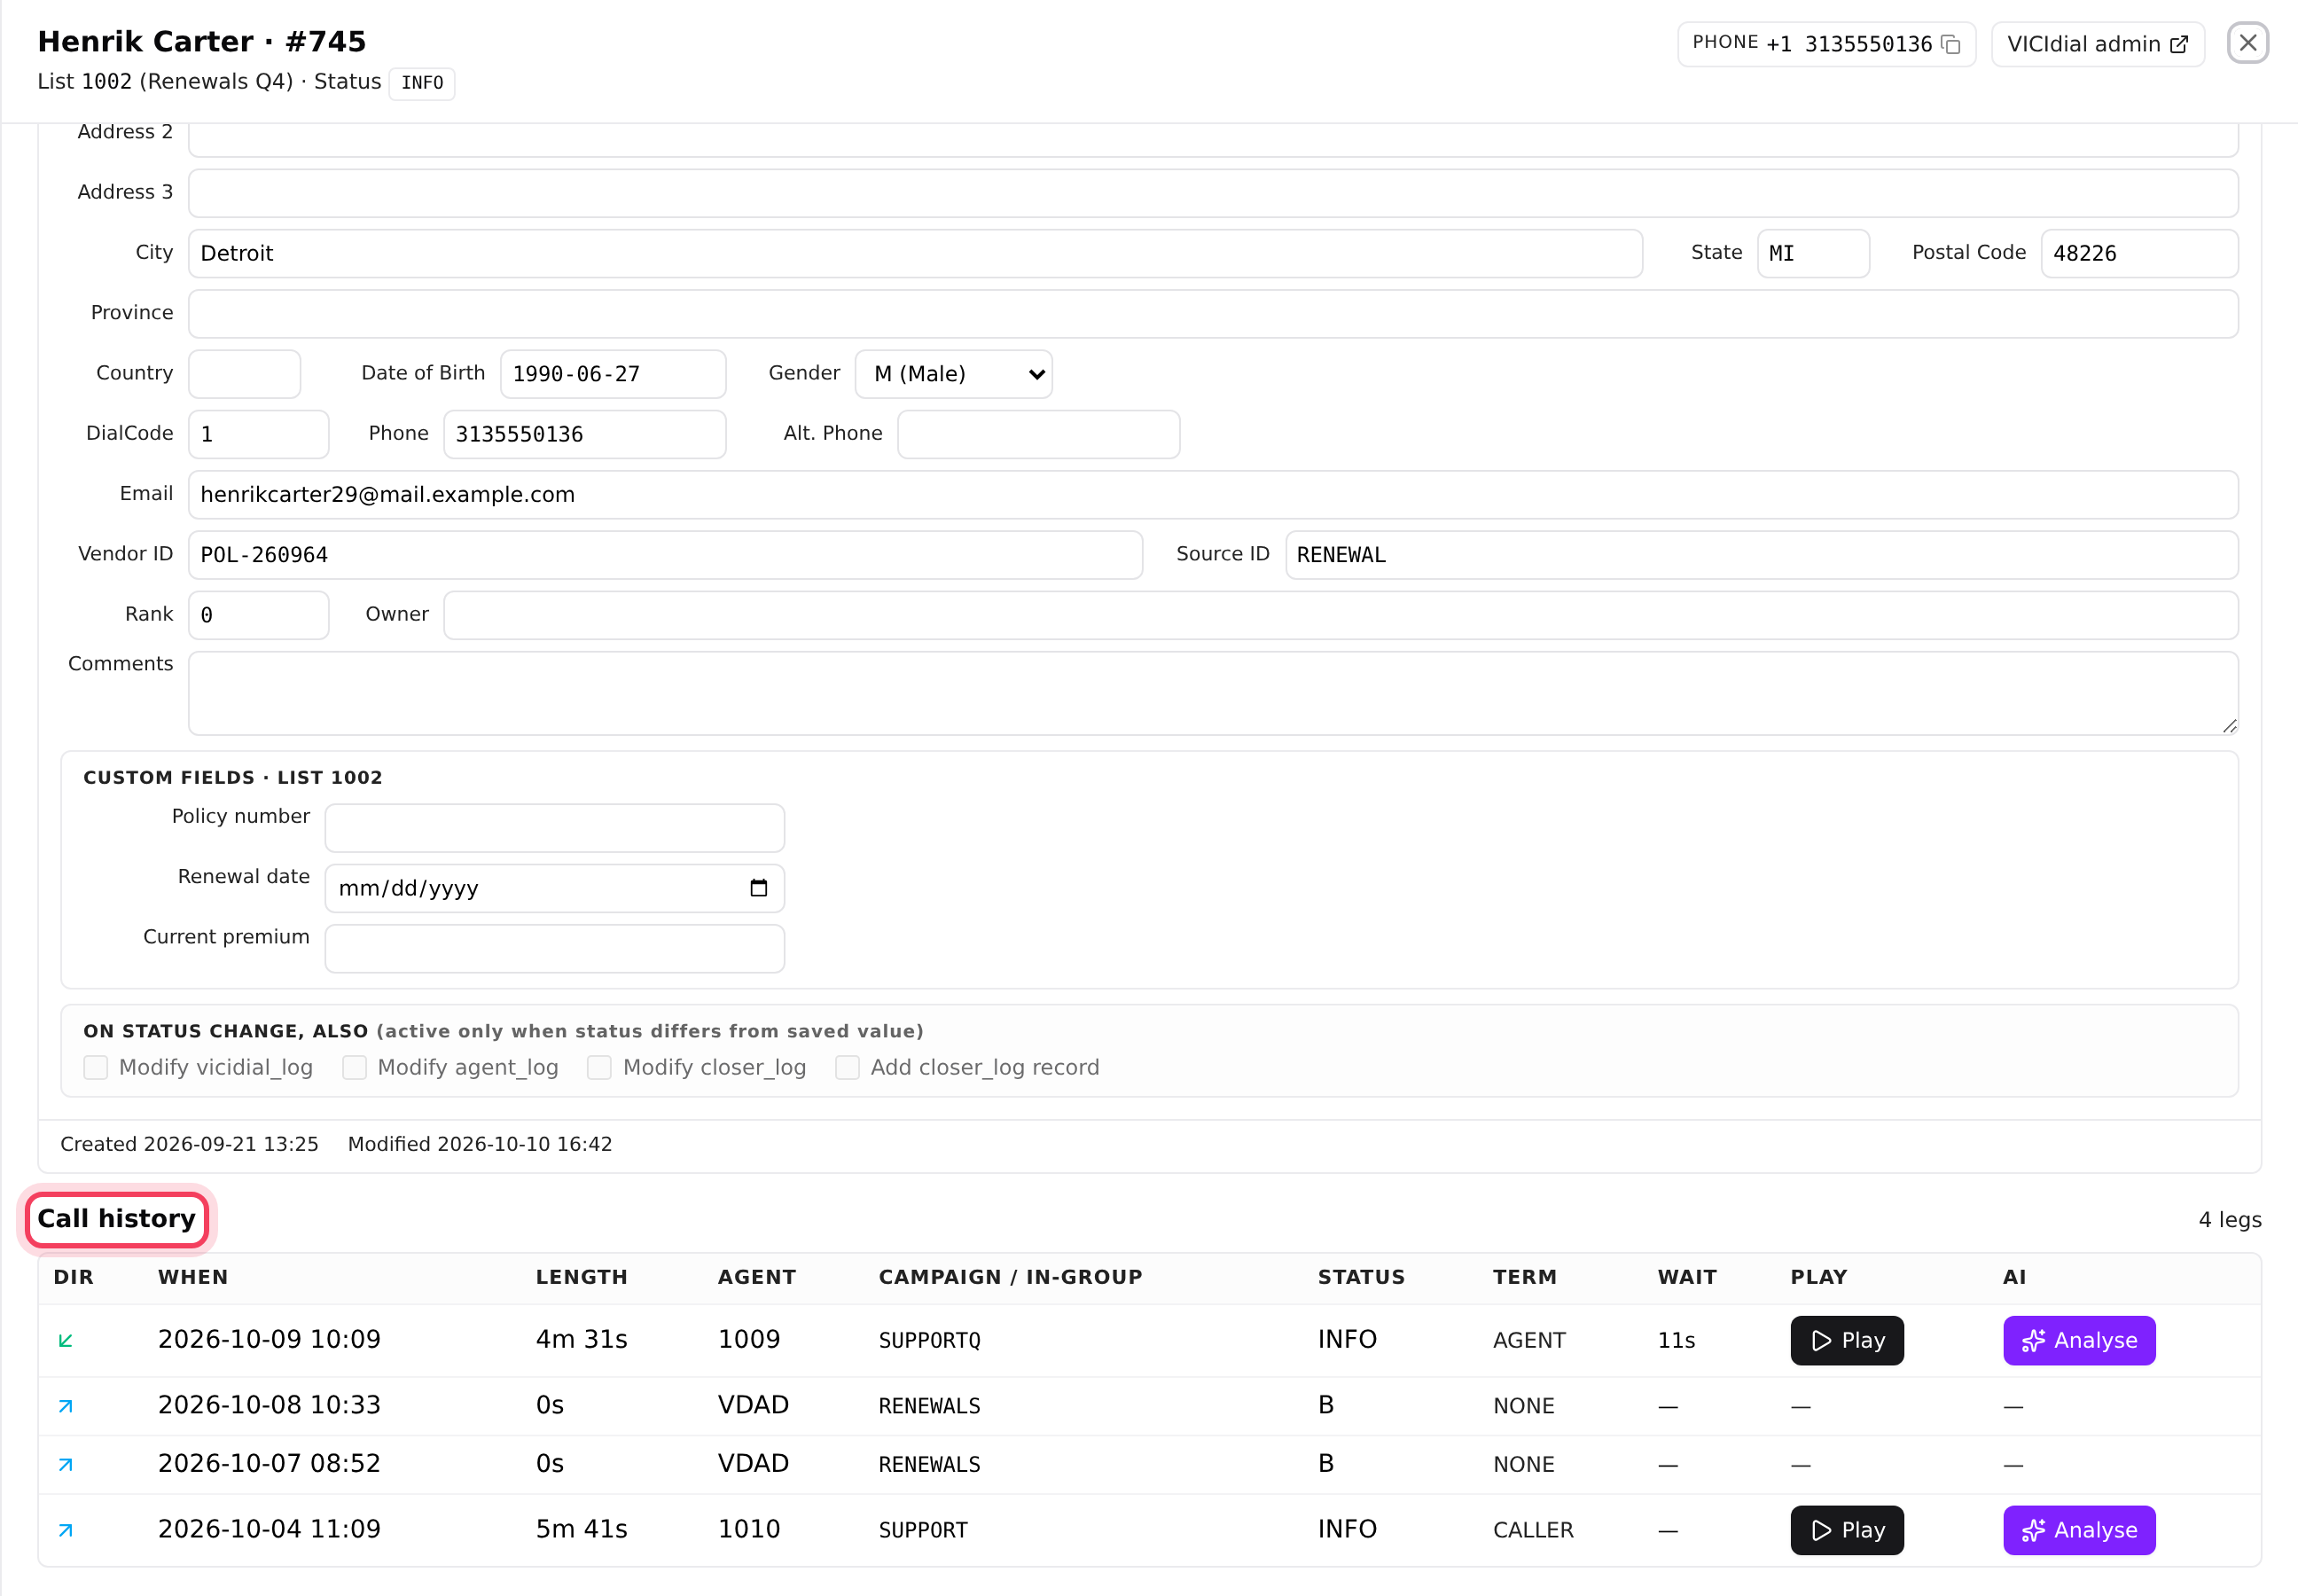
Click the lead ID, or the open icon at the end of the row. Lead Trace slides in. It is the full story of one lead:
- At the top: name, list, current status and phone number, with tiles for Total calls, Distinct agents, Recordings and Last contacted.
- Lead details: the lead’s record, which you can edit (Step 3).
- Call history: every call in and out, with the agent, campaign or queue, result and length. Click play to hear a recording, or Analyse to have AI review it (paid from your wallet, see AI call analysis).
- Agent activity, IVR events and Emails appear when the lead has any.
Lead Trace also opens when you click a lead ID in your call recordings.
Step 3: Edit the details or the result
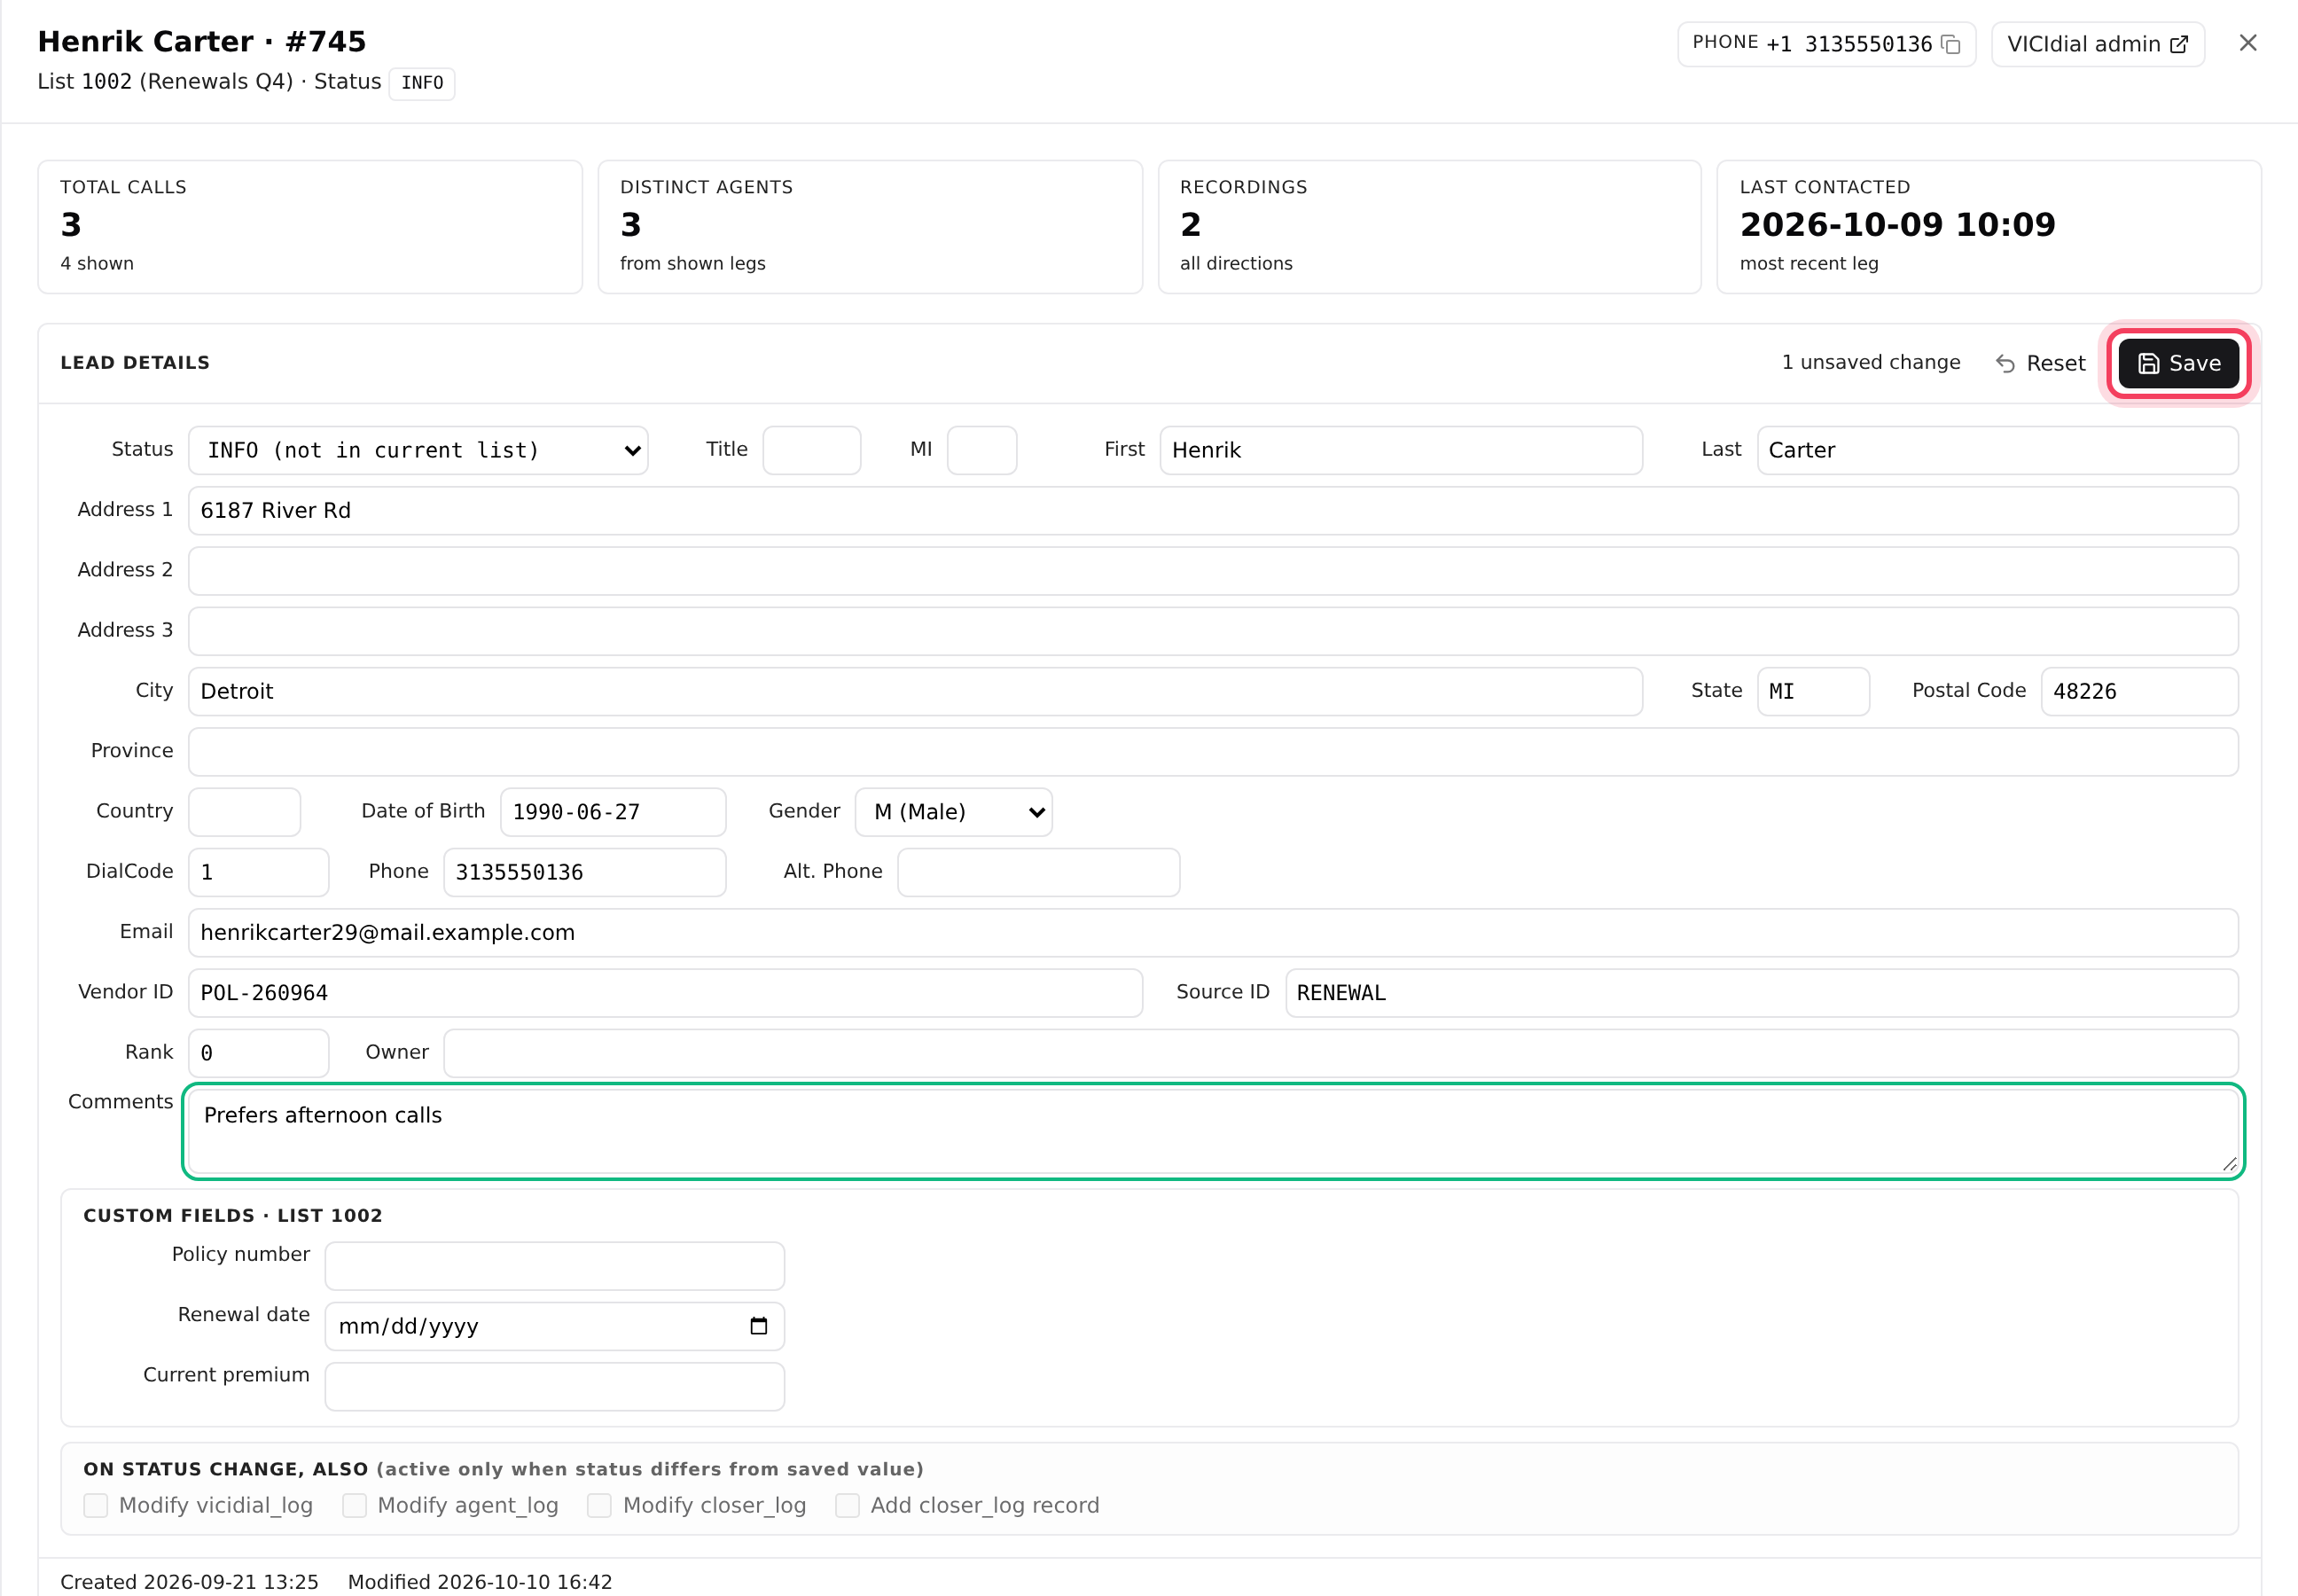
- In Lead details, change what you need: name, address, Phone, Alt. Phone, Email, Comments and so on. If the lead’s list has custom fields, they are listed underneath.
- To change the lead’s result, pick one in the Status menu. It lists the results used by the lead’s campaign.
- When you change the status, the On status change, also row becomes active. Its boxes rewrite the result of the lead’s latest call in your call logs too. Leave them unticked unless you are correcting a call an agent got wrong.
- Click Save. Reset throws away changes you have not saved.
Whether a lead is called again depends on its result and your campaign’s Dial Statuses. See Redials and lead recycling.
Step 4: Add a single lead
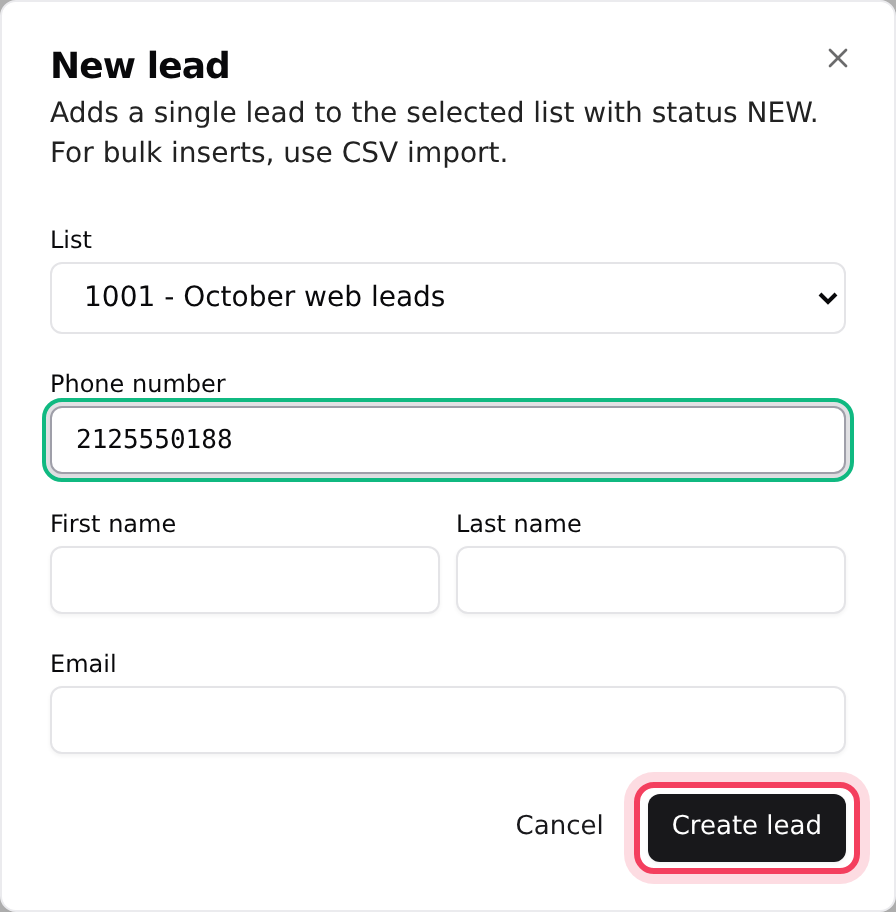
- On the Leads pill, click New lead.
- Pick the List and type the Phone number. First name, Last name and Email are optional.
- Click Create lead. The lead is added with status NEW.
For more than a handful, use Import leads instead. See Upload leads.
Step 5: Change many leads at once
- Tick the leads on the Leads pill. The box in the header ticks the whole page.
- To give them all one result, click Set status, type the code (for example NEW or CALLBK) and click Apply.
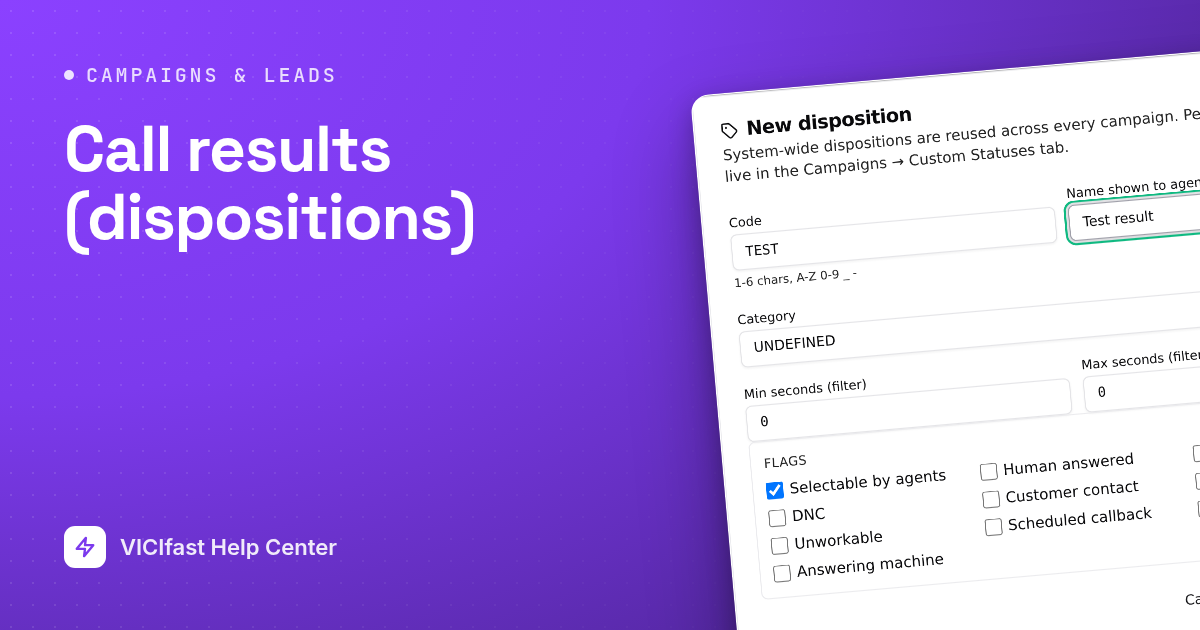
- To stop calling them, click Add to DNC (account owner only). Under Scope, pick System-wide DNC (vicidial_dnc) to block the numbers on every campaign, or Campaign DNC only and type the Campaign ID. Click Add to DNC. The leads’ status also changes to DNC.
There is no button to take a number off the do-not-call list in the dashboard. Check your selection before you click Add to DNC. If you need a number removed, ask us in the chat.
If something goes wrong
Frequently asked
- Clear the Status box and set the list menu back to All lists. The search matches part of a phone number, a first or last name, or an email, but only an exact lead ID.
- It only shows for the account owner. Team members can use Set status to give leads a result the campaign does not dial, but only the owner can put numbers on the do-not-call list.
- The lead has a result that its campaign no longer uses, for example one that was deleted. Pick a current result and save.
- There is no delete button for a single lead. To stop calling it, add it to DNC or give it a result your campaign does not dial.
- It exports the page you are looking at. Use the list and status filters to get the leads you need onto the page first.