Put your brand on the dialer
Make a branding pack with your logo, colours and support email, then apply it to any server or project in one click. Your agents see your brand, not ours.
Billing & account · 4 min read
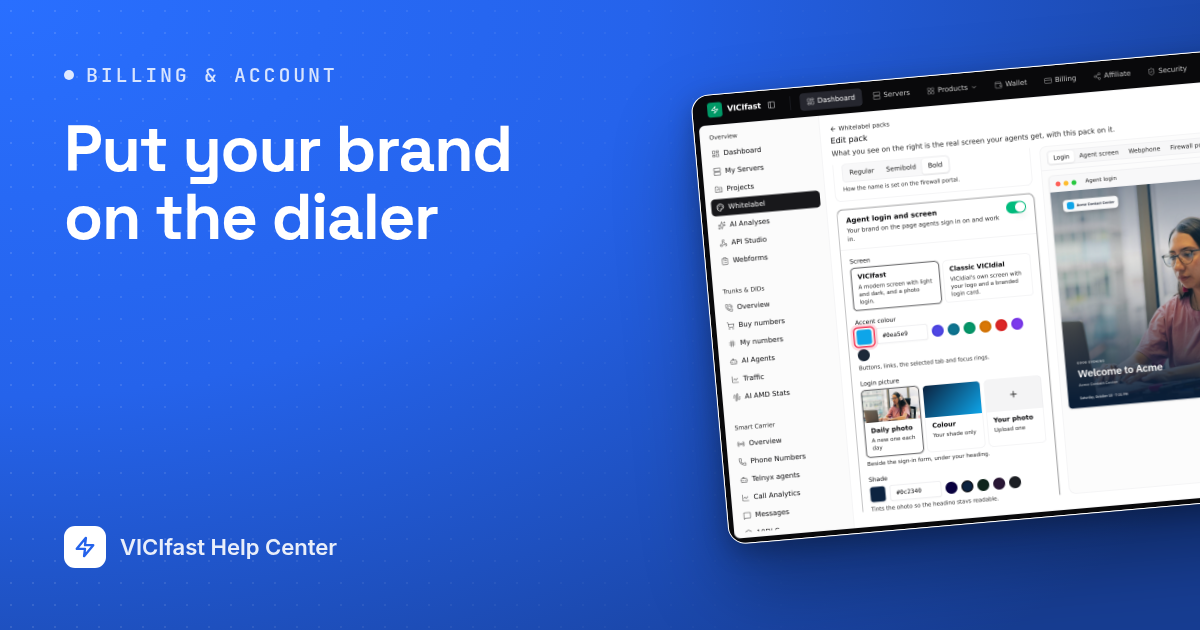
A branding pack puts your logo, your colours and your support email on everything your agents see: the login page, the agent screen, the webphone, and the firewall page they use to allow their own network. You build a pack once, then apply it to any server or project. The editor shows the real screens as you go.
What you need
- You are the account owner. Members don't see packs.
- Your logo as PNG, JPEG, SVG or WebP, up to 1 MB. A wide logo on a transparent background works best.
Step 1: Open Whitelabel
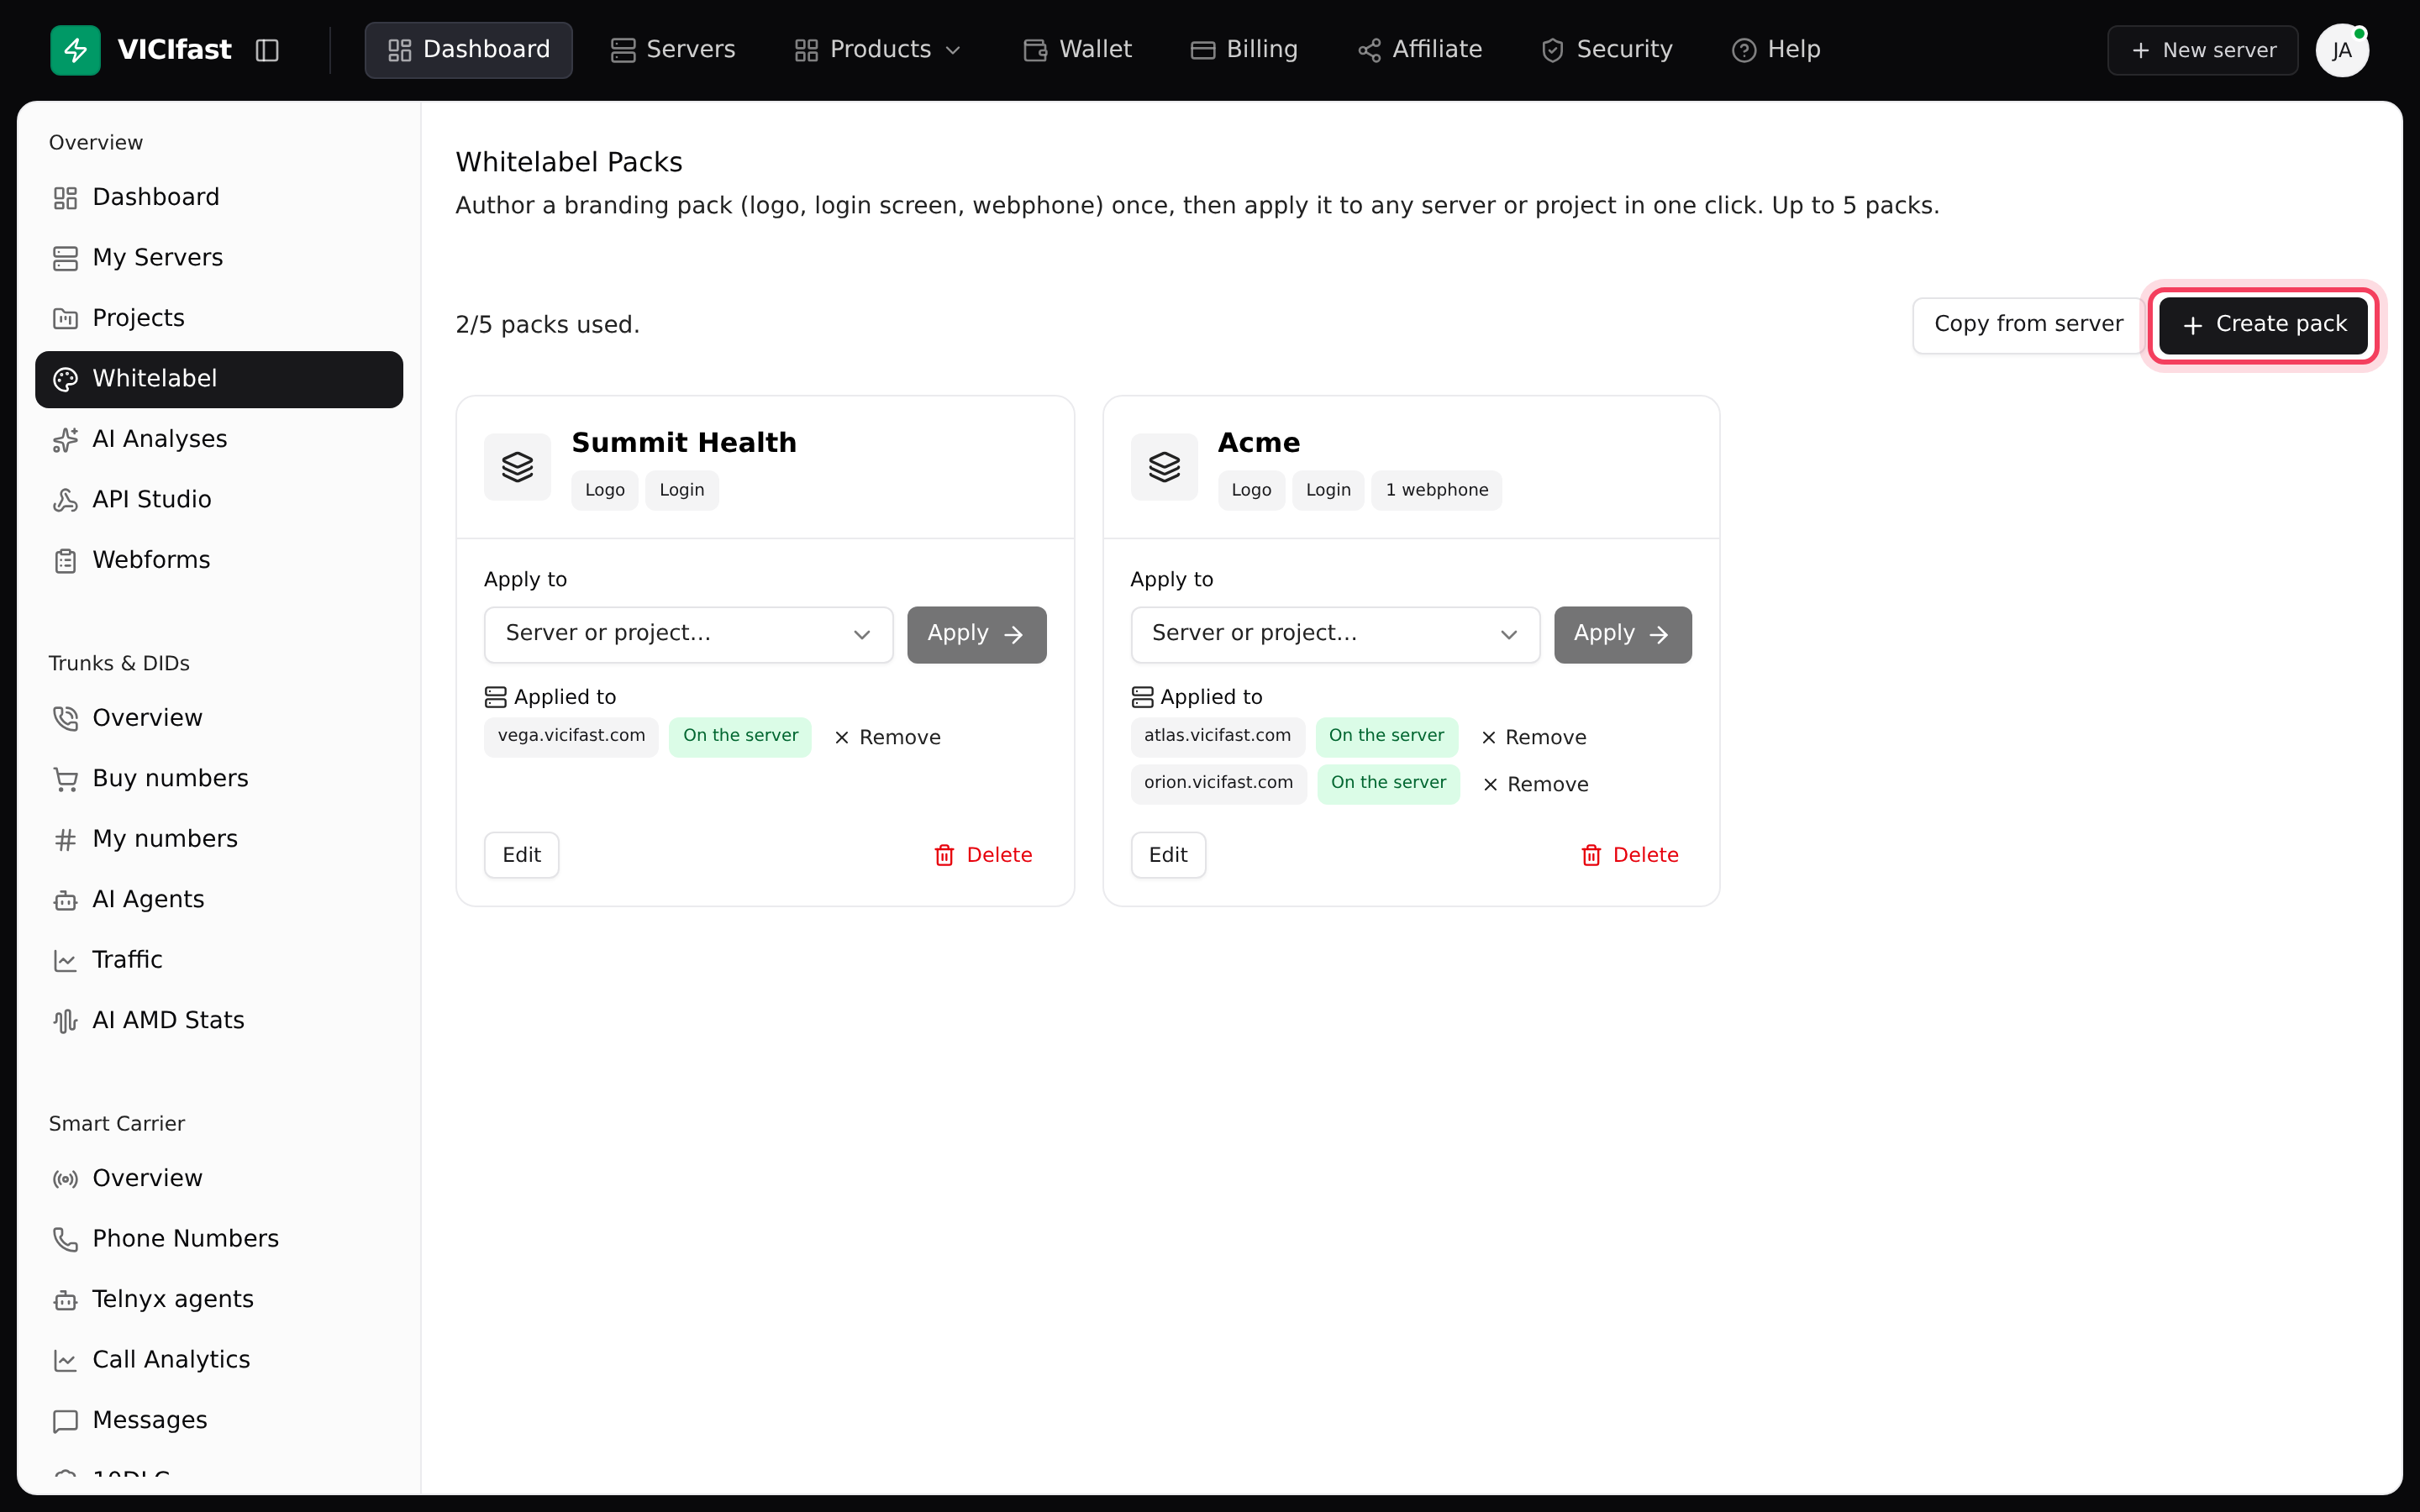
- In the left sidebar, under Overview, click Whitelabel. The Whitelabel Packs page opens.
- You can keep up to 5 packs. The page shows how many you have used.
- Already have a server that looks right? Click Copy from server, pick the Server, give it a Pack name, and click Create pack. Its branding becomes a new pack you can edit.
Step 2: Create a pack, with your logo and name
- Click Create pack. The editor opens: settings on the left, and on the right a live preview with four tabs: Login, Agent screen, Webphone and Firewall portal.
- Under Pack, type a Name you will recognise later. Only you see it.
- Under Brand, upload your Logo and type your Company name. The name is shown where there is no logo, and in the login greeting.
- No logo? Pick a Name weight (Regular, Semibold or Bold) for how the name looks on the firewall page.
Step 3: Brand the agent login and screen
- In Agent login and screen, leave the switch on. Off means agents get stock VICIdial.
- Choose the Screen: VICIfast (a modern screen with light and dark, and a photo login) or Classic VICIdial (VICIdial's own screen with your logo and a branded login card).
- Pick your Accent colour. It colours buttons, links, the selected tab and focus rings.
- With the VICIfast screen, choose the Login picture: Daily photo, Colour, or Your photo (JPEG, PNG or WebP, up to 3 MB). Then set the Shade, and the Heading and Line under the heading beside the sign-in form.
- With Classic VICIdial, set the Background and Fill behind the login card, a Heading, a Line under the card, and whether to Hide VICIdial’s version line.
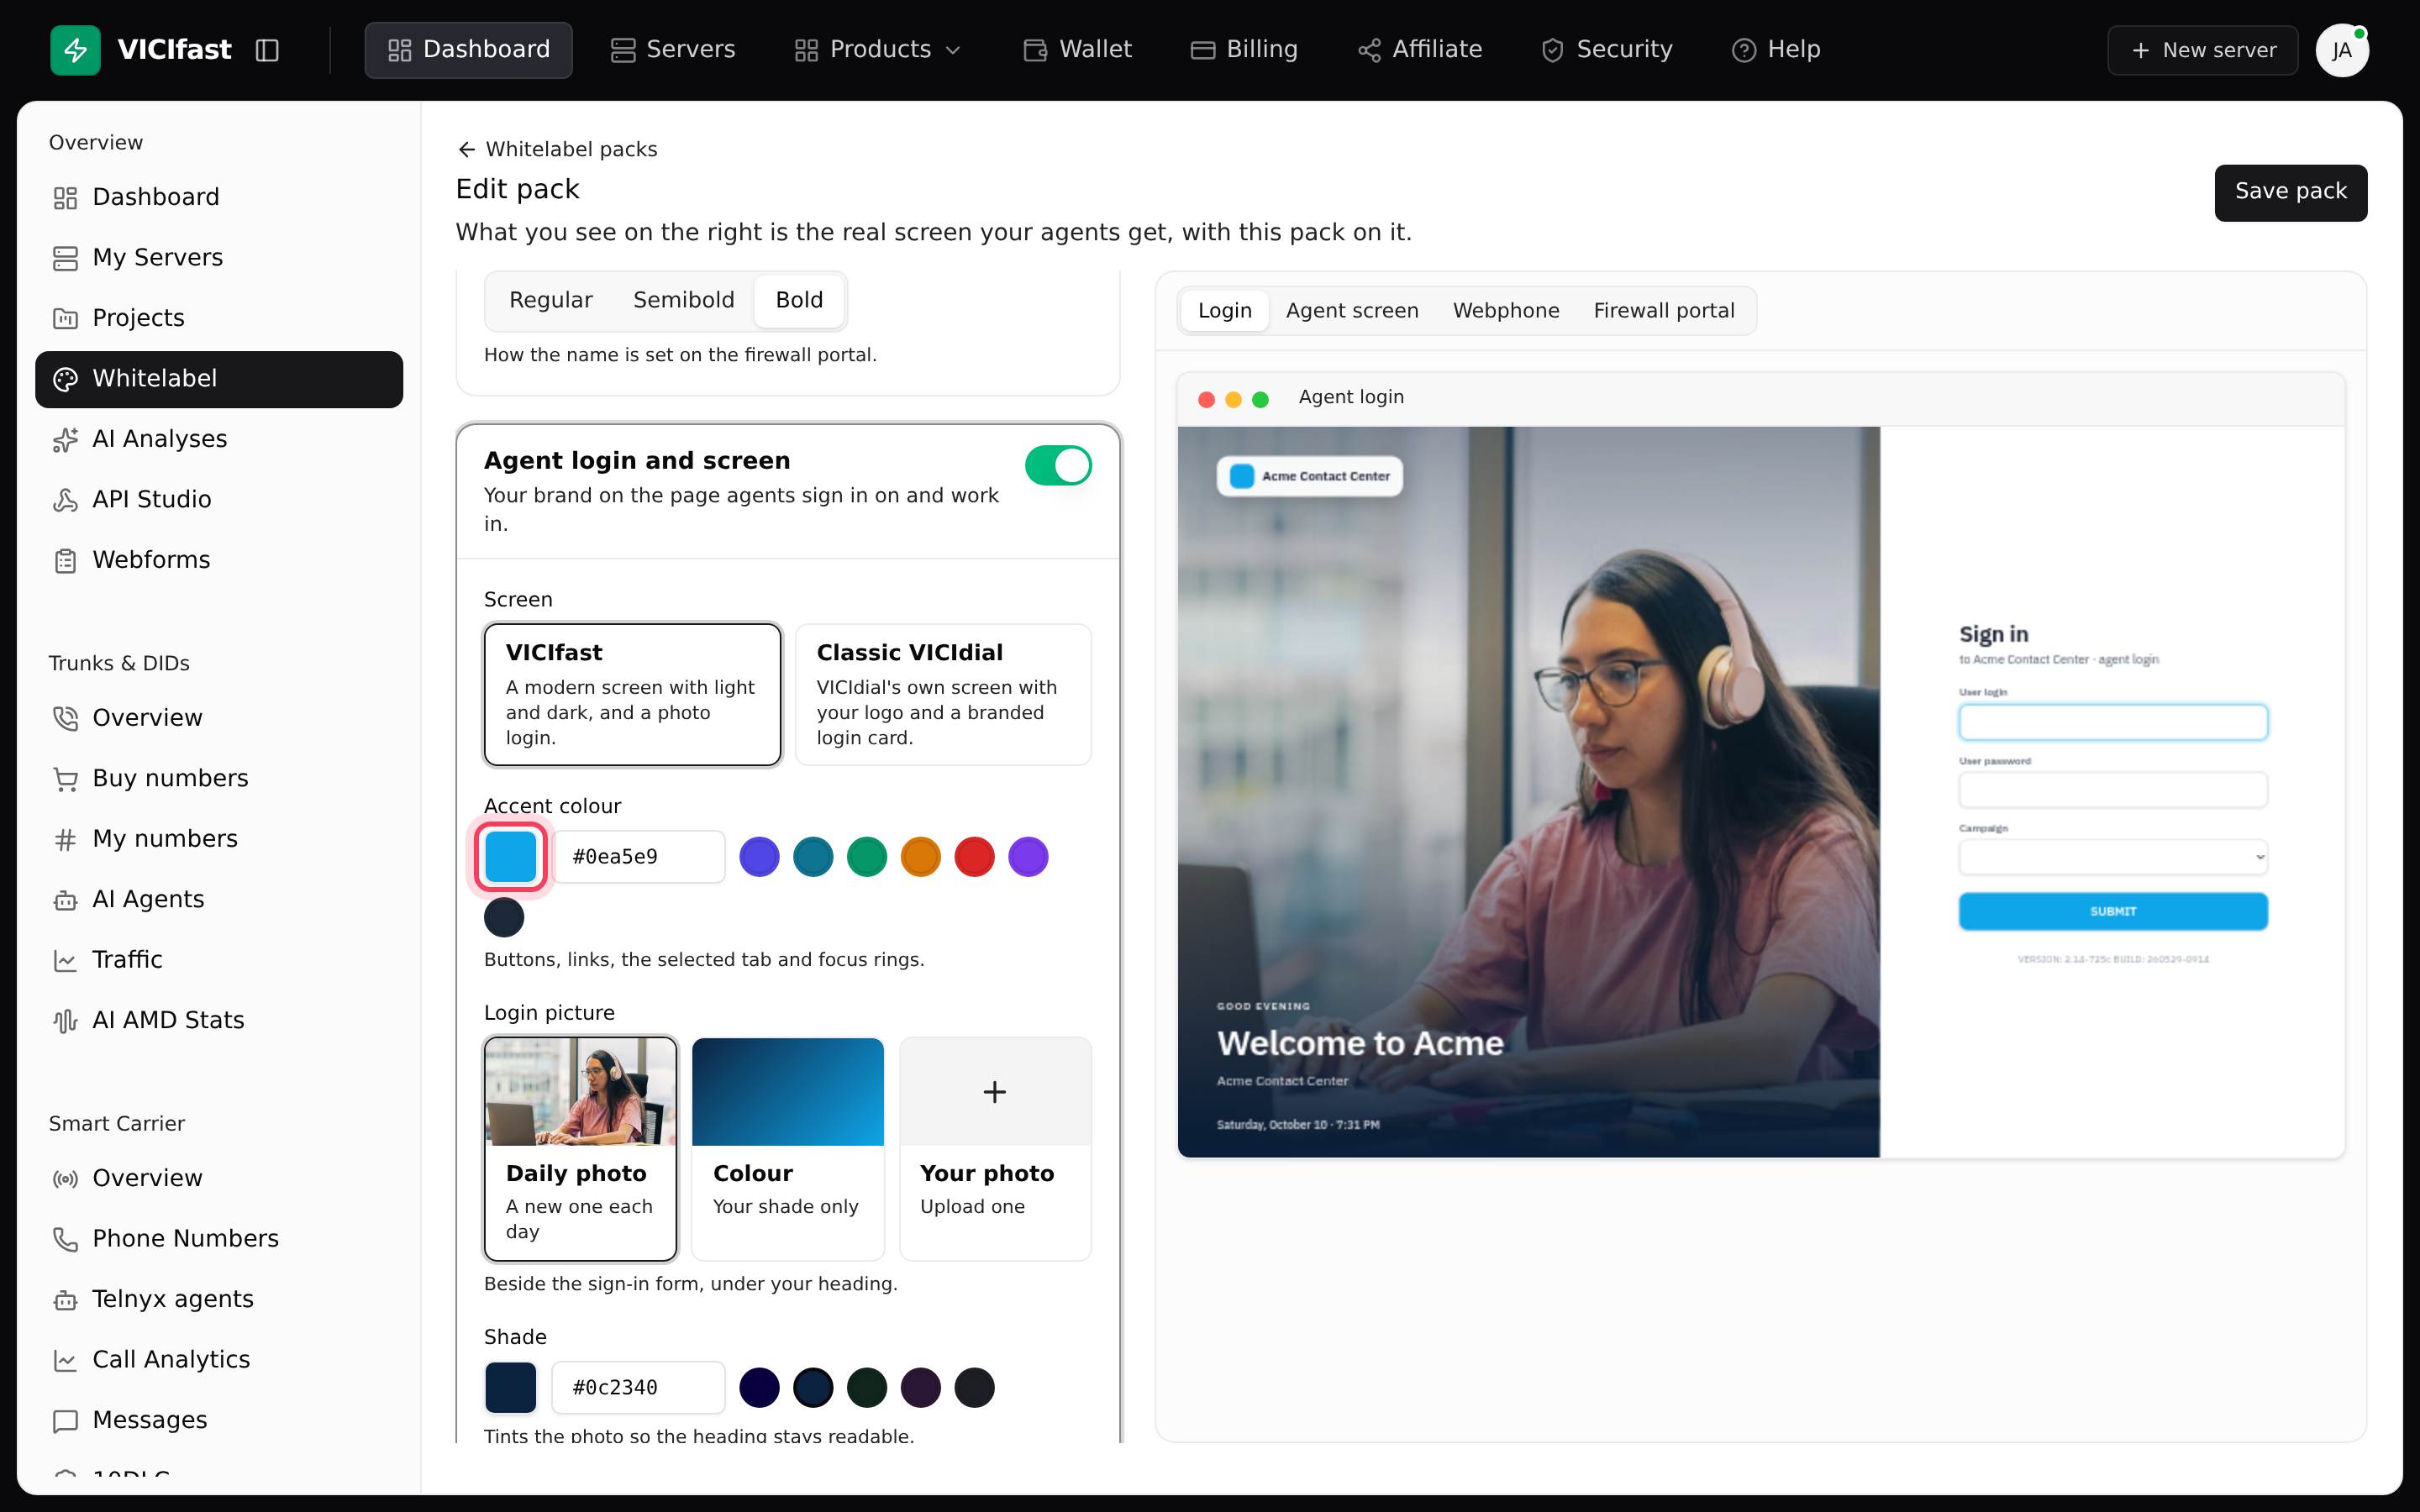
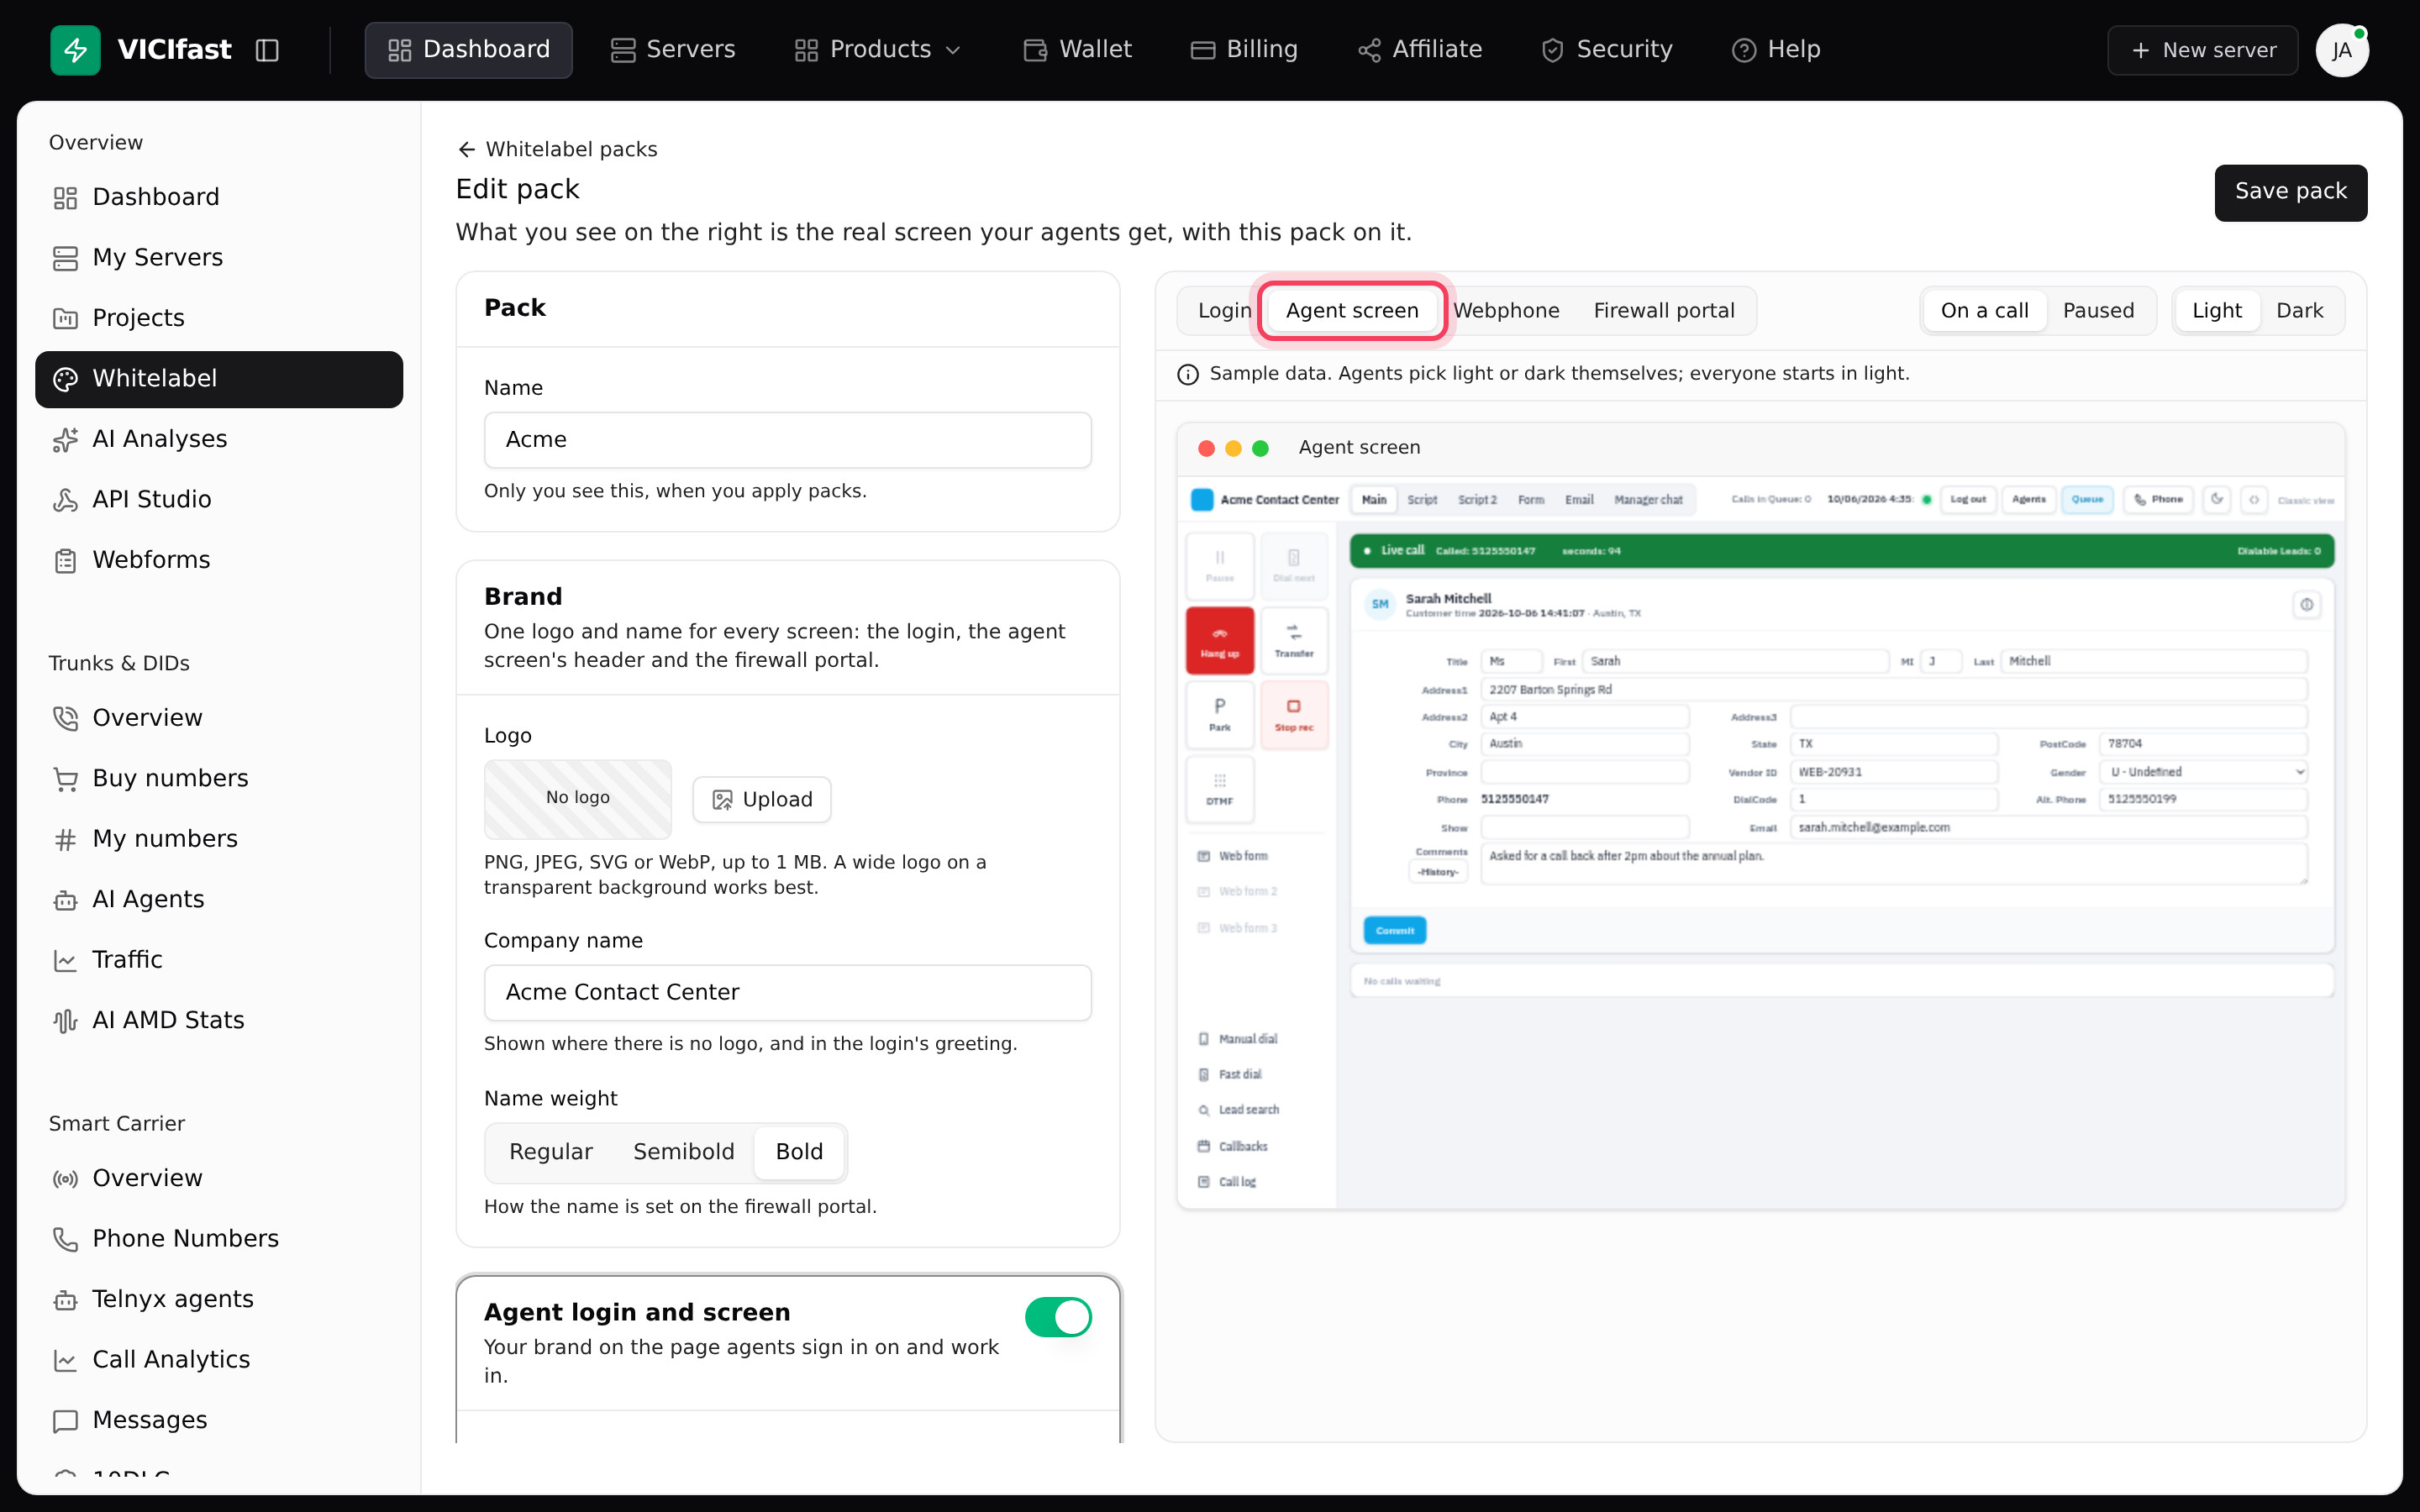
Click the Agent screen tab in the preview to see the screen On a call or Paused, in Light or Dark. Agents pick light or dark themselves; everyone starts in light.
Step 4: Style the webphone (optional)
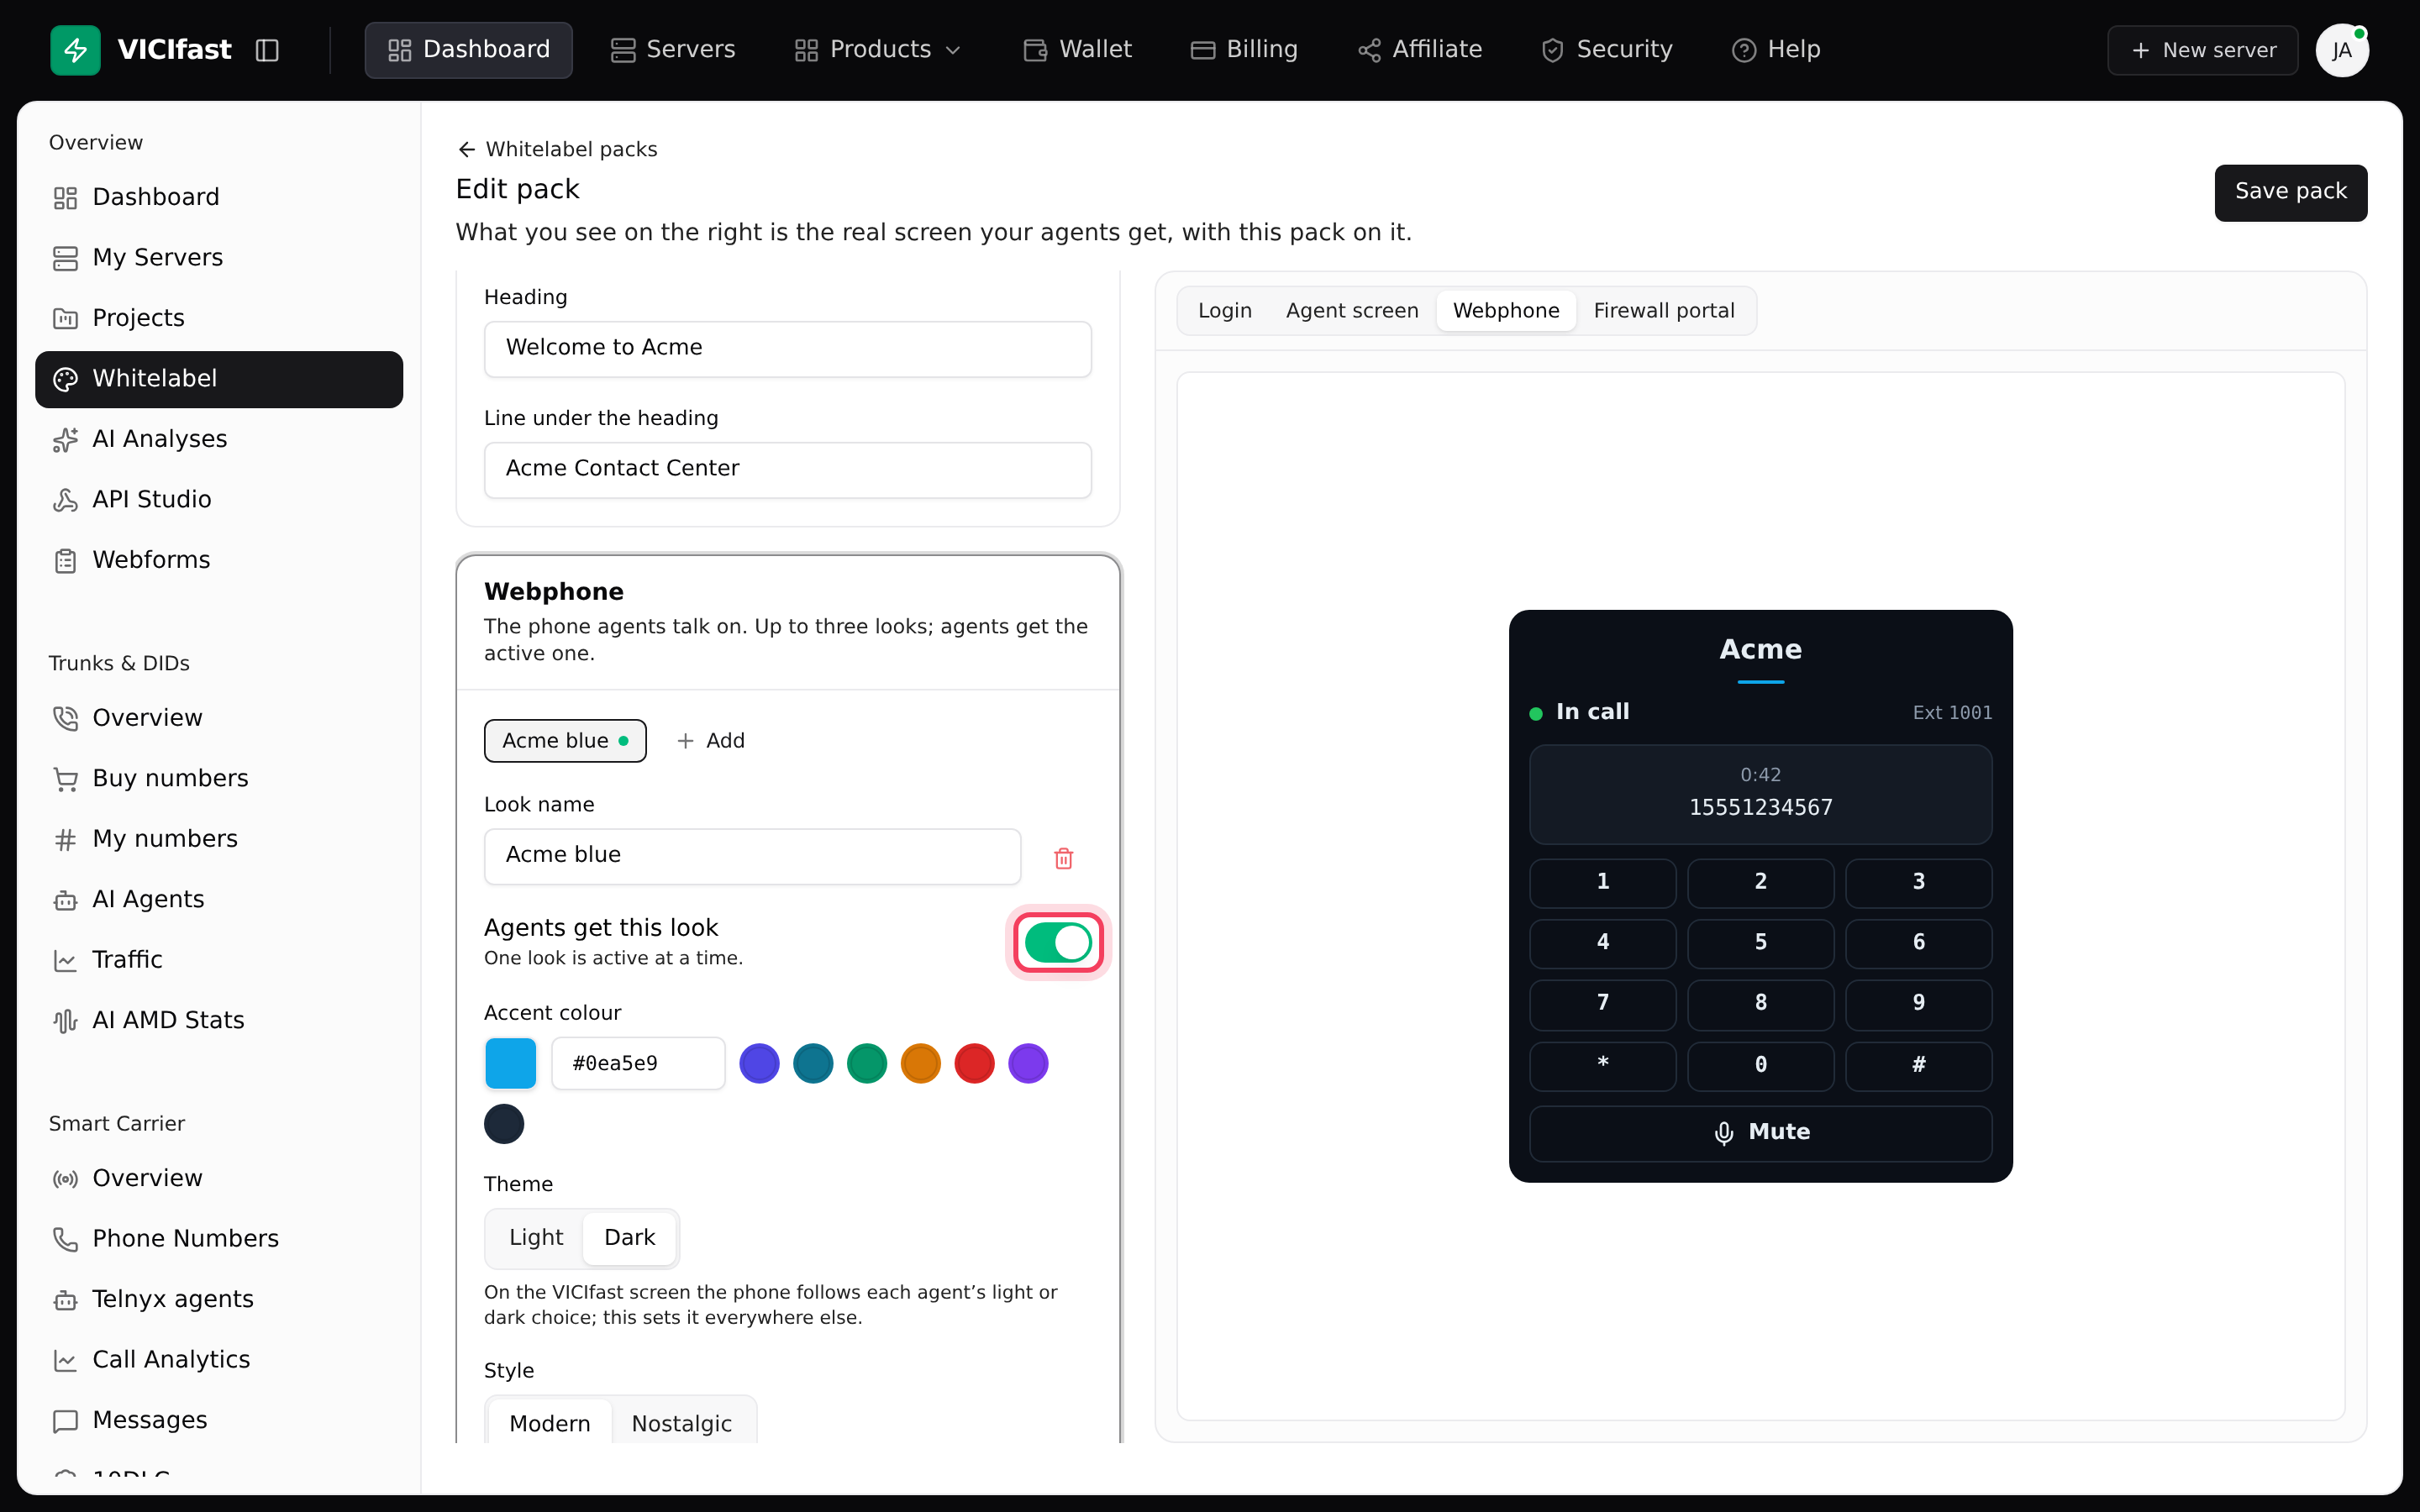
- Under Webphone, click Add a look (or Add next to your looks, if the pack already has one). You can keep up to three looks; agents get the one marked Agents get this look.
- For each look, set the Look name, Accent colour, Theme (Light or Dark), Style (Modern or Nostalgic, a rotary desk phone), Spacing (Compact or Roomy) and Dialpad (Shown or Hidden).
- Add a Phone logo or a Name on the phone, or leave both empty to use the brand's.
More about the phone itself in Your agents' webphone.
Step 5: Add your support email to the firewall page
- Under Firewall portal, type your Support email, for example support@yourcompany.com.
- Click the Firewall portal tab in the preview to check it. Once the pack is applied, the page agents use to allow their network shows your logo or name and your support email, and nothing of ours. Leave the email empty for no email line.
Step 6: Save and apply the pack
- Click Create pack (or Save pack when editing). Unsaved changes next to the button reminds you to save.
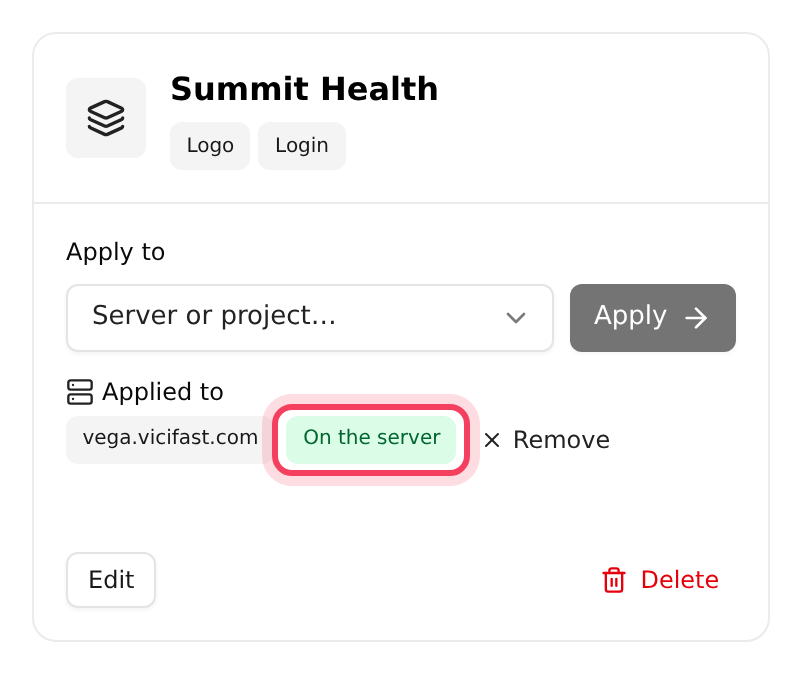
- Back on the Whitelabel Packs page, find your pack's card.
- Under Apply to, pick a server, or a project to brand every server in it.
- Click Apply.
- Each server is listed under Applied to with its progress: Pushing to the server…, then On the server. If a push fails, the reason is shown with Retry.
Editing a pack does not change servers it was already applied to. After you save changes, click Apply again for each server or project that should get them.
Good to know
- A pack is pushed straight away only to running servers. If a server is stopped, apply the pack again once it is back.
- To take a server back to stock VICIdial, click Remove next to it under Applied to.
- On the VICIfast screen, an agent can click Classic view in the header. It signs them out, and their browser opens the stock VICIdial screen from then on; the login page has a link back.
- The support email is only for the firewall page. Emails from VICIfast itself, such as invoices and password resets, keep our name.
Delete on a pack card deletes it at once, with no second question. Servers it was applied to keep their branding until you click Remove for them.
If something goes wrong
Frequently asked
- You already have 5 packs. Delete one you no longer use, or edit an existing one.
- Logos must be PNG, JPEG, SVG or WebP, up to 1 MB. Login photos must be JPEG, PNG or WebP, up to 3 MB.
- Saving a pack doesn't update servers. Click Apply again for that server or project.
- The reason is shown under Applied to. Make sure the server is running, then click Retry.
- Ask them to log out and back in, so the browser loads the new login and screen.