Group servers into projects
Put servers into projects to brand them together and give a client or a team access to just those servers.
Billing & account · 3 min read
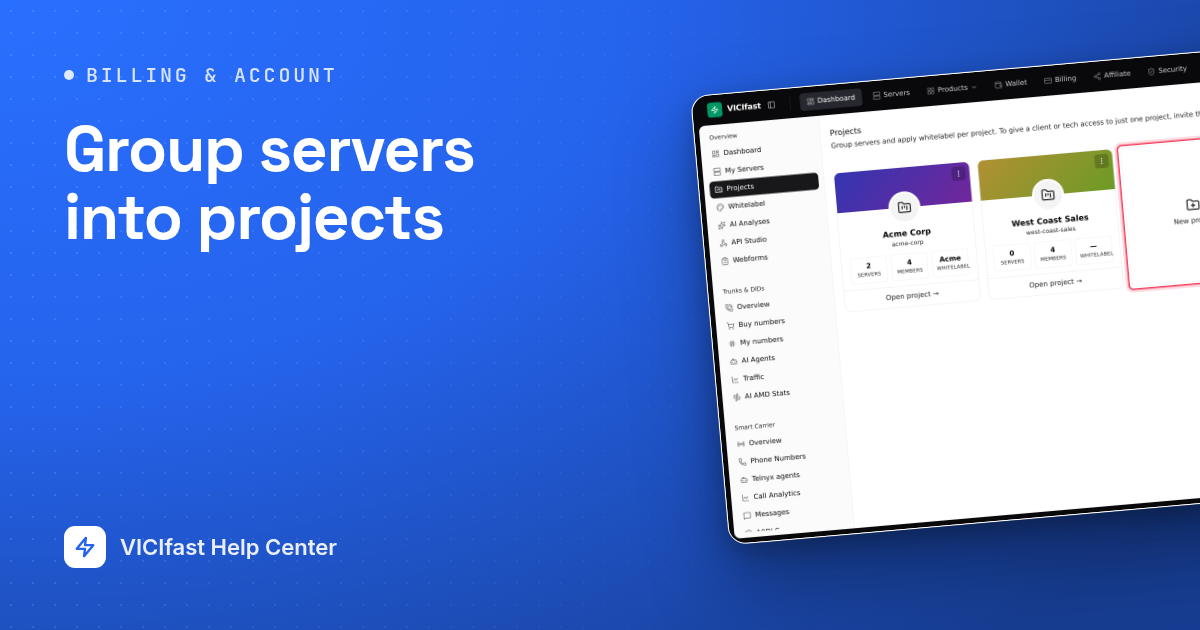
A project is a folder for servers. Use one per client or per site: brand all of its servers with one pack, and give someone access to just that project. When you add a server to the project later, it gets the same branding and the same people.
What you need
- You are the account owner. Members see “Projects are managed by the account owner.”
- At least one server. A branding pack too, if you want to brand the project.
Step 1: Open Projects
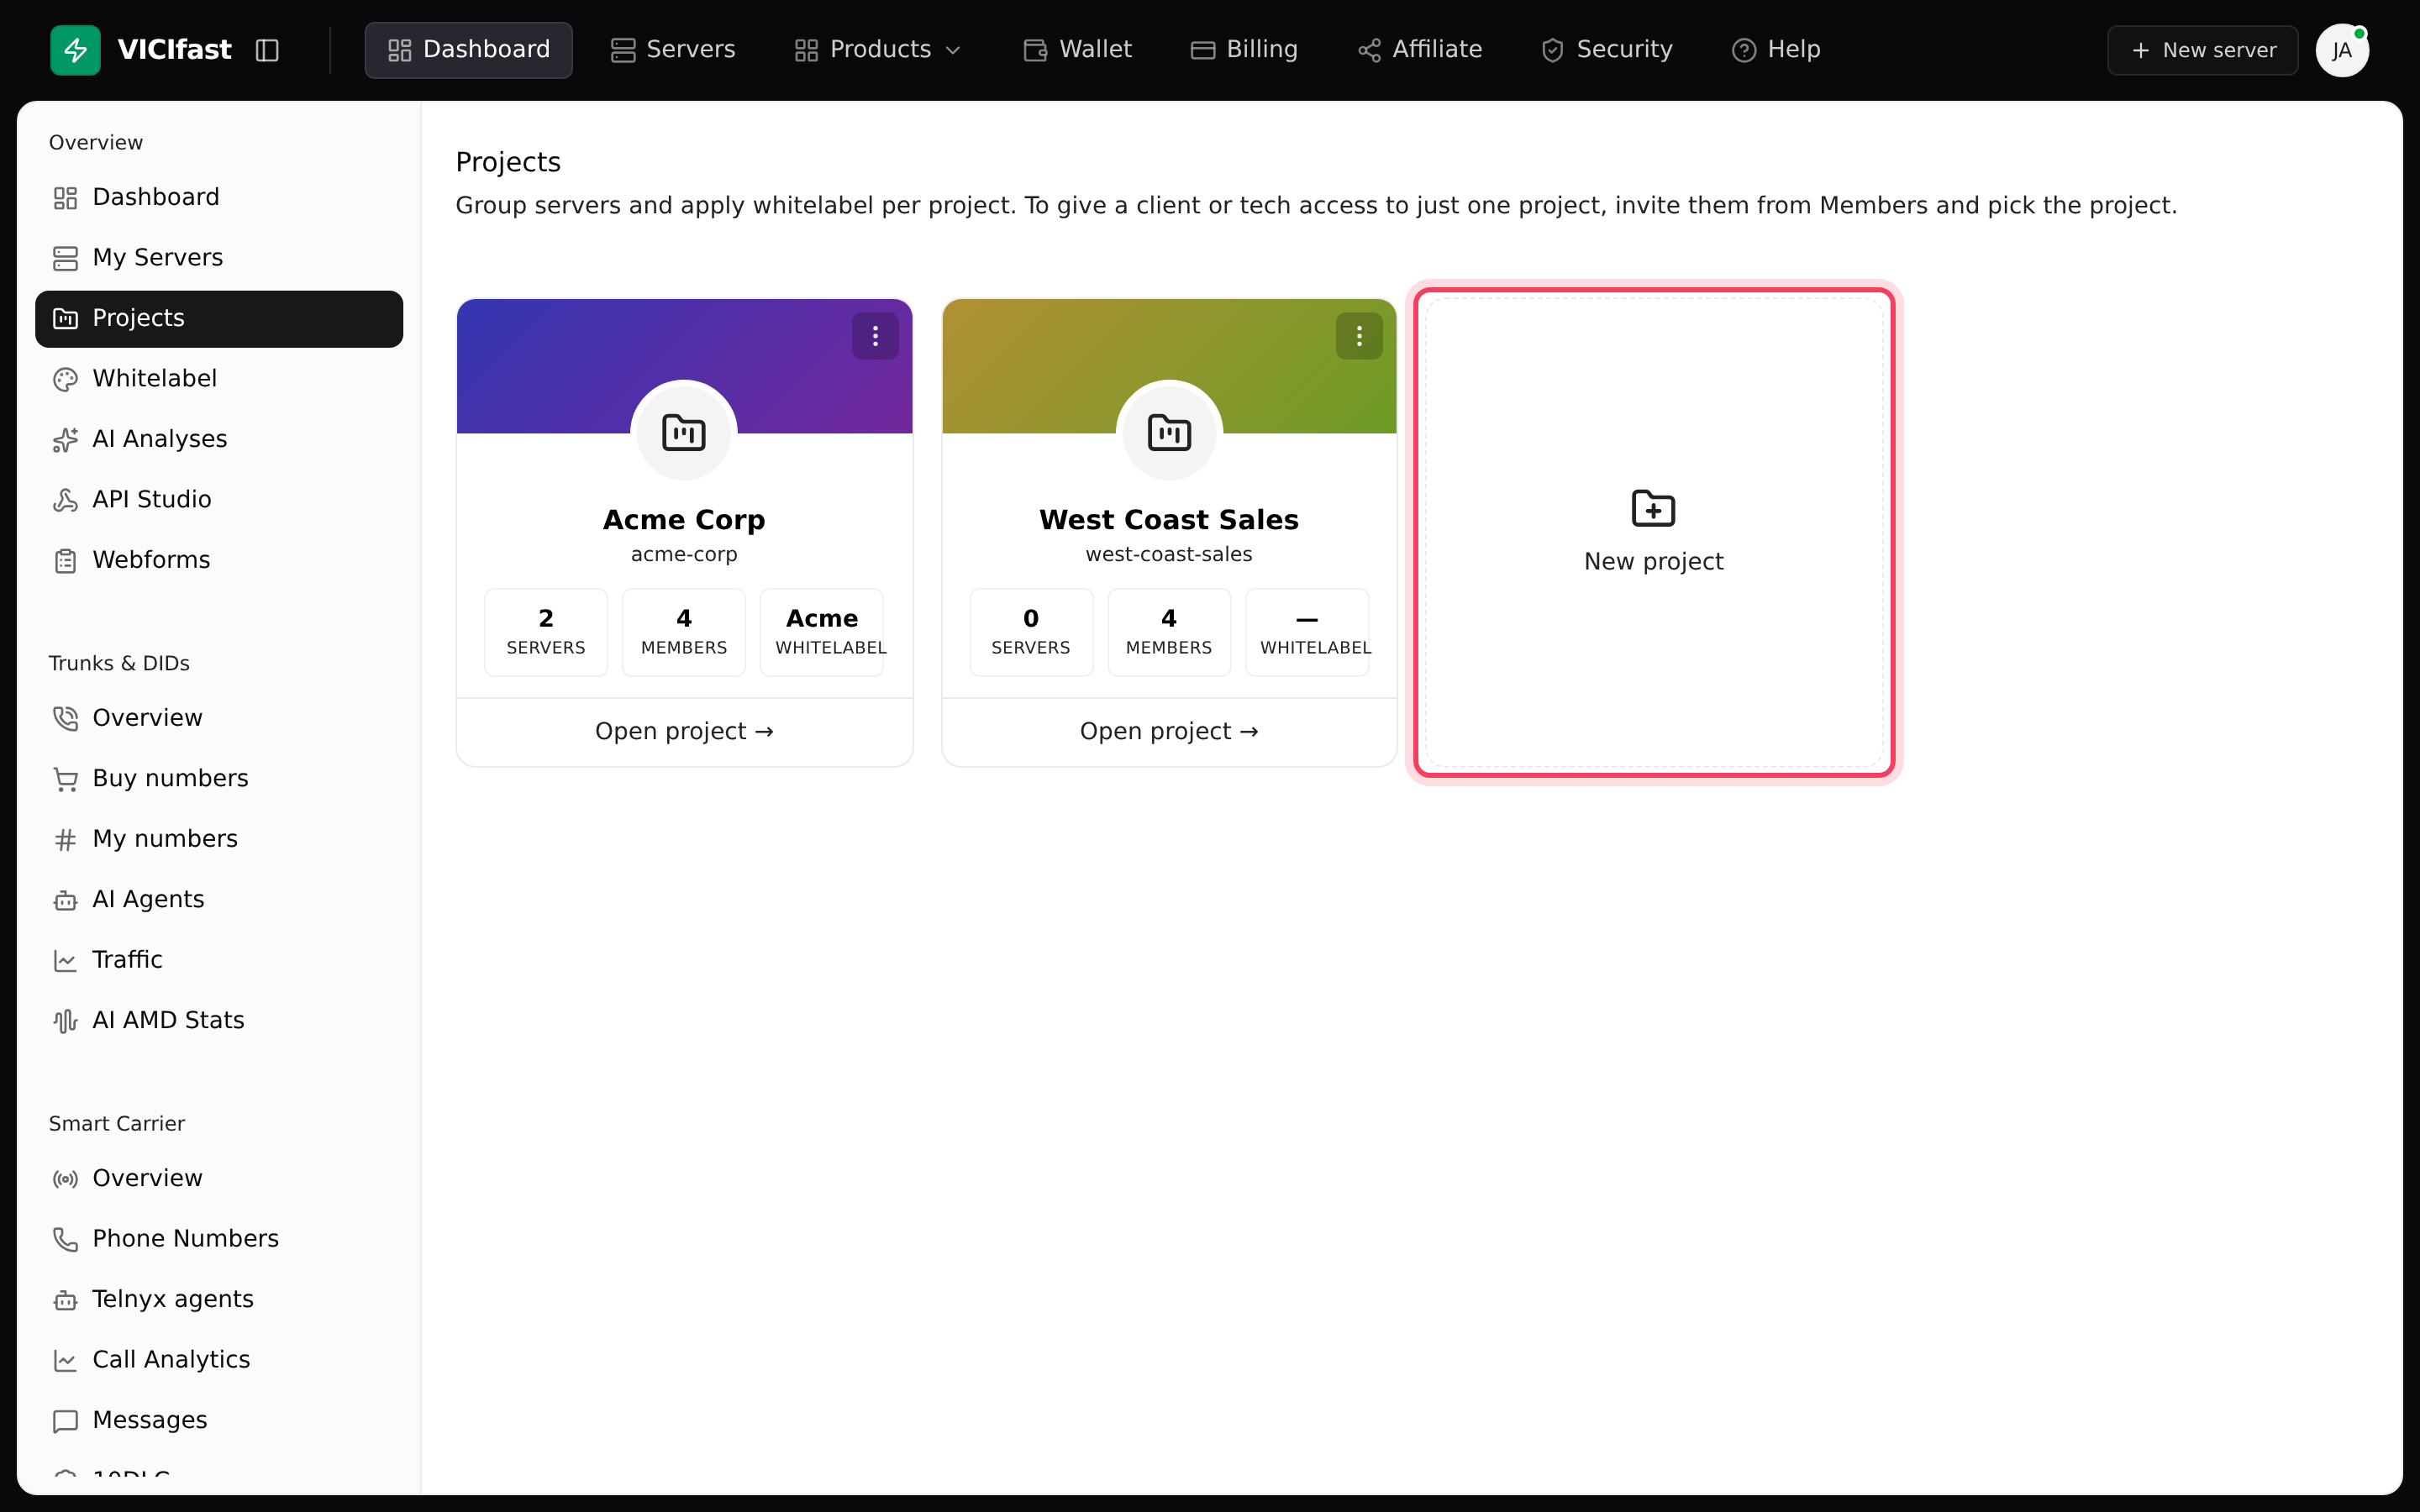
- In the left sidebar, under Overview, click Projects.
- Each project is a card showing its Servers, its Members and its Whitelabel pack. Click Open project → to manage one.
Step 2: Create a project
- Click the New project card.
- Type a Name, for example the client's company name.
- Click Create. You see “Project created”.
You can have up to 50 projects, and a name can be up to 60 characters.
Step 3: Add servers to it
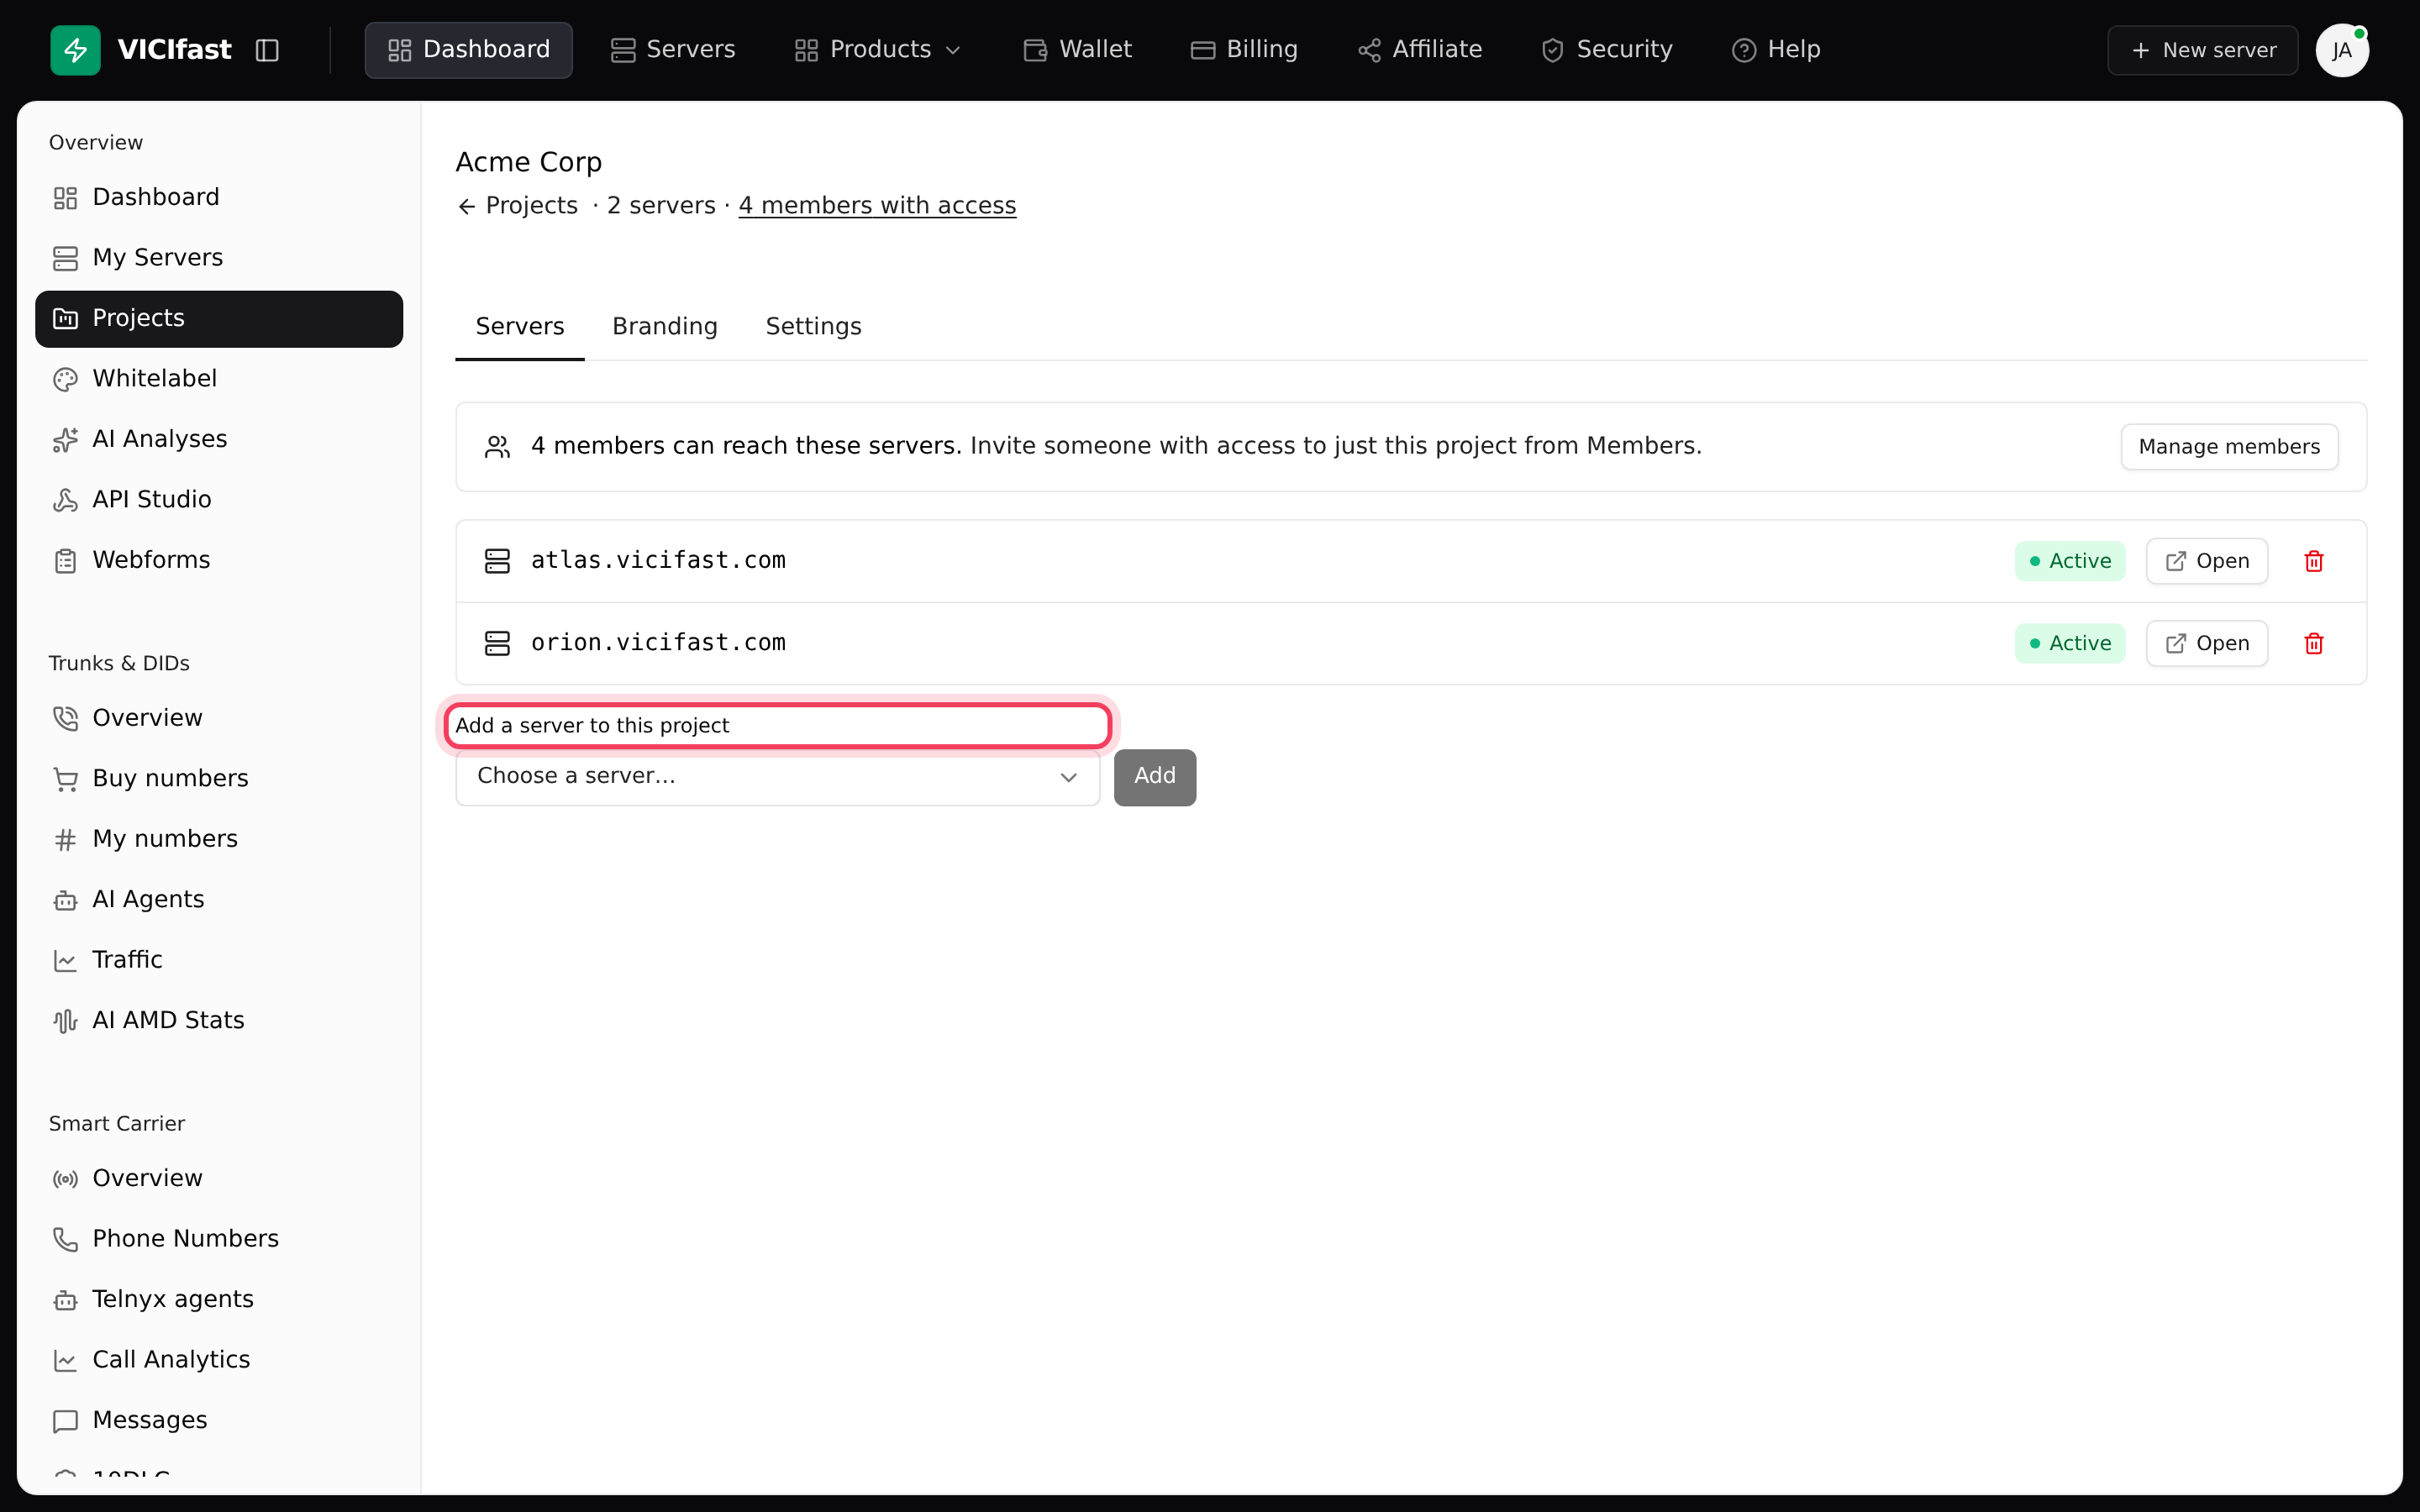
- Click Open project → on the card. The project opens on the Servers tab.
- Under Add a server to this project, choose a server and click Add.
- You see “Server added”. If the server was in another project, or the move takes it away from someone, a window first shows who will Lose access (and Gain access). Click Move server to confirm.
A server belongs to one project at a time, so adding it here takes it out of any other project. To take a server out, click the bin icon on its row; if anyone would lose access, confirm with Remove server.
Step 4: Brand the project
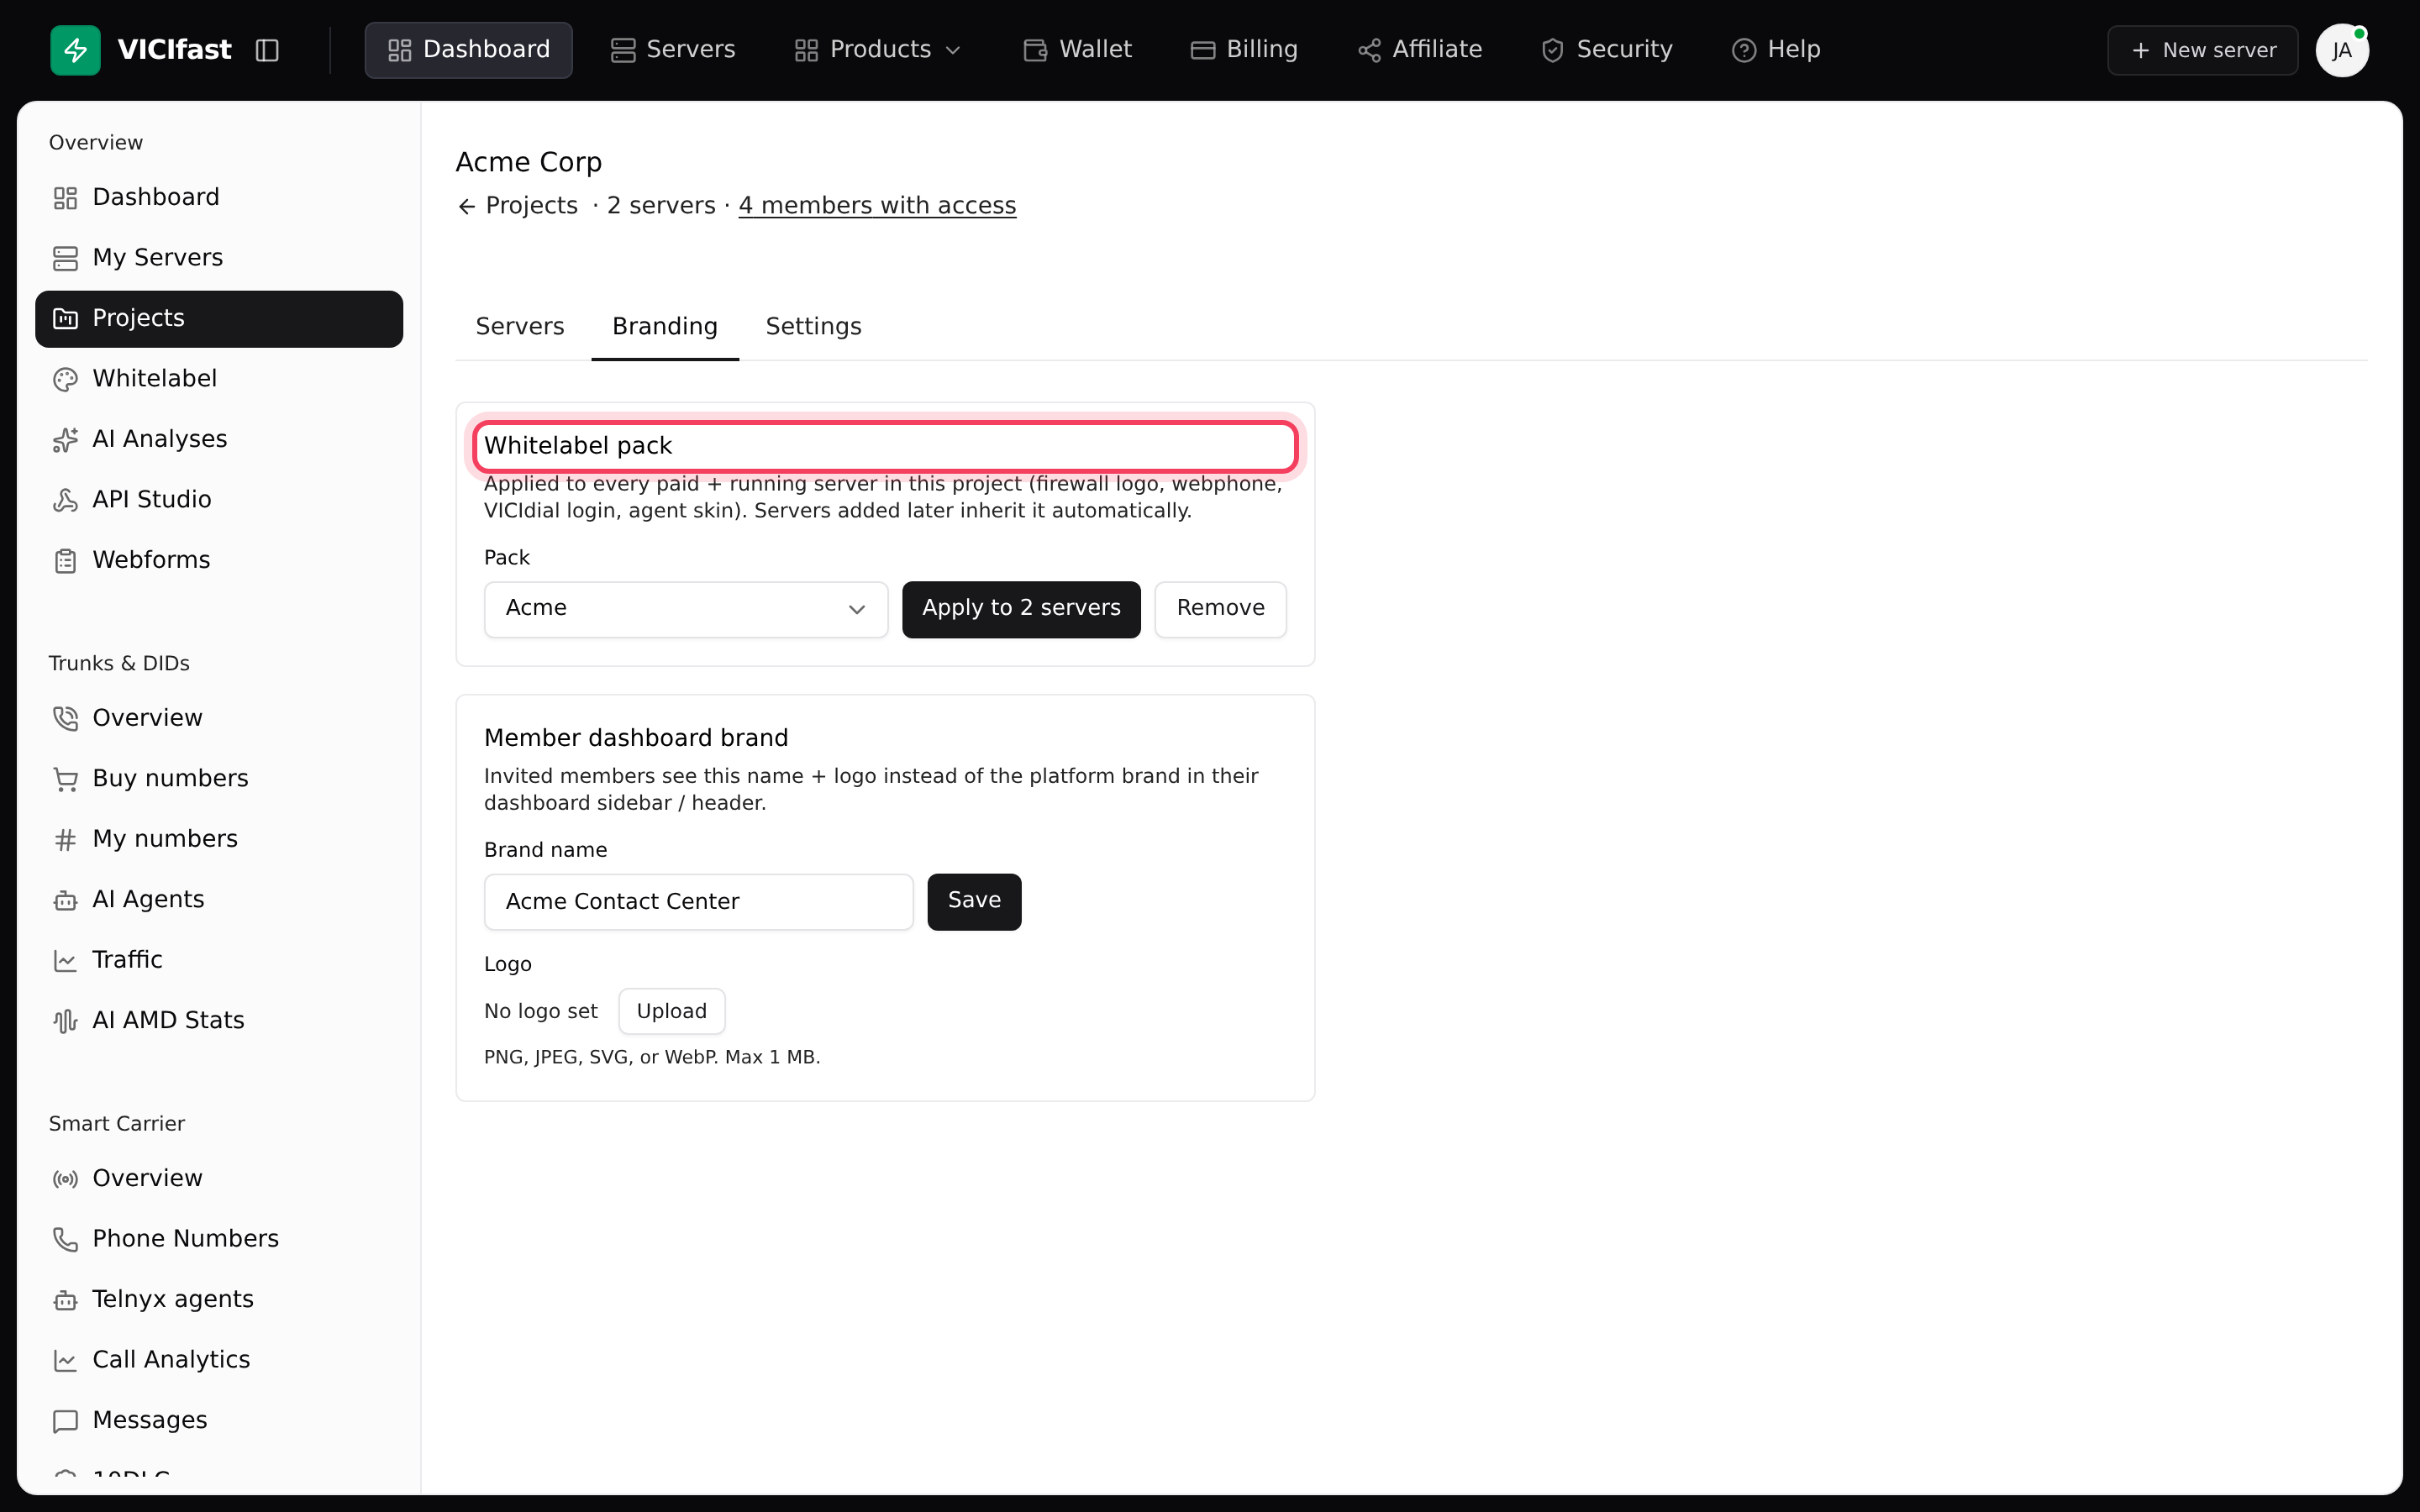
- Click the Branding tab.
- Under Whitelabel pack, choose a Pack and click Apply to … servers. It goes to every paid, running server in the project, and servers you add later get it too.
- Under Member dashboard brand, type a Brand name and click Save, then Upload a Logo. People you invite to this project see this name and logo in their dashboard instead of ours.
No pack yet? Make one first: see Put your brand on the dialer.
Step 5: Give someone access to just this project
- On the Servers tab, click Manage members. Members opens, filtered to people who can reach this project.
- Click Invite member, and under Which servers pick Chosen projects and tick this project.
- Pick their role and click Send invite.
They see only this project's servers: not your other projects, your billing or the rest of your account. The full guide is in Invite your team and choose what they see.
Rename or delete a project
- Open the project and click the Settings tab. Change the Project name and click Save.
- To delete it, type the project's name under Danger zone and click Delete project. Its servers are not deleted; they simply leave the project. People who reached them only through this project lose access.
If something goes wrong
Frequently asked
- Only the account owner manages projects. Ask the owner to make the change.
- You have 50 projects. Delete one you no longer use.
- Branding is pushed only to running servers. Open the Branding tab and apply the pack again once the server is running.
- No. Adding it to a second project moves it there.
- No. The servers stay on your account and keep running; they just aren't in a project any more.