Move from ViciBox or another VICIdial server
Copy your existing VICIdial server onto a new VICIfast server with the Migrate from ViciBox tool: what moves, the steps, and what to do after.
Advanced · 4 min read
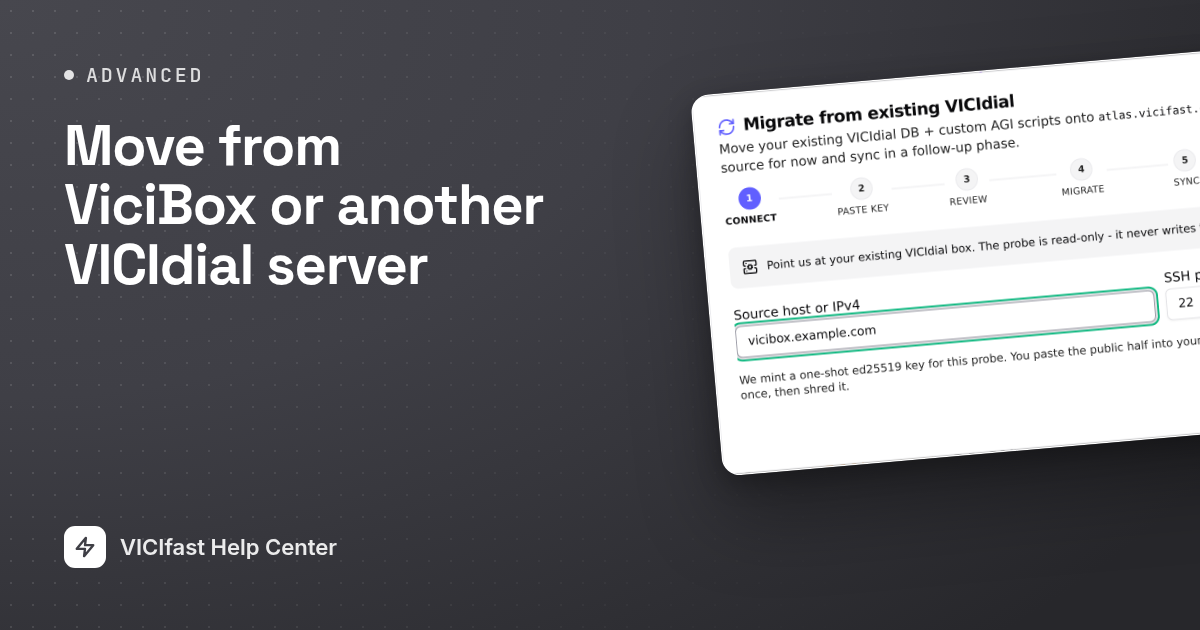
If you already run VICIdial on your own server, a ViciBox install or any other VICIdial box, the Migrate from ViciBox tool copies your dialer onto a new VICIfast server: agents, campaigns, lists and leads, call history and more. Your call recordings follow in the background. You run it yourself from the new server's page. It suits someone comfortable logging in to the old server over SSH, because you paste two one-time keys there.
What you need
- A new VICIfast server that shows Active and has nothing on it yet. Everything on it is replaced, and the copy refuses a server that already has leads, calls or users.
- You are the account owner.
- SSH access to your old server as root (or a user that can read the VICIdial install), with its SSH port reachable from the internet.
- A quiet window. Before the copy you pause every campaign and log out every agent on the old server, and dialing stays stopped until your carrier accepts the new server.
What gets copied
- Copied: users and agents, user groups, campaigns, lists and leads, custom lead fields, results, your DNC list, call history (so old reports keep working), queues (in-groups), numbers (DIDs), call menus, your own AGI scripts, and audio libraries up to about 500 MB. Phones come across set up for the browser webphone, so desk phones need setting up again.
- Copied afterwards, in the background: call recordings, voicemail and larger audio libraries. The new dialer already works while this runs.
- Not copied: your phone lines (carriers), files you edited by hand in the phone system's settings, server-level settings, and who is logged in right now. Add your lines on the Trunks tab, or chat with support and we copy them across for you after the move.
Step 1: Open the tool
- Click My Servers, then your new server.
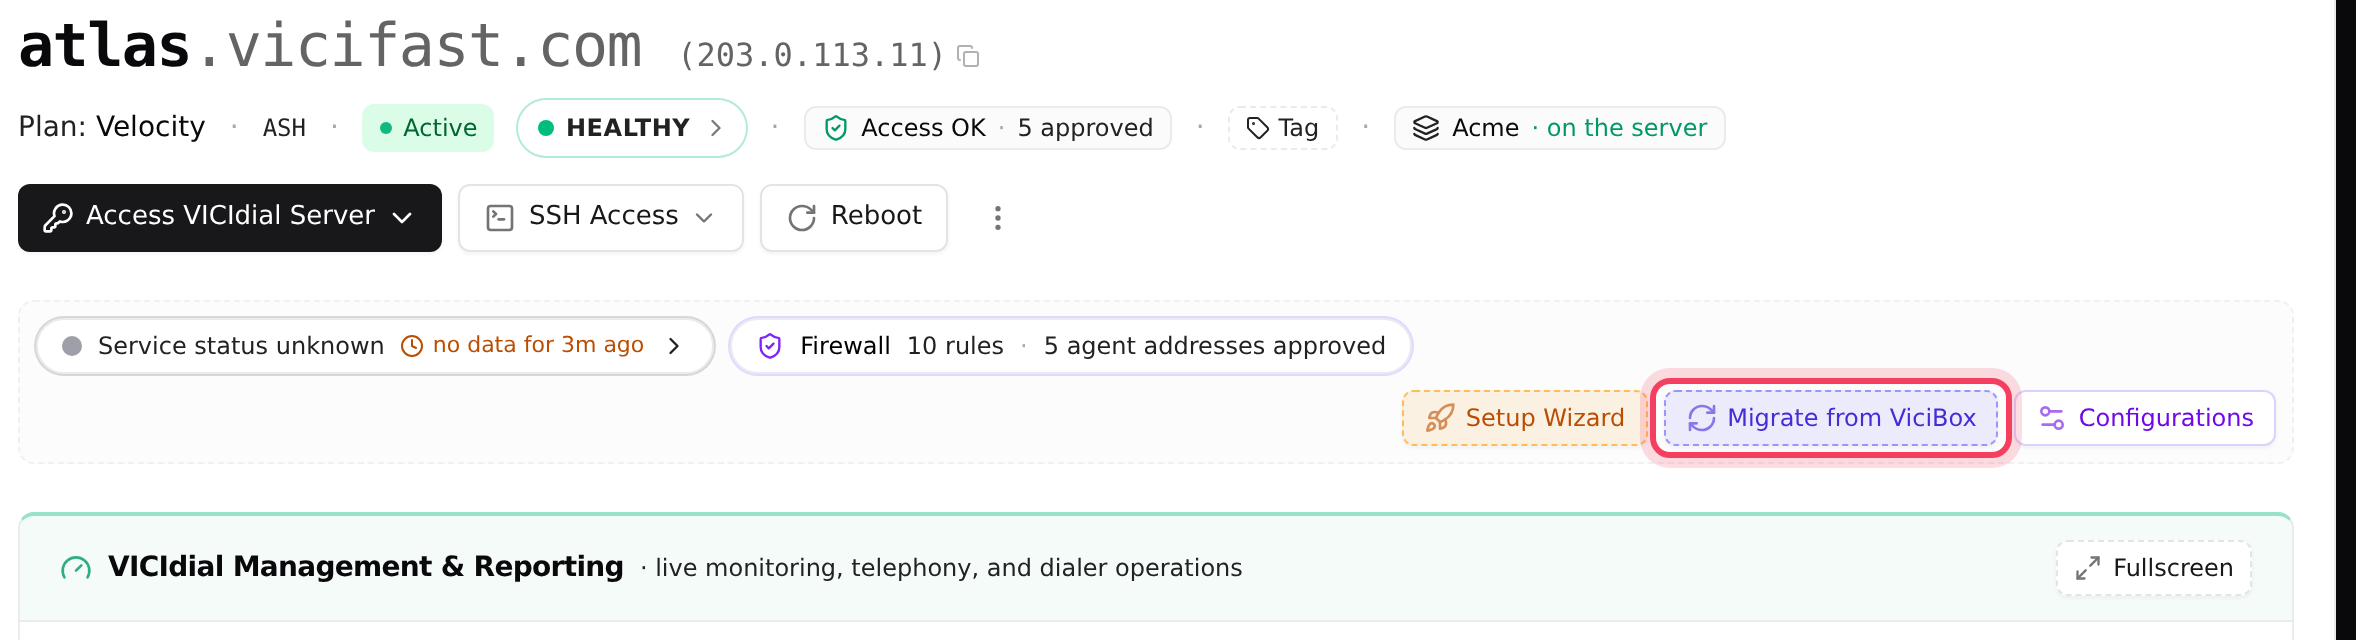
- In the tools strip, click Migrate from ViciBox.
- The Migrate from existing VICIdial dialog shows its steps across the top: Connect, Paste key, Review, Migrate, Sync, Done. You can close it at any time; long steps keep running.
Step 2: Connect to your old server
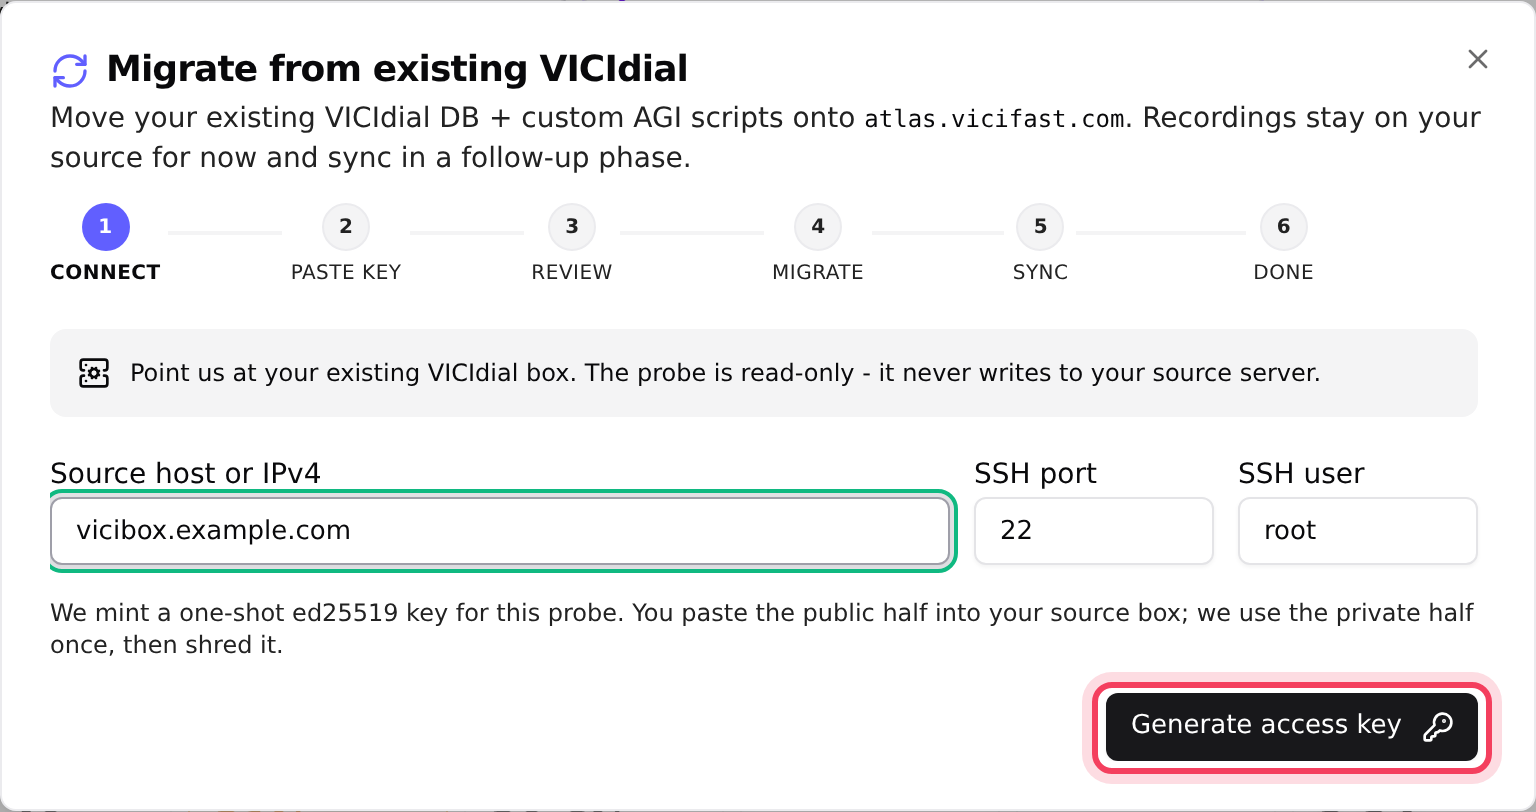
- In Source host or IPv4, type your old server's address.
- Leave SSH port at 22 and SSH user at root unless yours differ.
- Click Generate access key. The check that follows only reads; it never changes your old server.
Step 3: Paste the key and run the check
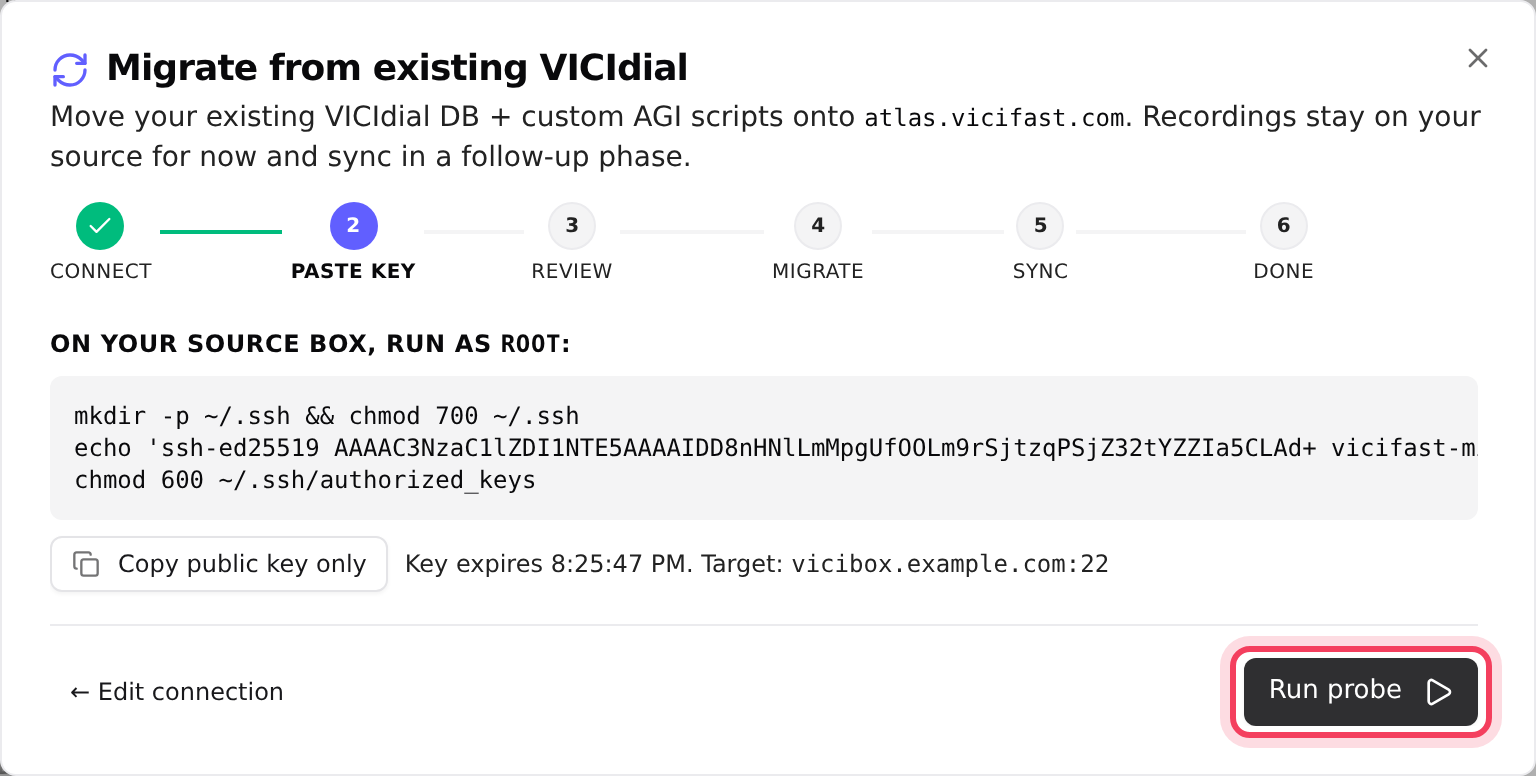
- Copy the three-line command block, or click Copy public key only.
- Log in to your old server and run it. It adds our one-time key and changes nothing else.
- Click Run probe. It takes about 10 to 30 seconds and counts your leads, campaigns, users, DNC entries and recordings.
Step 4: Review and empty the old server
- Compare your old server and the new one side by side.
- If you see "Source isn't drained yet", pause every campaign and log out every agent on the old server, then click Re-probe.
- Click Start migration (it reads Start anyway while the warning shows; the copy checks again and stops if anything is still running).
Step 5: Confirm, then paste the second key
- Type WIPE to confirm the new server will be overwritten.
- Leave Recordings sync bandwidth at Unlimited (default) unless your network needs a limit.
- Optional: tick Dry run to make the copy without restoring it, so you can check the totals first.
- Click Mint dump key and run the new command on your old server. It is a different key, valid for 4 hours.
- Click Start dump + restore now, or Or schedule the cutover for a later time to pick a quiet moment.
Step 6: Watch the copy and the recordings
A checklist shows each part of the copy with a timer. You can close the dialog: the button on the server page shows "Migrating" with the time, and we email you when it finishes or fails. Then the recordings copy starts by itself, with a progress bar. If it is interrupted, click Retry sync and it carries on where it stopped.
Step 7: After "Done"
- Give your carrier the new server's IP address for its allow-list. The old IP is no longer your dialer.
- Point your DNS and your team's bookmarks at the new server's address.
- Set up your phone lines on the Trunks tab, then place one test call before agents come back.
- Keep the old server running, idle, until the recordings copy is complete.
If something goes wrong
Frequently asked
- Usually the old server's firewall blocks SSH. The dialog shows the address we connect from and the commands to allow it. Then click Re-probe (same key).
- The first key lasts 15 minutes and the second 4 hours. Click Start over and generate a new one; it takes a minute.
- The new server already has leads, calls or users on it. Use a new server, or factory reset this one first.
- Your dialer is fine; only old recordings are still to copy. Click Retry sync and it resumes where it stopped.
- Very large databases (more than about two hours to copy) are refused before anything starts. Chat with support to plan the move with us.