Caller ID and caller ID groups
Choose the number your customers see when you call them: one fixed number, a pool that matches the lead's area code, or a number saved on each lead.
Phone lines, numbers & caller ID · 4 min read
Caller ID is the number your customers see when your agents call them. Each campaign sets it in one of three ways. This article explains the three and shows how to build a caller ID group (CID group), the pool of numbers most call centers use.
What you need
- Numbers you are allowed to show as your caller ID.
- To create CID groups and add numbers to them, you must be the account owner or an Admin.
The three ways to set caller ID
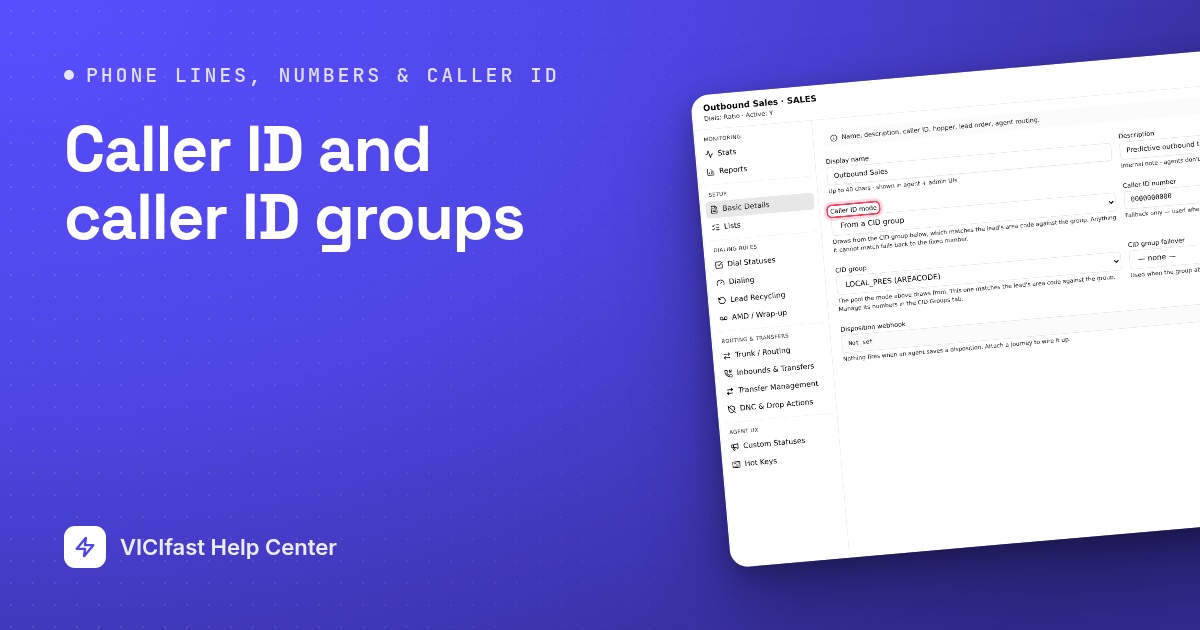
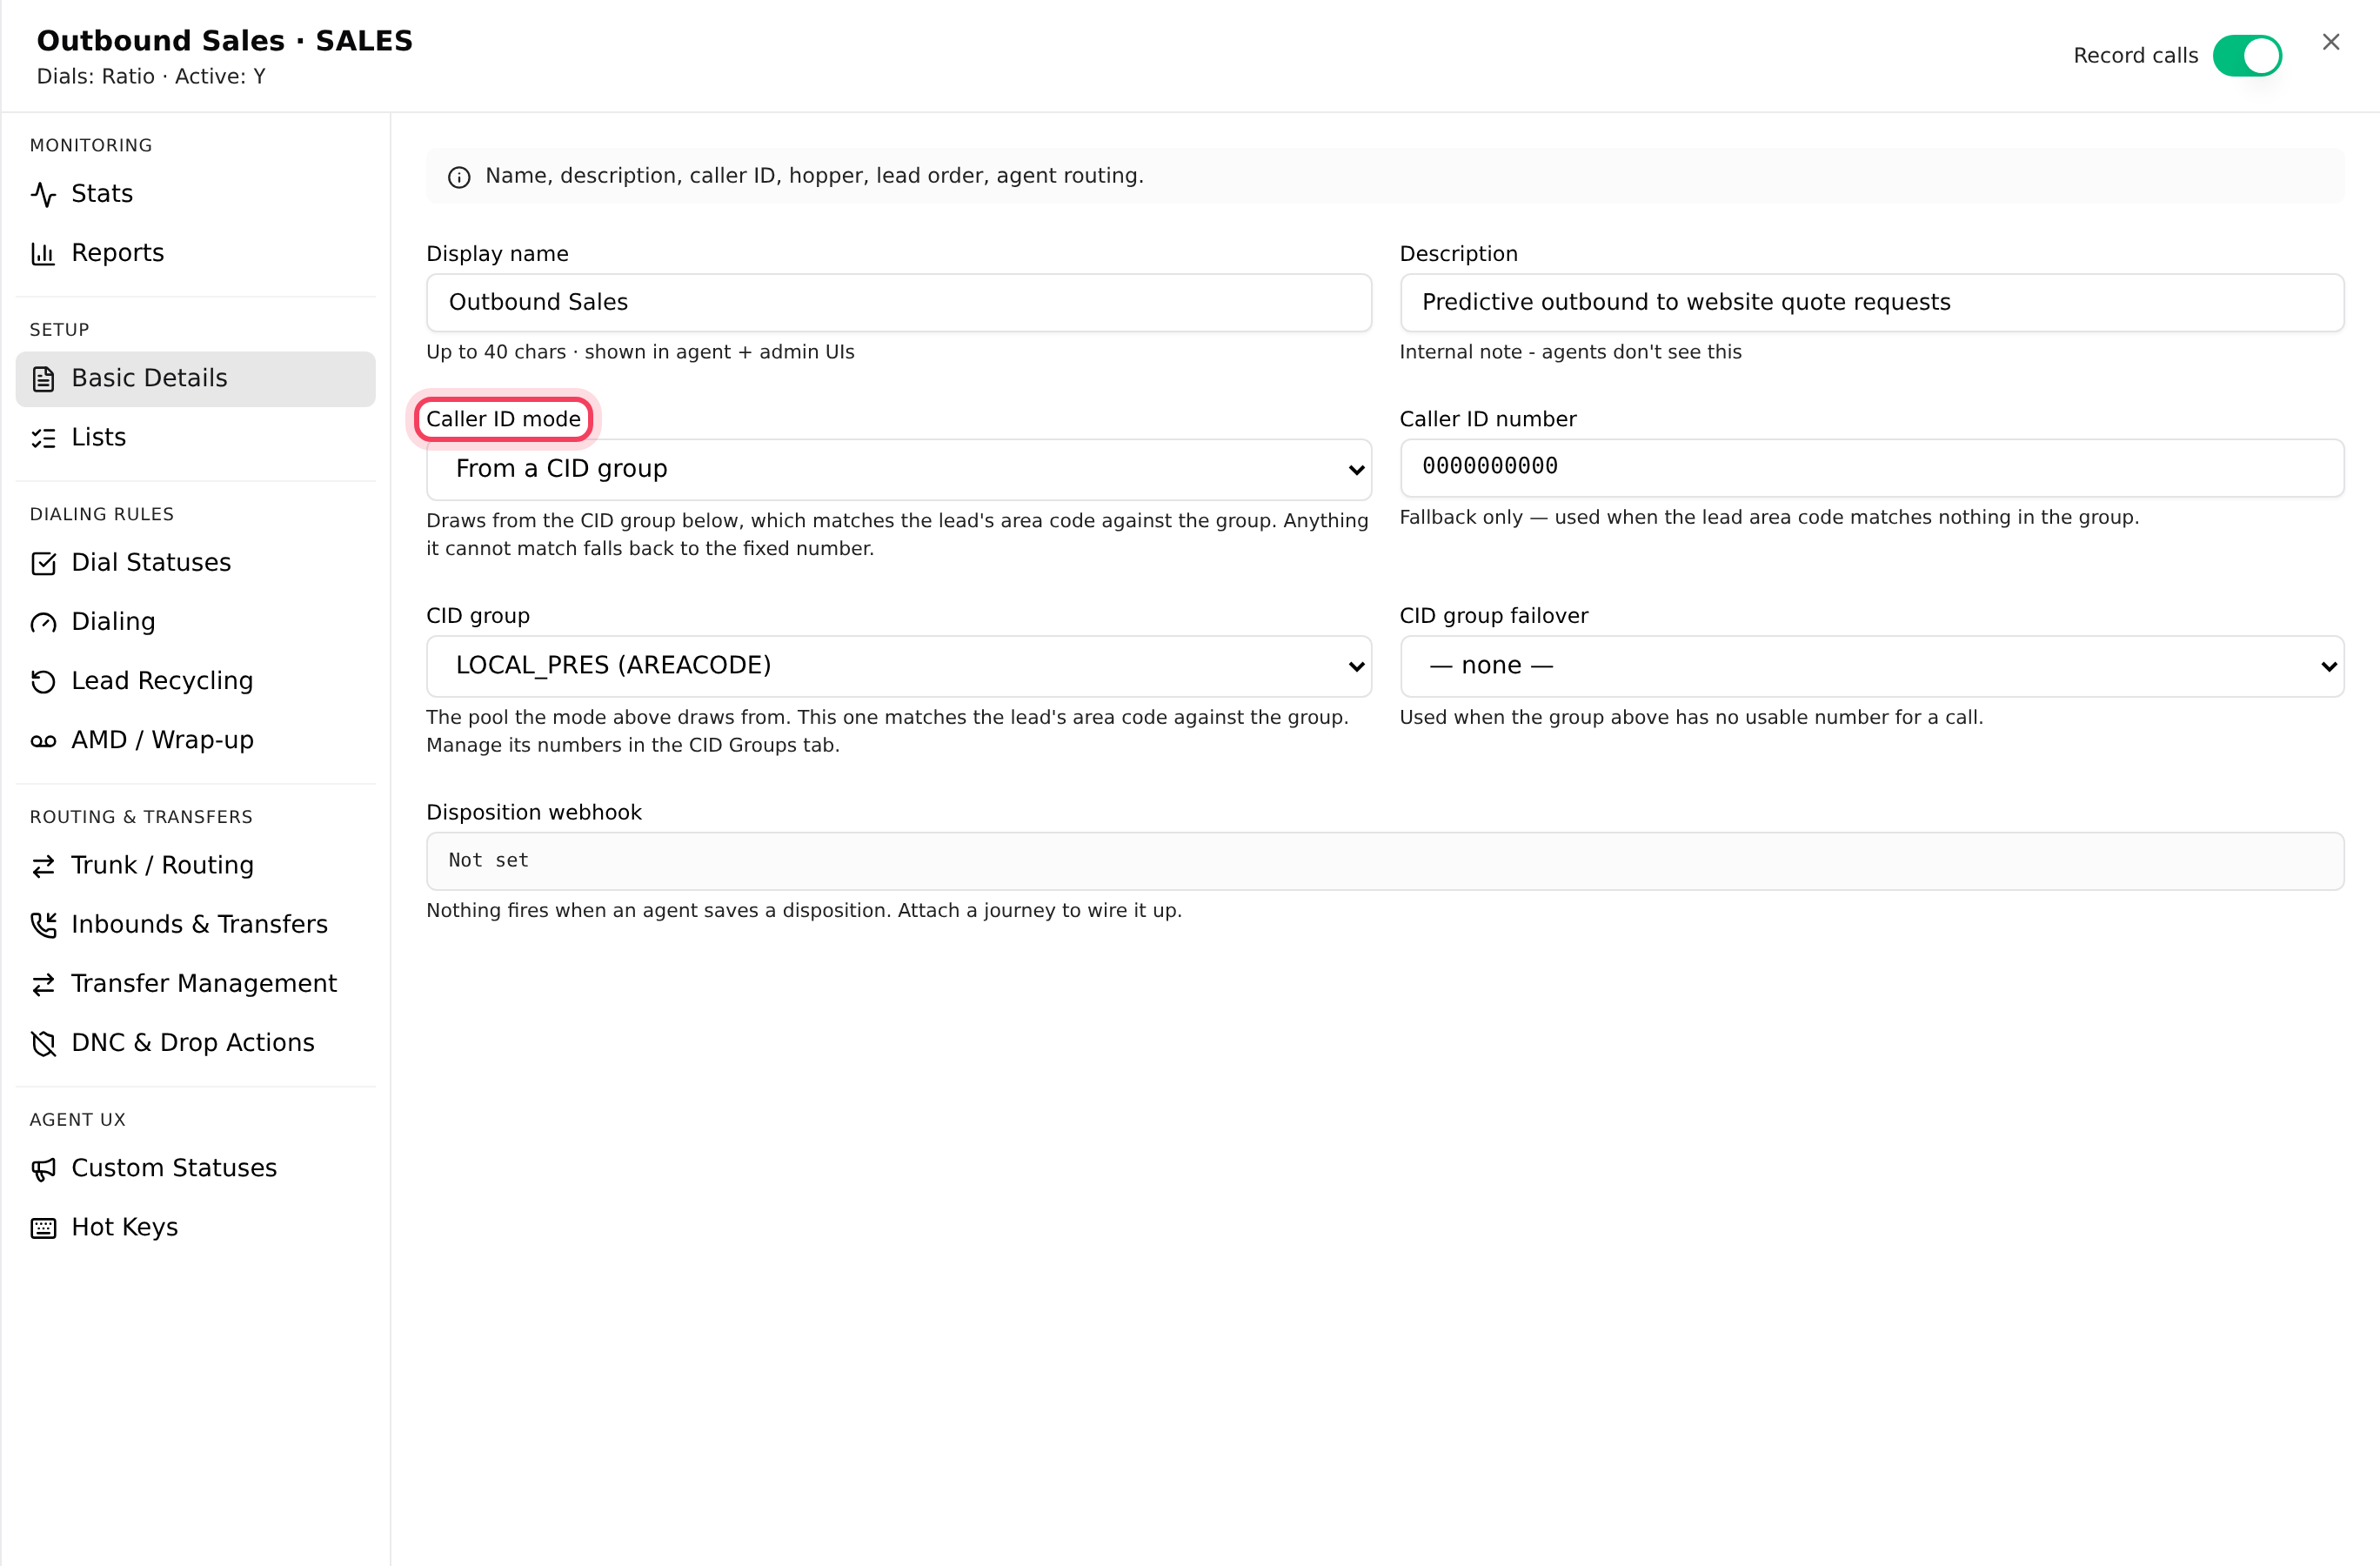
You choose this per campaign, in Caller ID mode on the campaign's Basic Details tab.
- Fixed — always the number below: every call shows the one number in Caller ID number. It is fine to start with, but that one number wears out fastest.
- From a CID group: each call takes a number from a group you build. Depending on the group, it picks a number with the same area code as the lead, a number for the lead's state, or simply the next number in turn. If nothing in the group fits, the call shows the Caller ID number instead.
- Per-lead custom CID: each call shows the caller ID saved on that lead. Most call centers use a CID group instead.
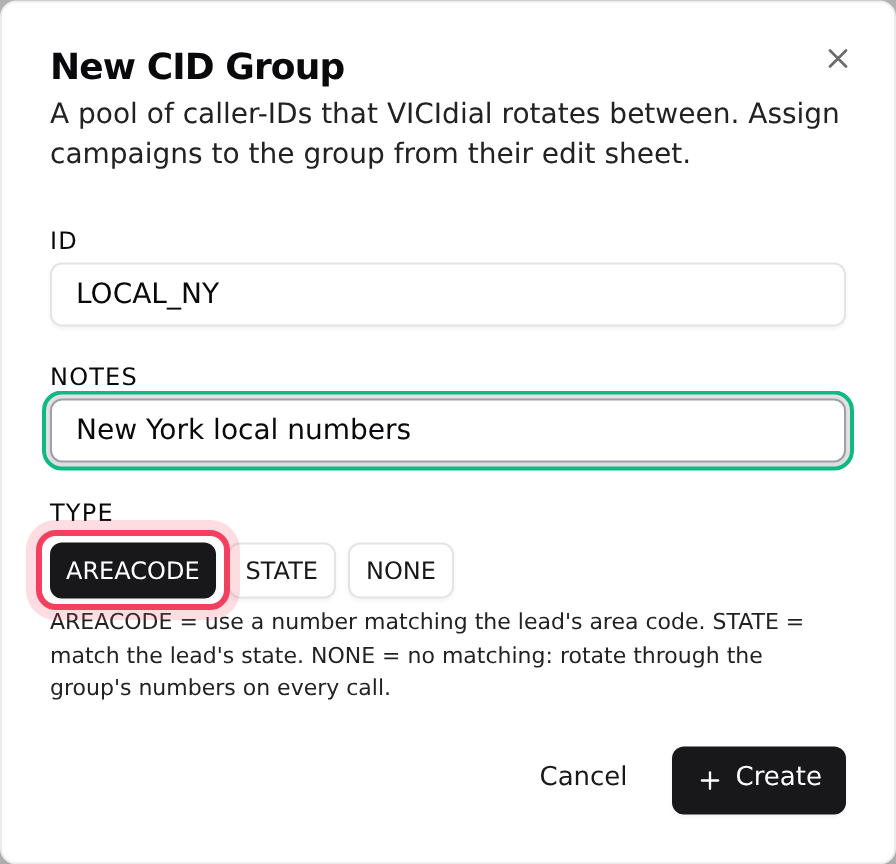
Step 1: Create a CID group
- In the sidebar, click My Servers, then click your server.
- Click the Inbounds tab, then CID Groups.
- Click New group.
- In ID, type a name such as LOCAL_NY (up to 20 letters, numbers, - or _). Add Notes to say what it is for.
- Pick the Type: AREACODE picks a number with the lead's area code. STATE picks a number for the lead's state. NONE ignores area codes and rotates through all the numbers in the group. You cannot change the type later.
- Click Create. The group opens on its Basic tab.
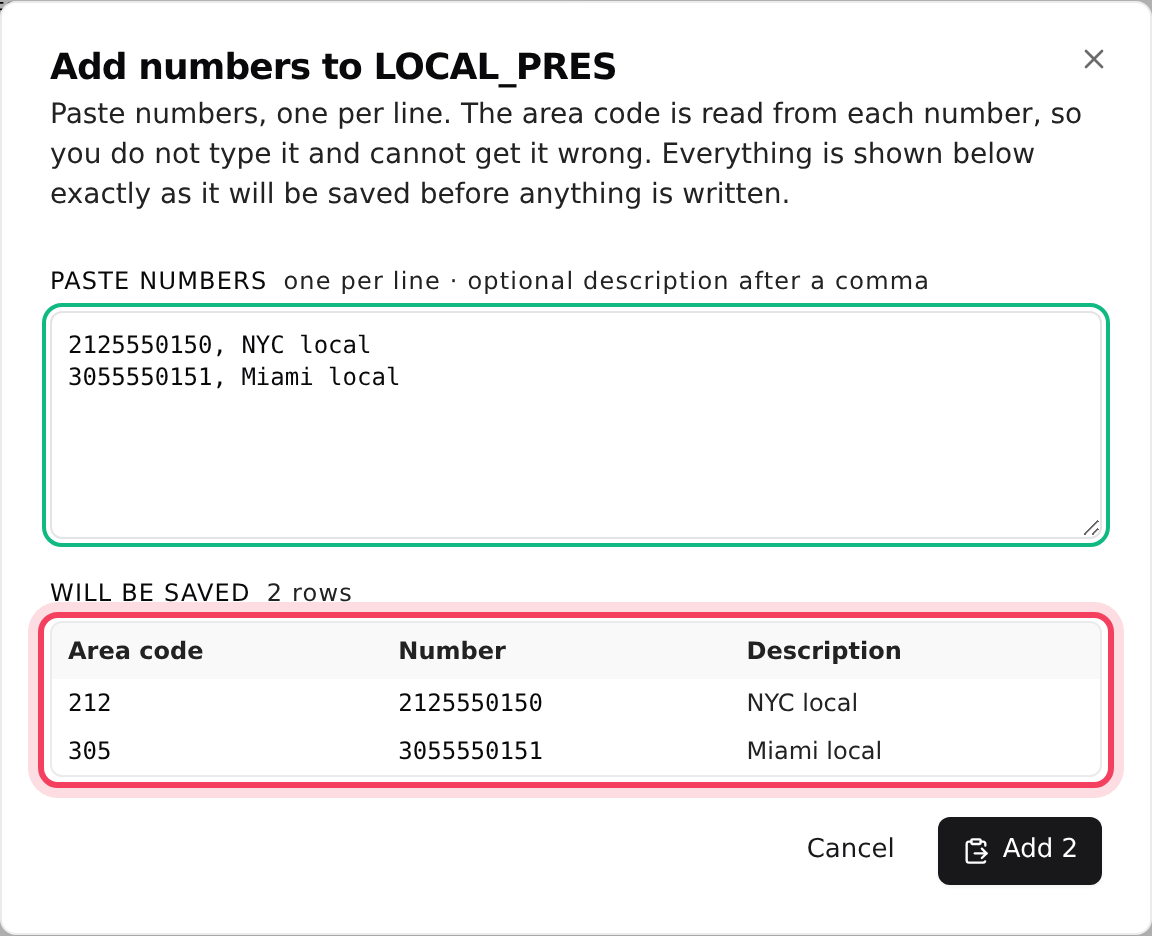
Step 2: Add numbers to the group
- In the group, click CIDs, then Bulk add from CSV.
- Paste your numbers, one per line. You can add a description after a comma, for example 2125550142, NYC local. In an AREACODE group the area code is read from each number, so you do not type it.
- In a STATE group, start each line with the state code instead, for example FL, 8135550123, Tampa.
- Check the Will be saved table. It shows every row exactly as it will be stored, and lists any lines it could not read.
- Click Add to save them. The button shows how many numbers it will add, for example Add 2.
Each number then has an Active switch on the CIDs tab. Tick several numbers to Enable, Disable or Delete them together. On the Basic tab, Rotate after N minutes and Rotate after N calls decide how often a new number is picked; whichever limit is reached first wins.
Step 3: Use the group in a campaign
- Click the Campaigns tab and click your campaign, for example SALES.
- Click Basic Details.
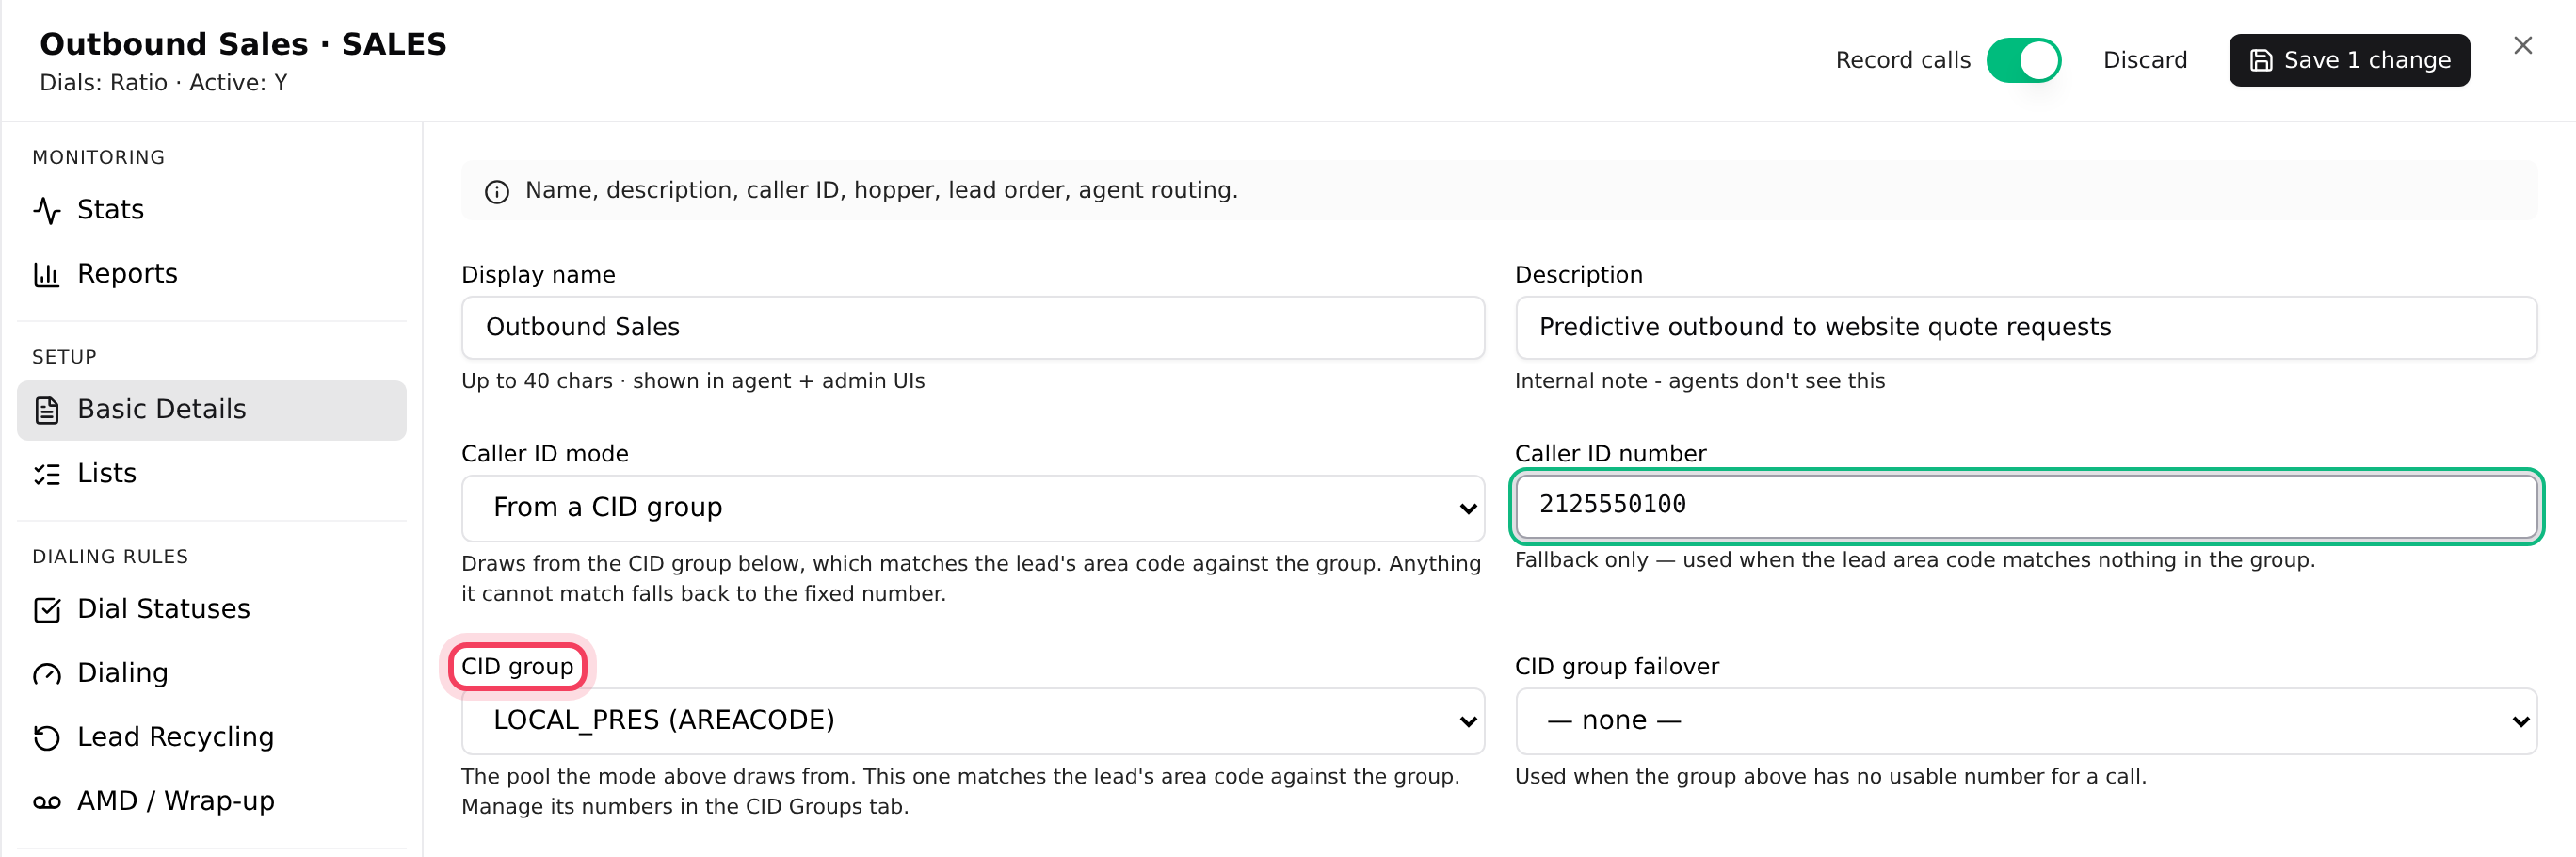
- Set Caller ID mode to From a CID group.
- In CID group, pick your group, for example LOCAL_PRES (AREACODE).
- Keep a number in Caller ID number. It is now the fallback, shown when the lead's area code matches nothing in the group.
- Optional: pick a second group in CID group failover, used when the first group has no usable number for a call.
- Click the Save button at the top of the panel.
Step 4: Check how your numbers are doing
- In the CID group, click Reports. Usage shows how many calls each number made today. Look for numbers that never dial and for one number doing most of the work. These counts reset at midnight.
- The server's Reports tab has the same CID group usage report, with contact rate and drop rate for each number.
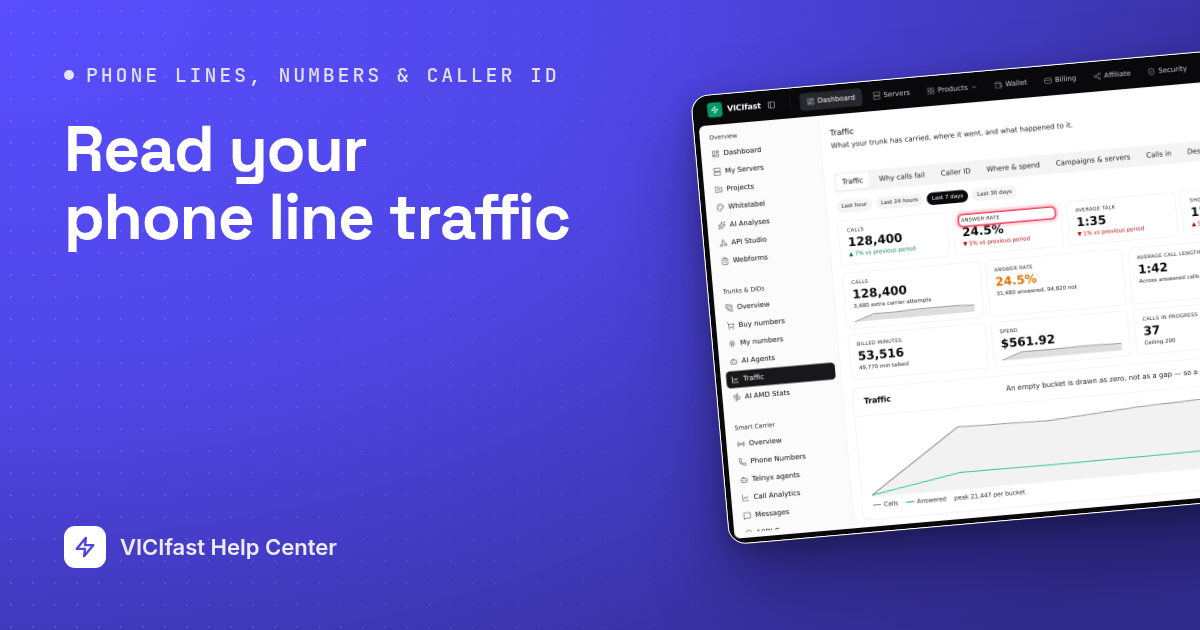
- If you use VICIfast Voice, open Trunks & DIDs, then Traffic, then the Caller ID tab. Falling answer rate counts numbers whose answer rate dropped by 15 points or more within the period. A number like that is usually being labelled as spam: rest it or replace it.
The same tab compares answer rates for Same area code and Different area code calls, and shows how your calls were signed under Call signing (STIR/SHAKEN). A and B are normal; unsigned calls are the ones phones label as spam. See Read your phone line traffic.
If something goes wrong
Frequently asked
- The lead's area code (or state) has no active number in the group, so the call falls back to the Caller ID number. Add numbers for the area codes you call most, or use a group of type NONE. Also check that CID group is not empty in the campaign's Basic Details.
- There are no CID groups on this server yet. Create one on the Inbounds tab under CID Groups, then create the campaign.
- Only the account owner or an Admin can create groups and add numbers.
- A campaign still uses it. Switch those campaigns to another group or to a fixed number first, then delete the group.
- Each line needs the state code first, then the number, for example FL,8135550123.
- VICIdial resets these counts at midnight and keeps no history, so the report only covers today.